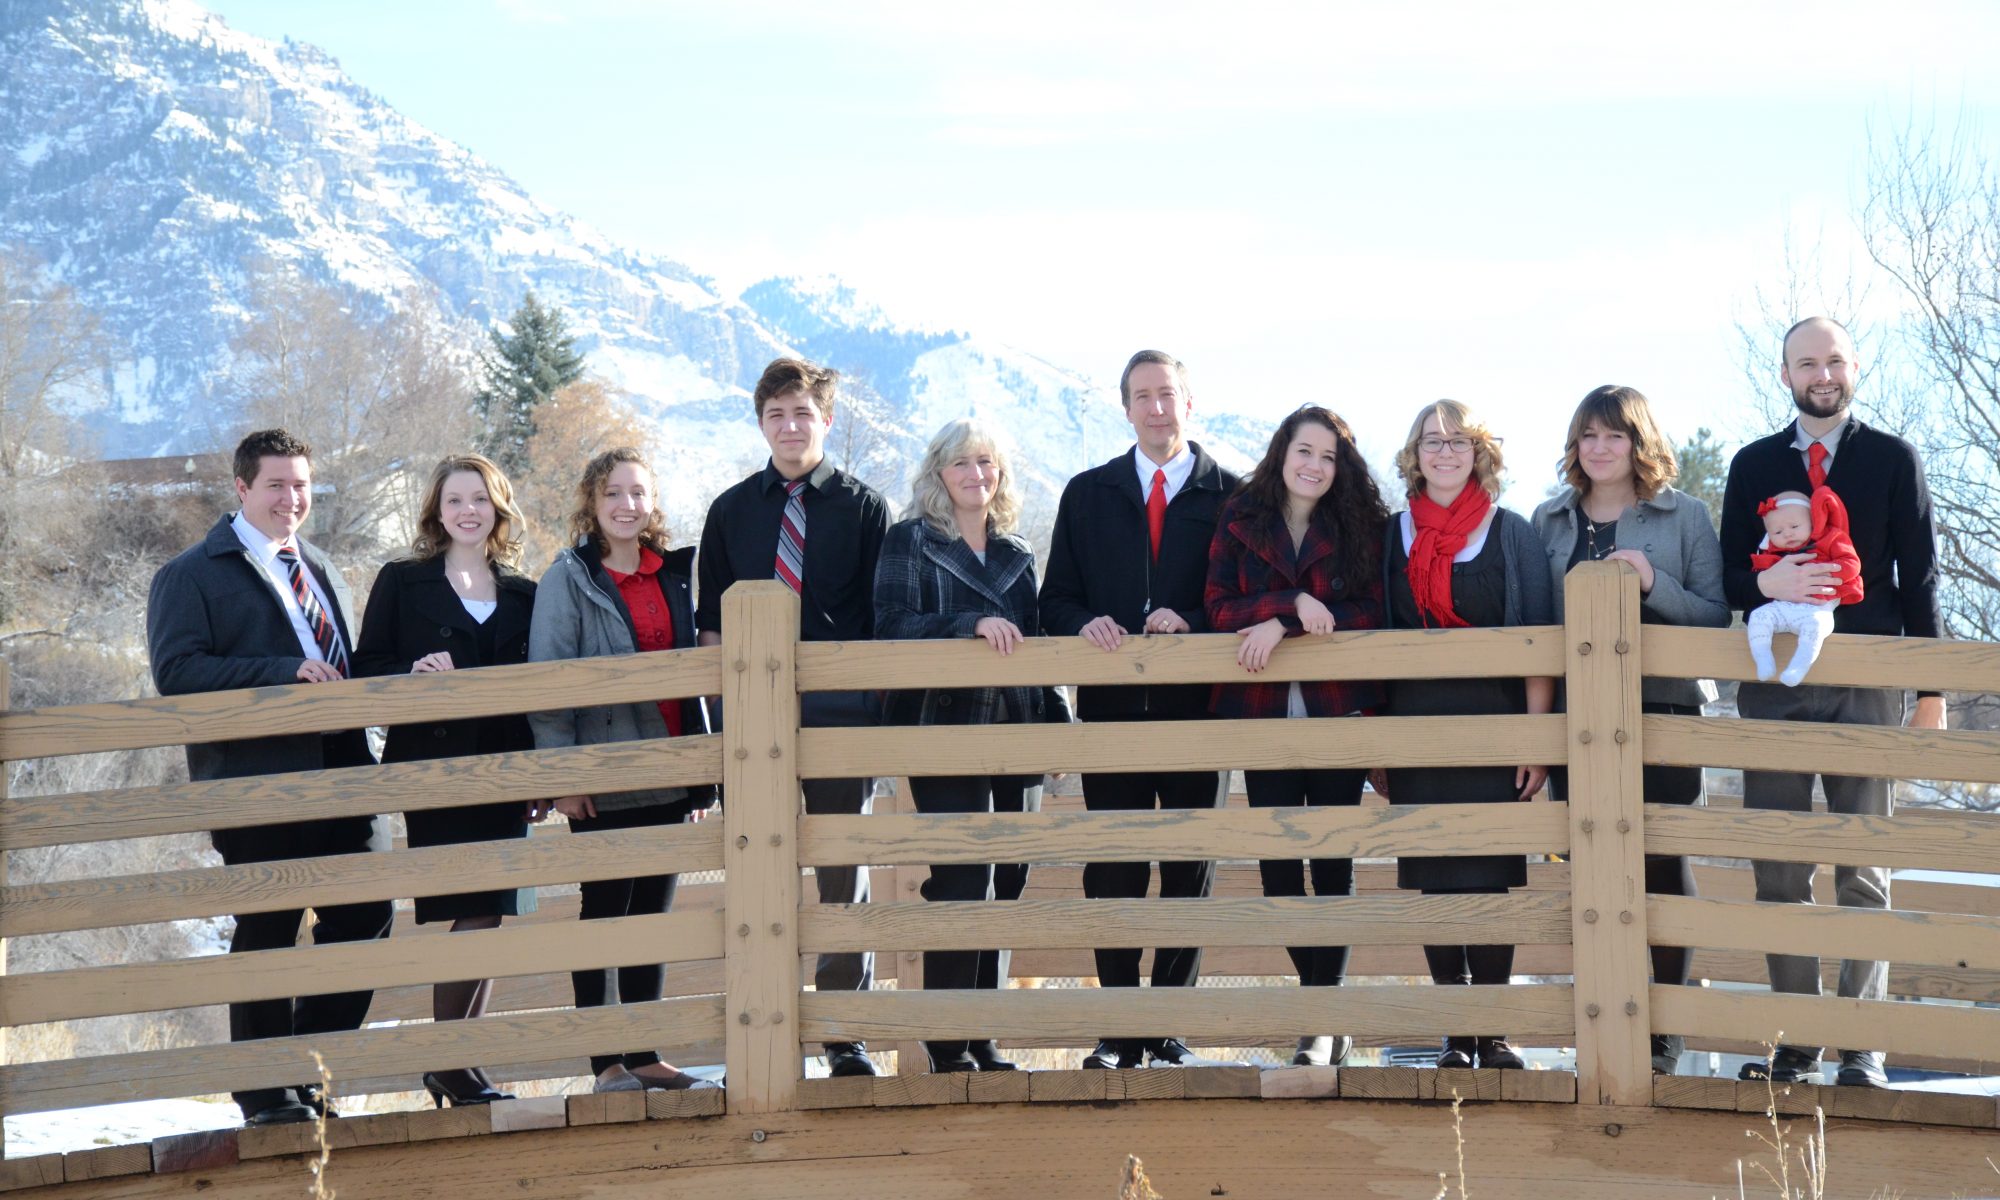
We’ve always wanted to build a pavilion in our yard. We reserved a place in the front right next to our garden. When Rachel decided to get married in 2014 we thought it was the perfect time to build the pavilion for her outdoor wedding in August. Well, that was the plan anyway. Rachel and Sawyer recently celebrated their first anniversary and welcomed their first child. The pavilion is mostly finished, but still has a couple of finishing touches. Here is my saga in sordid detail…
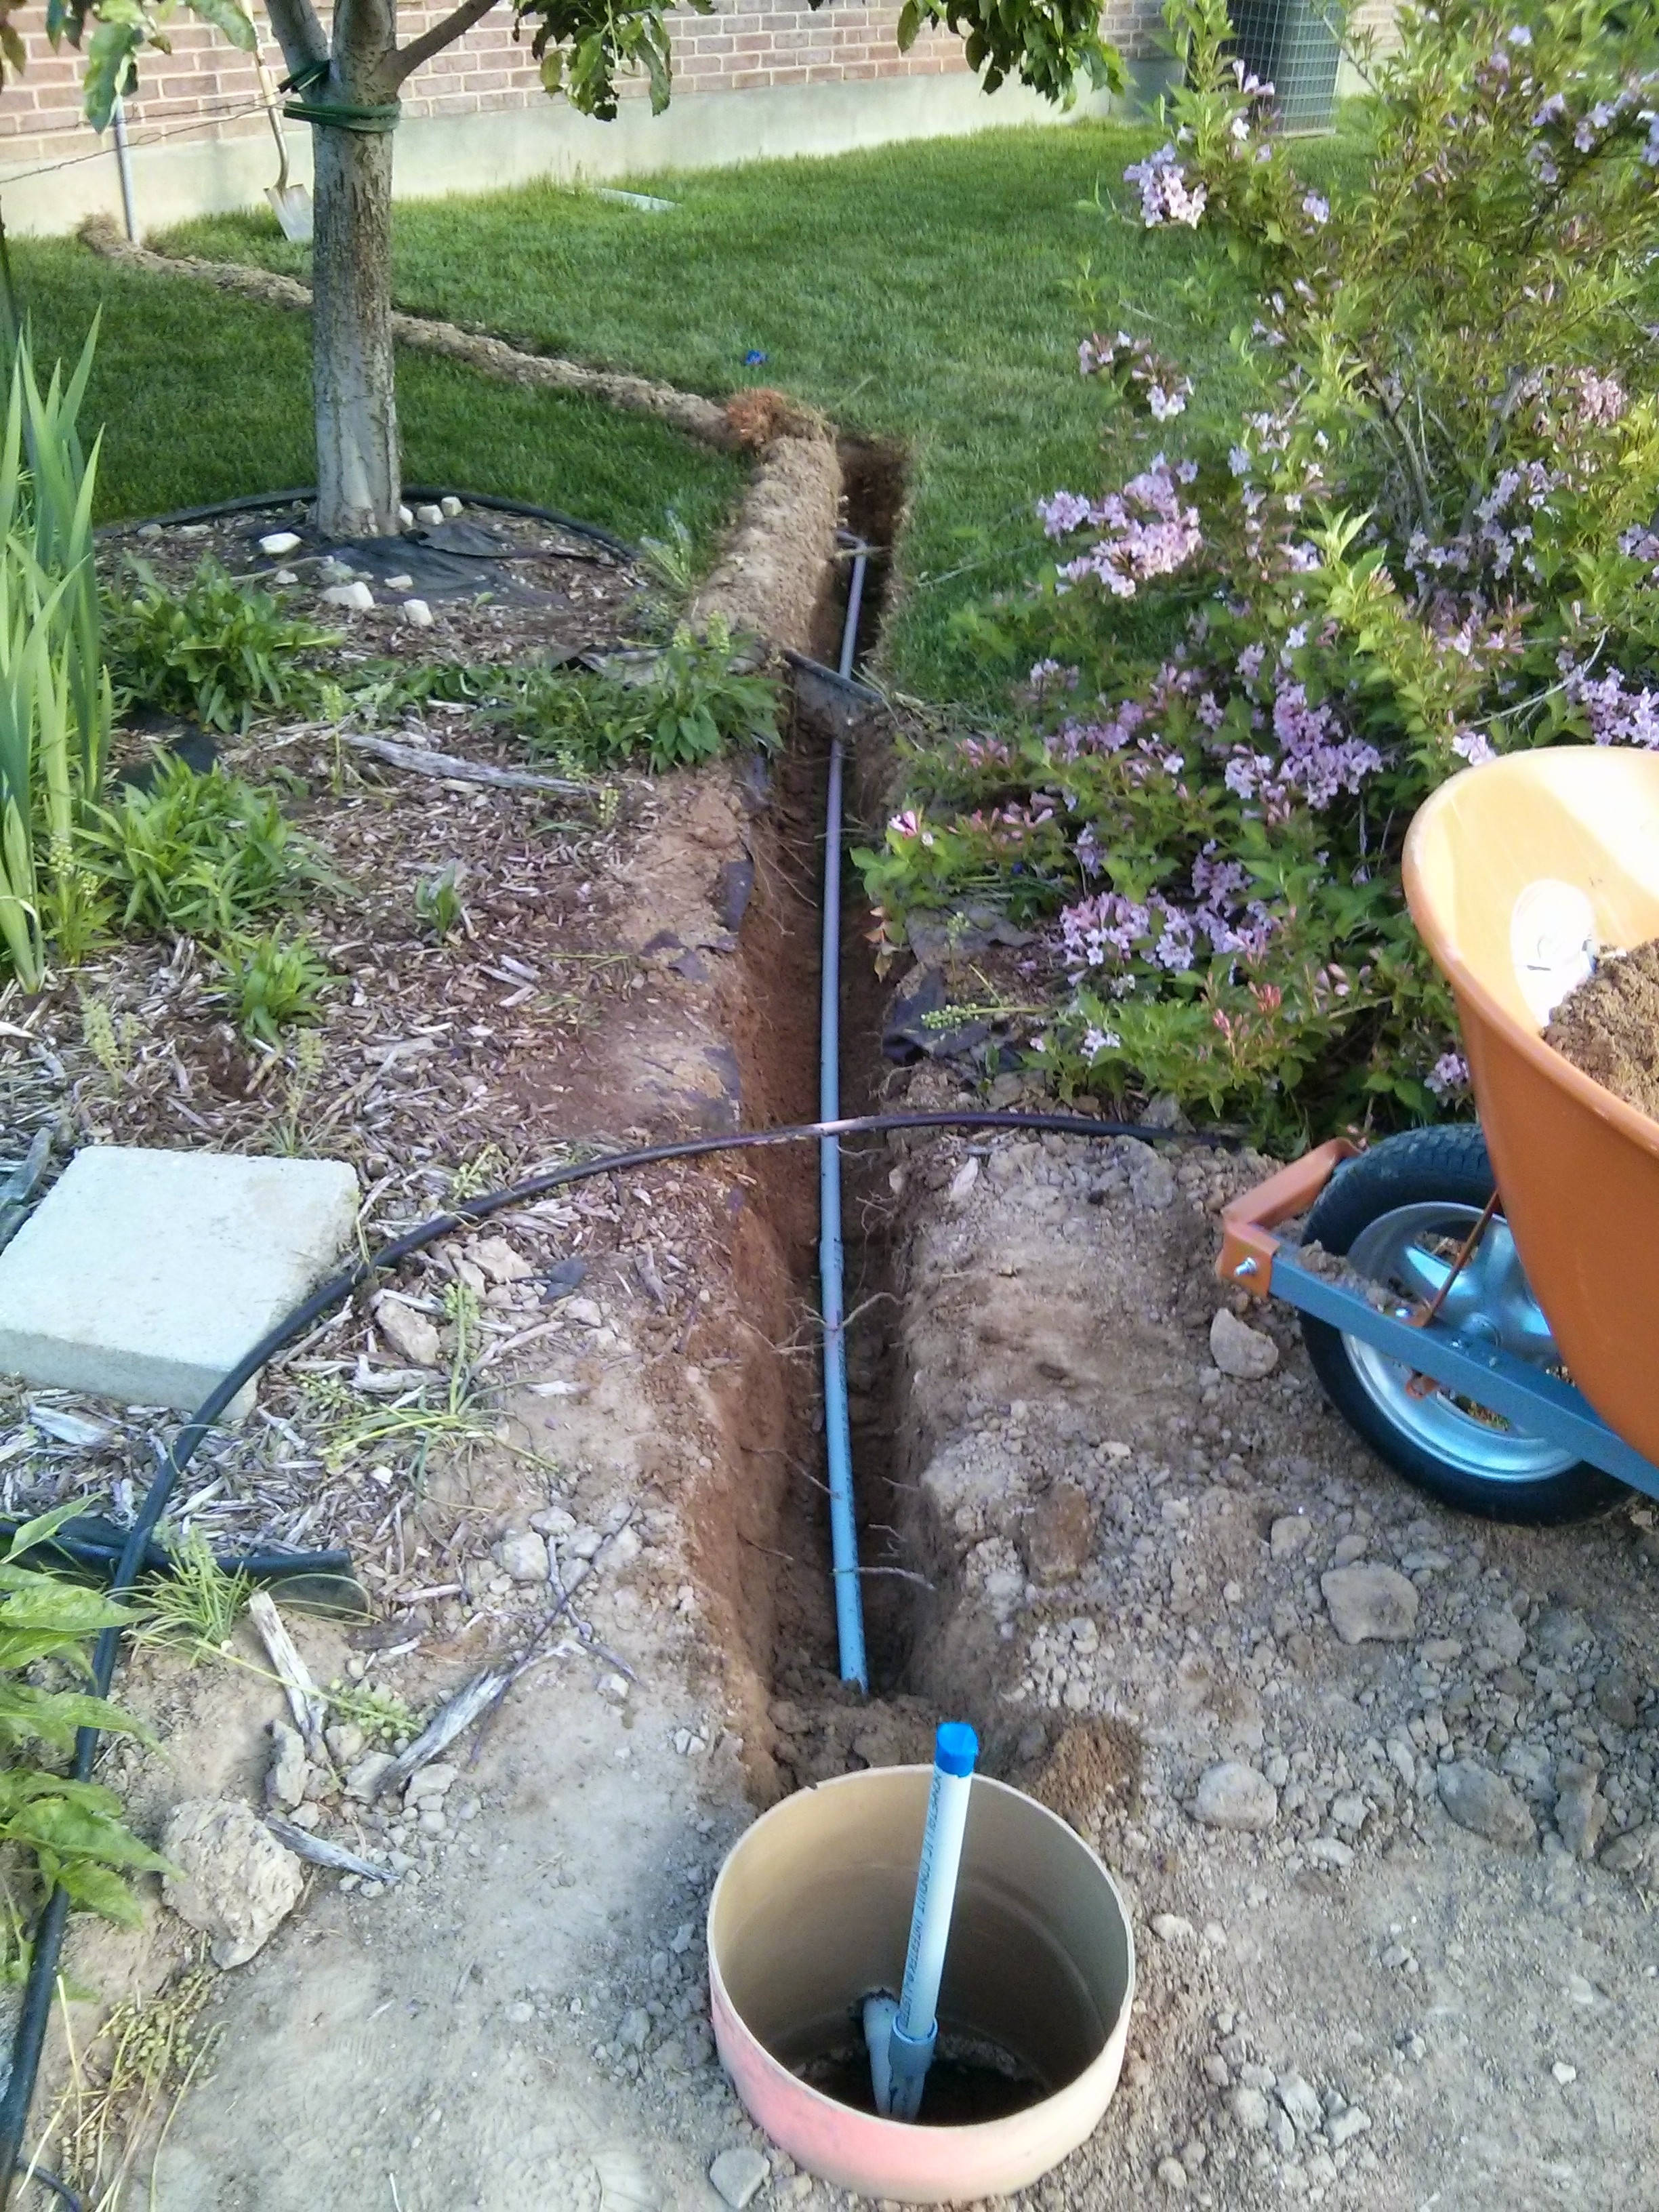
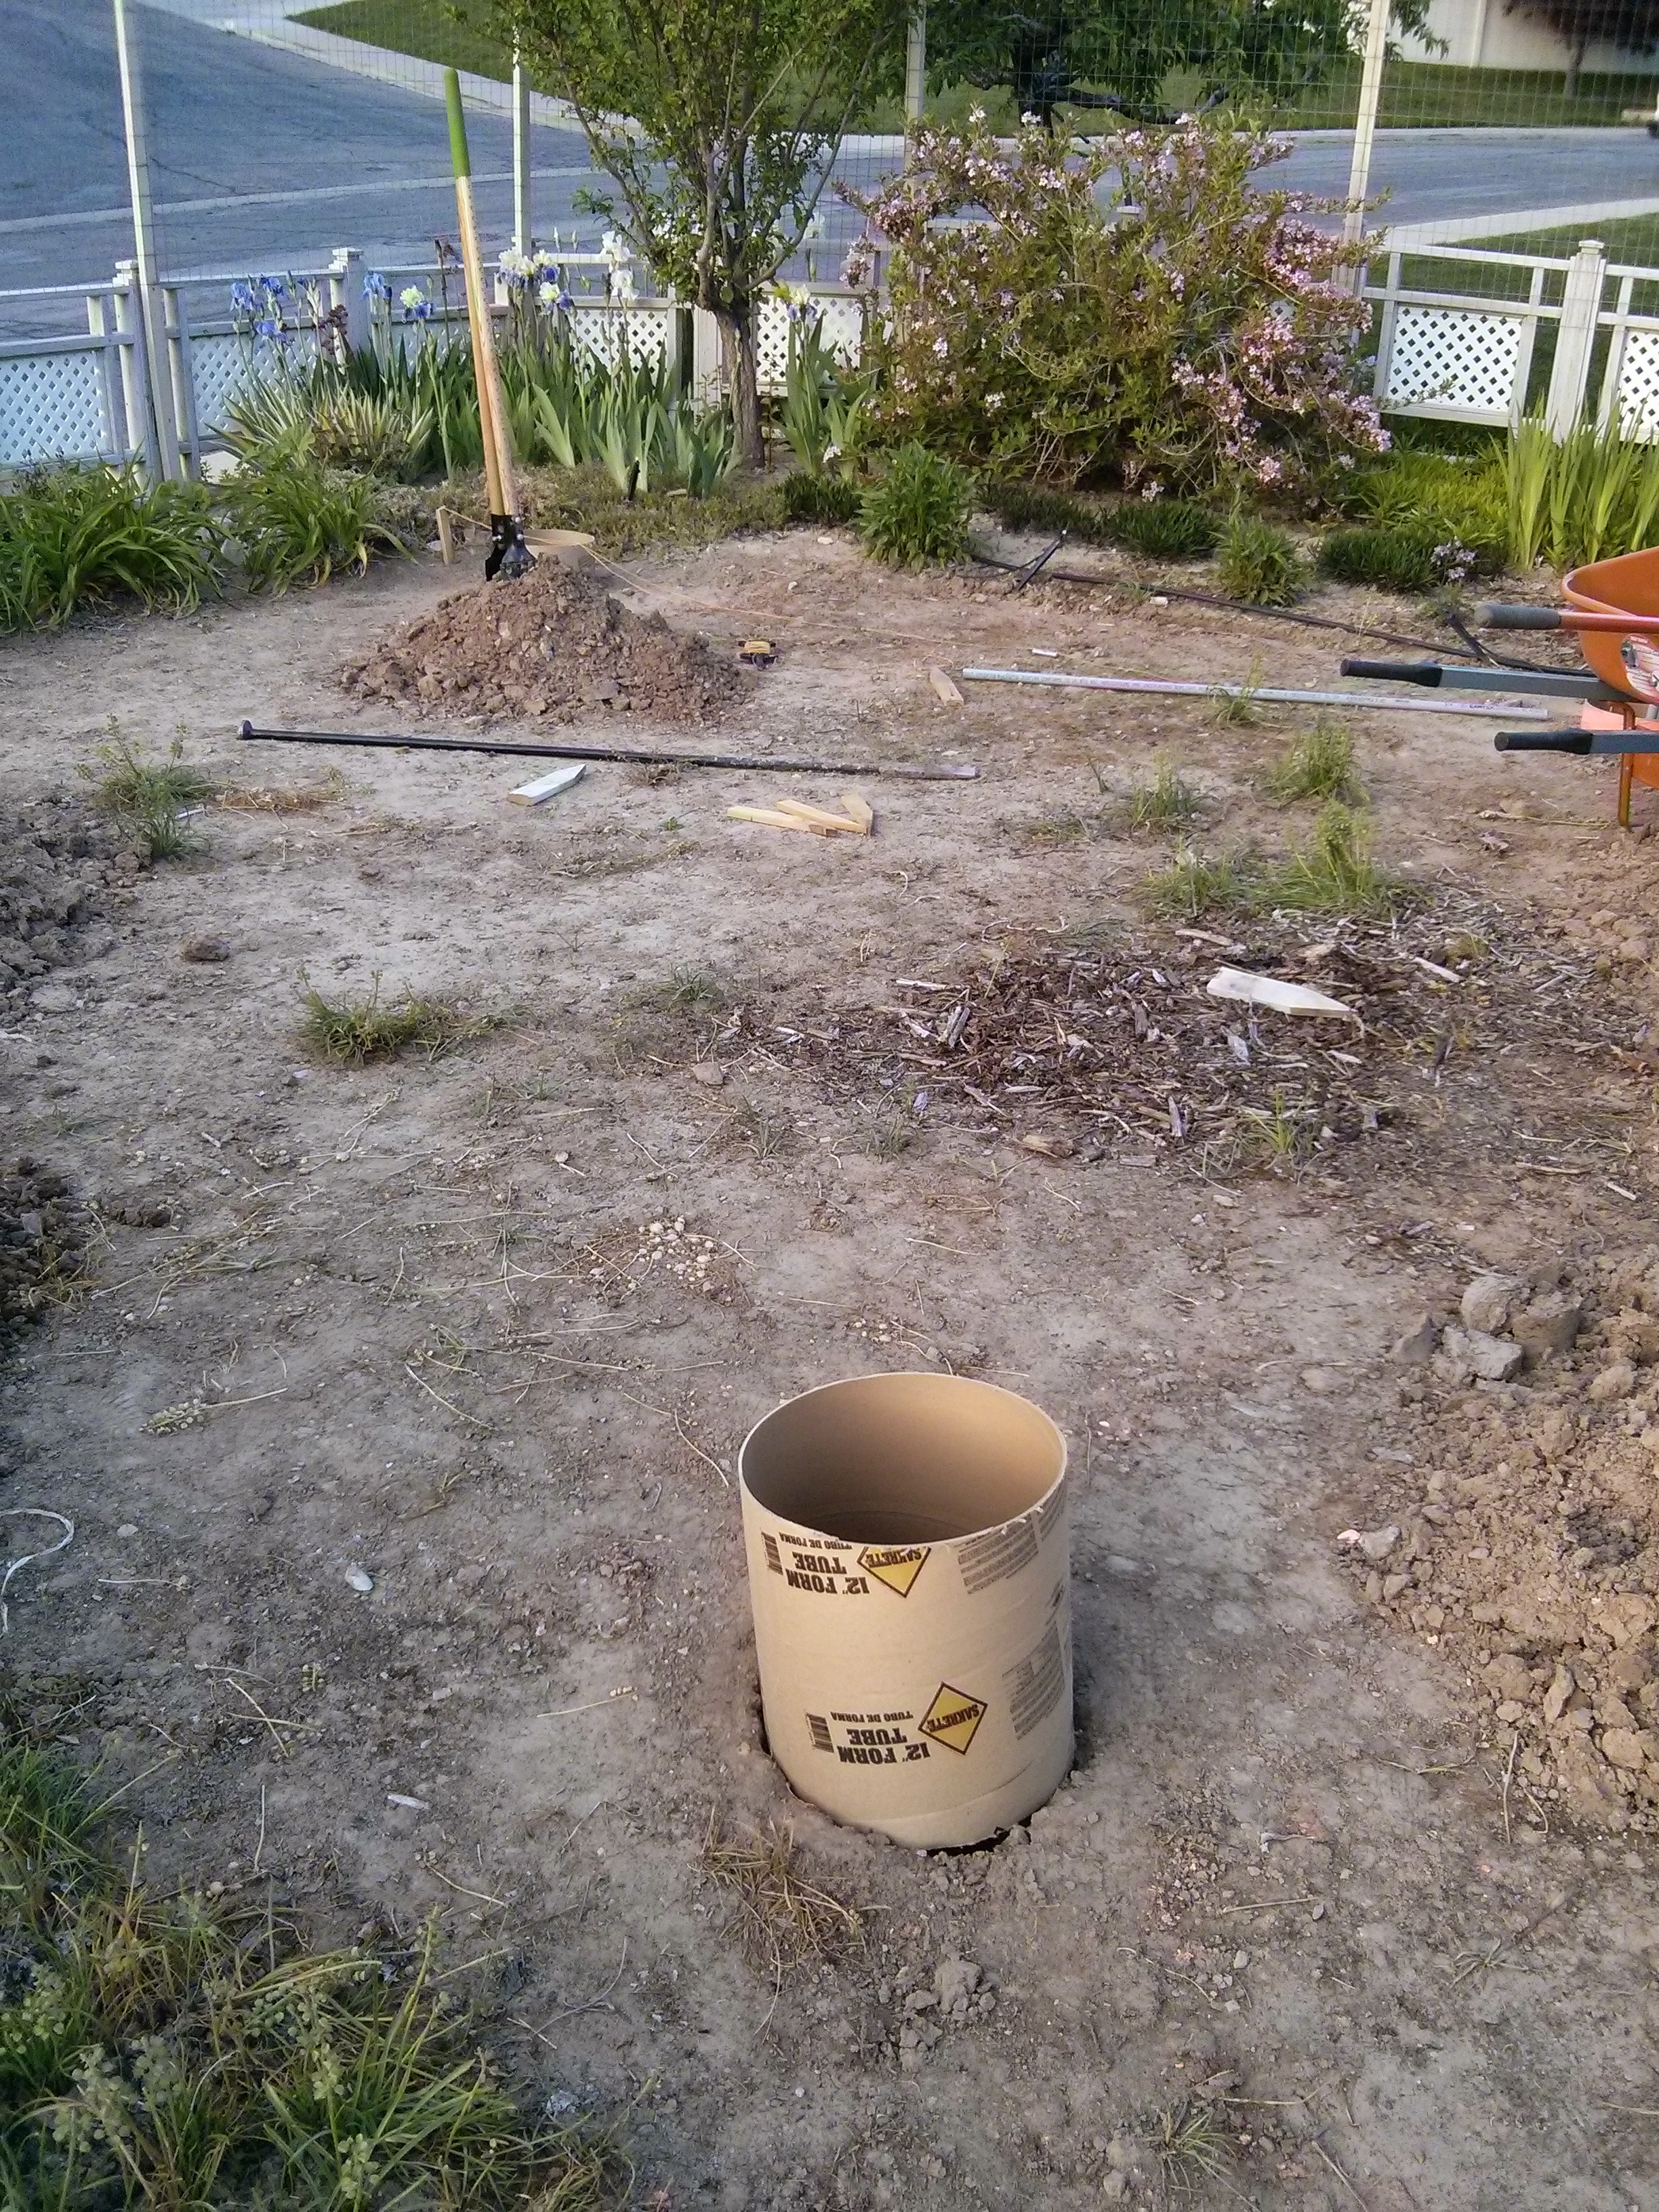
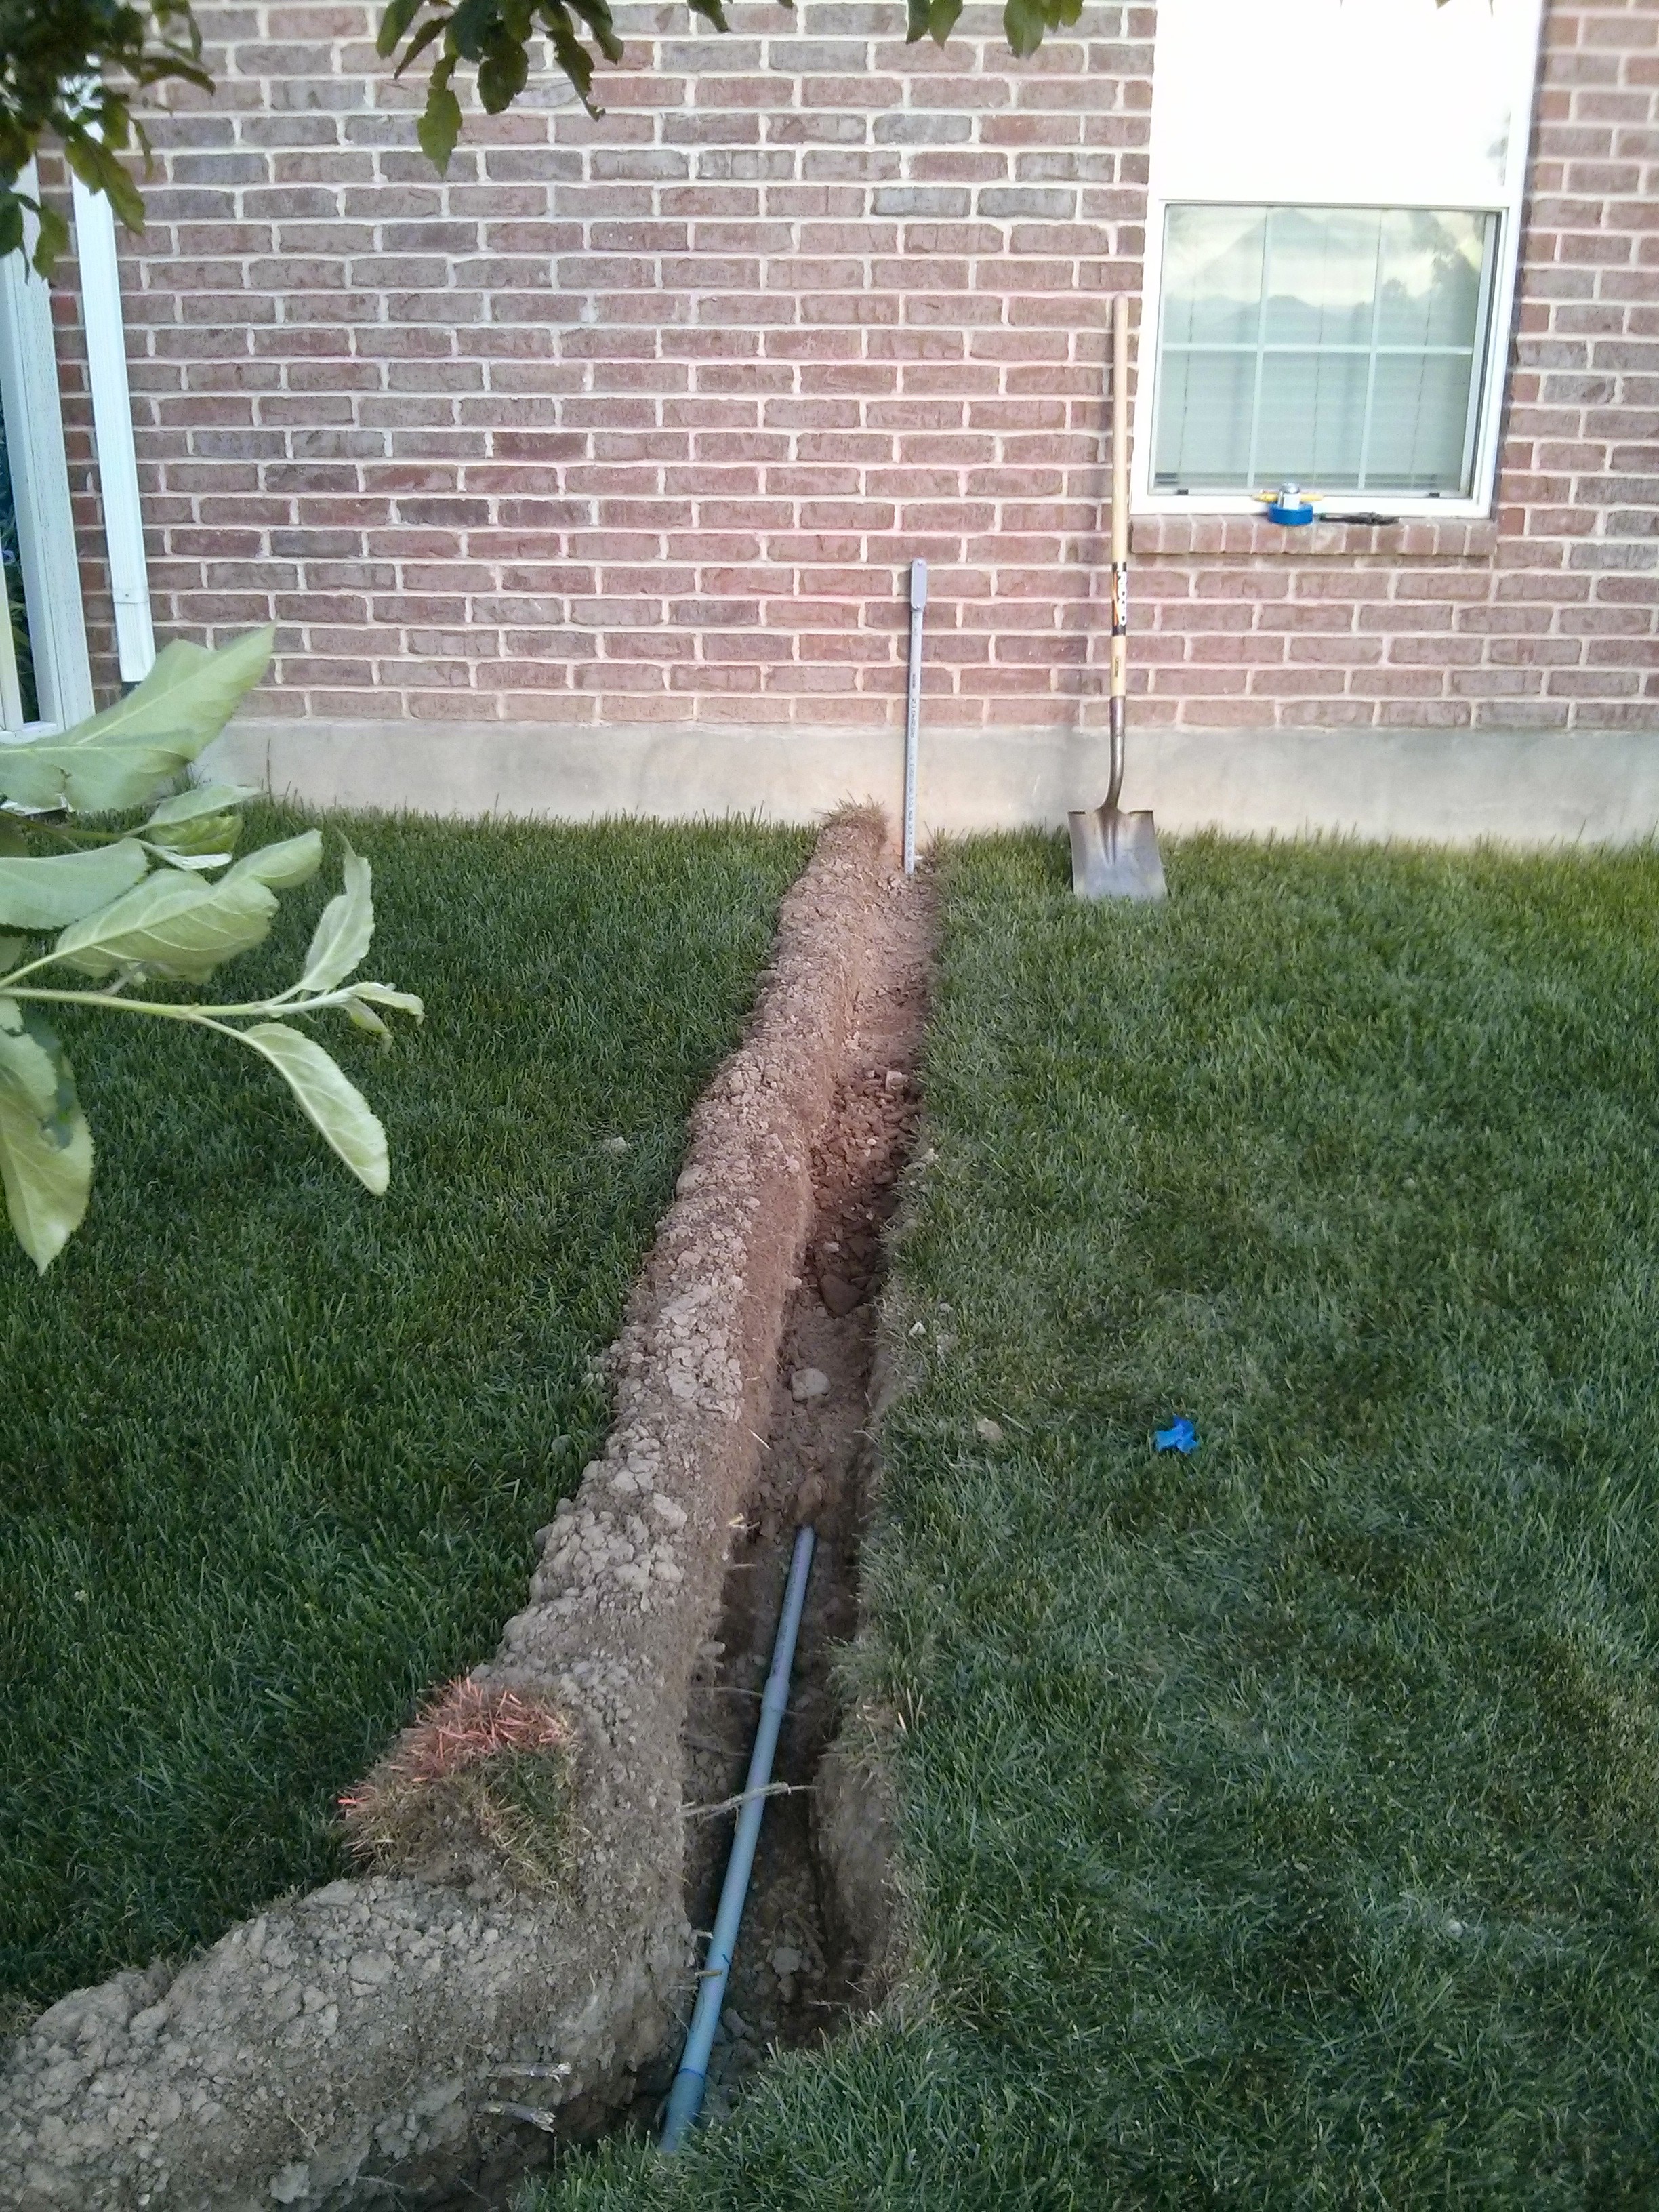
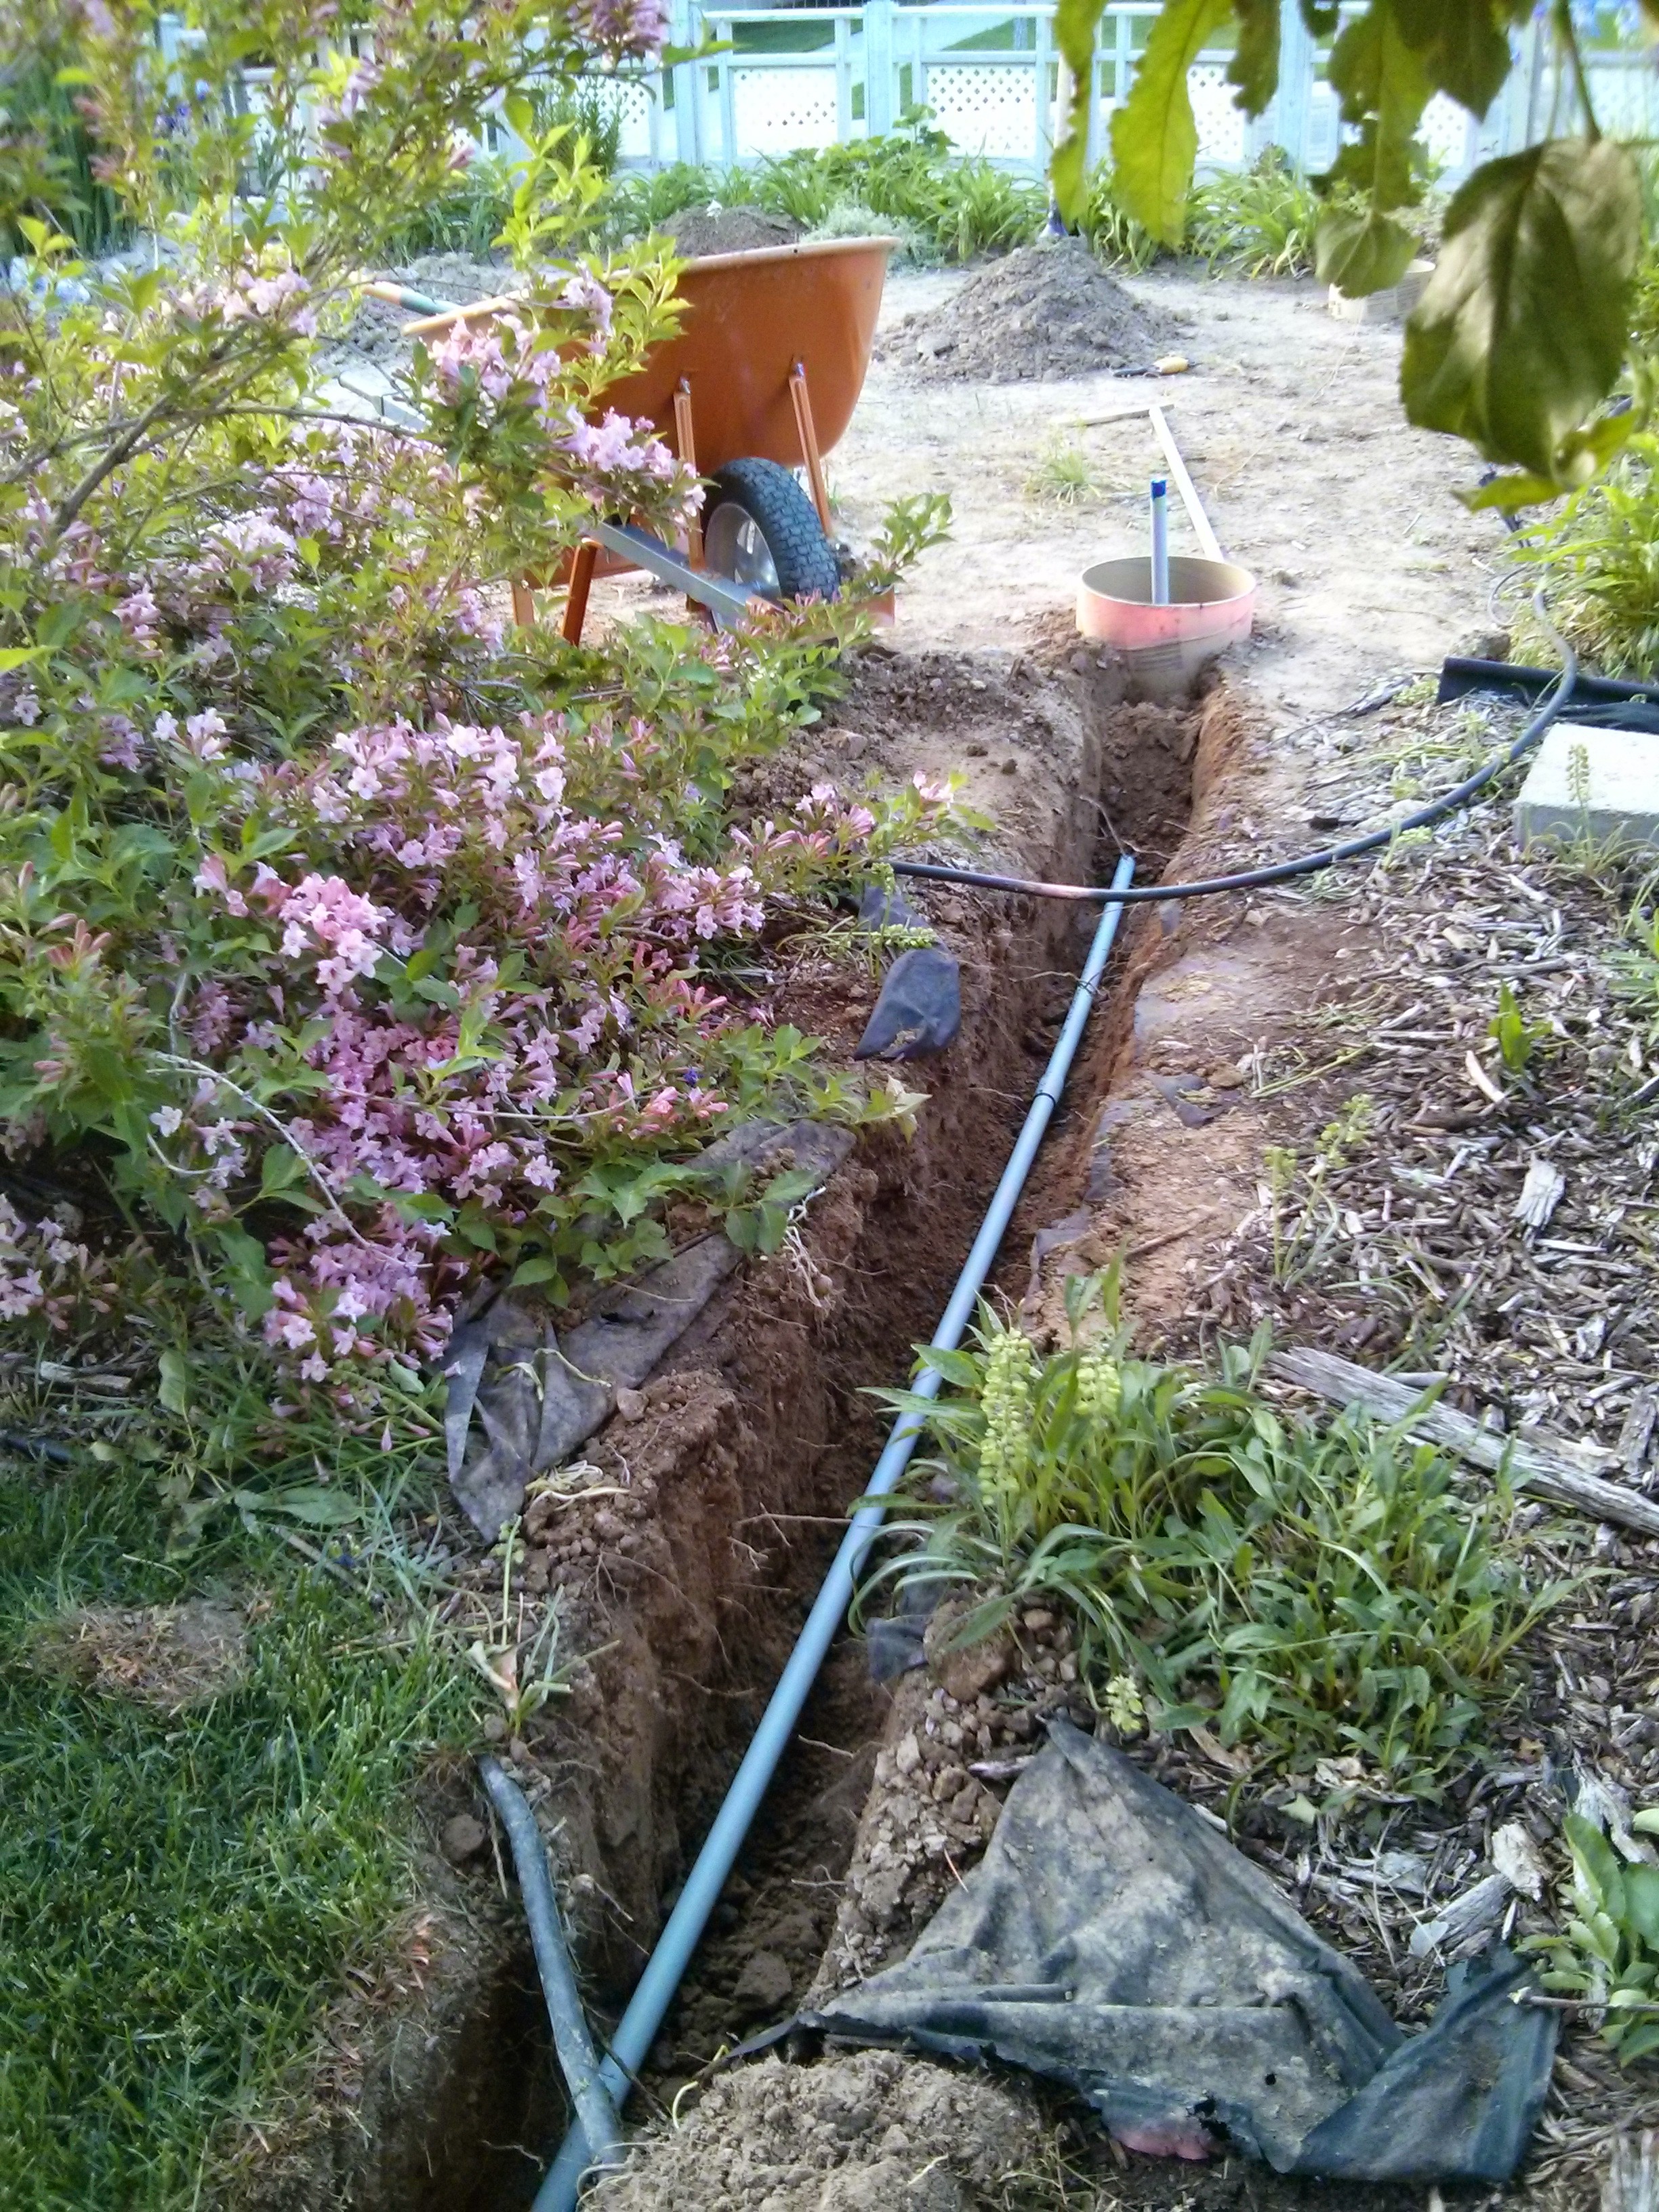
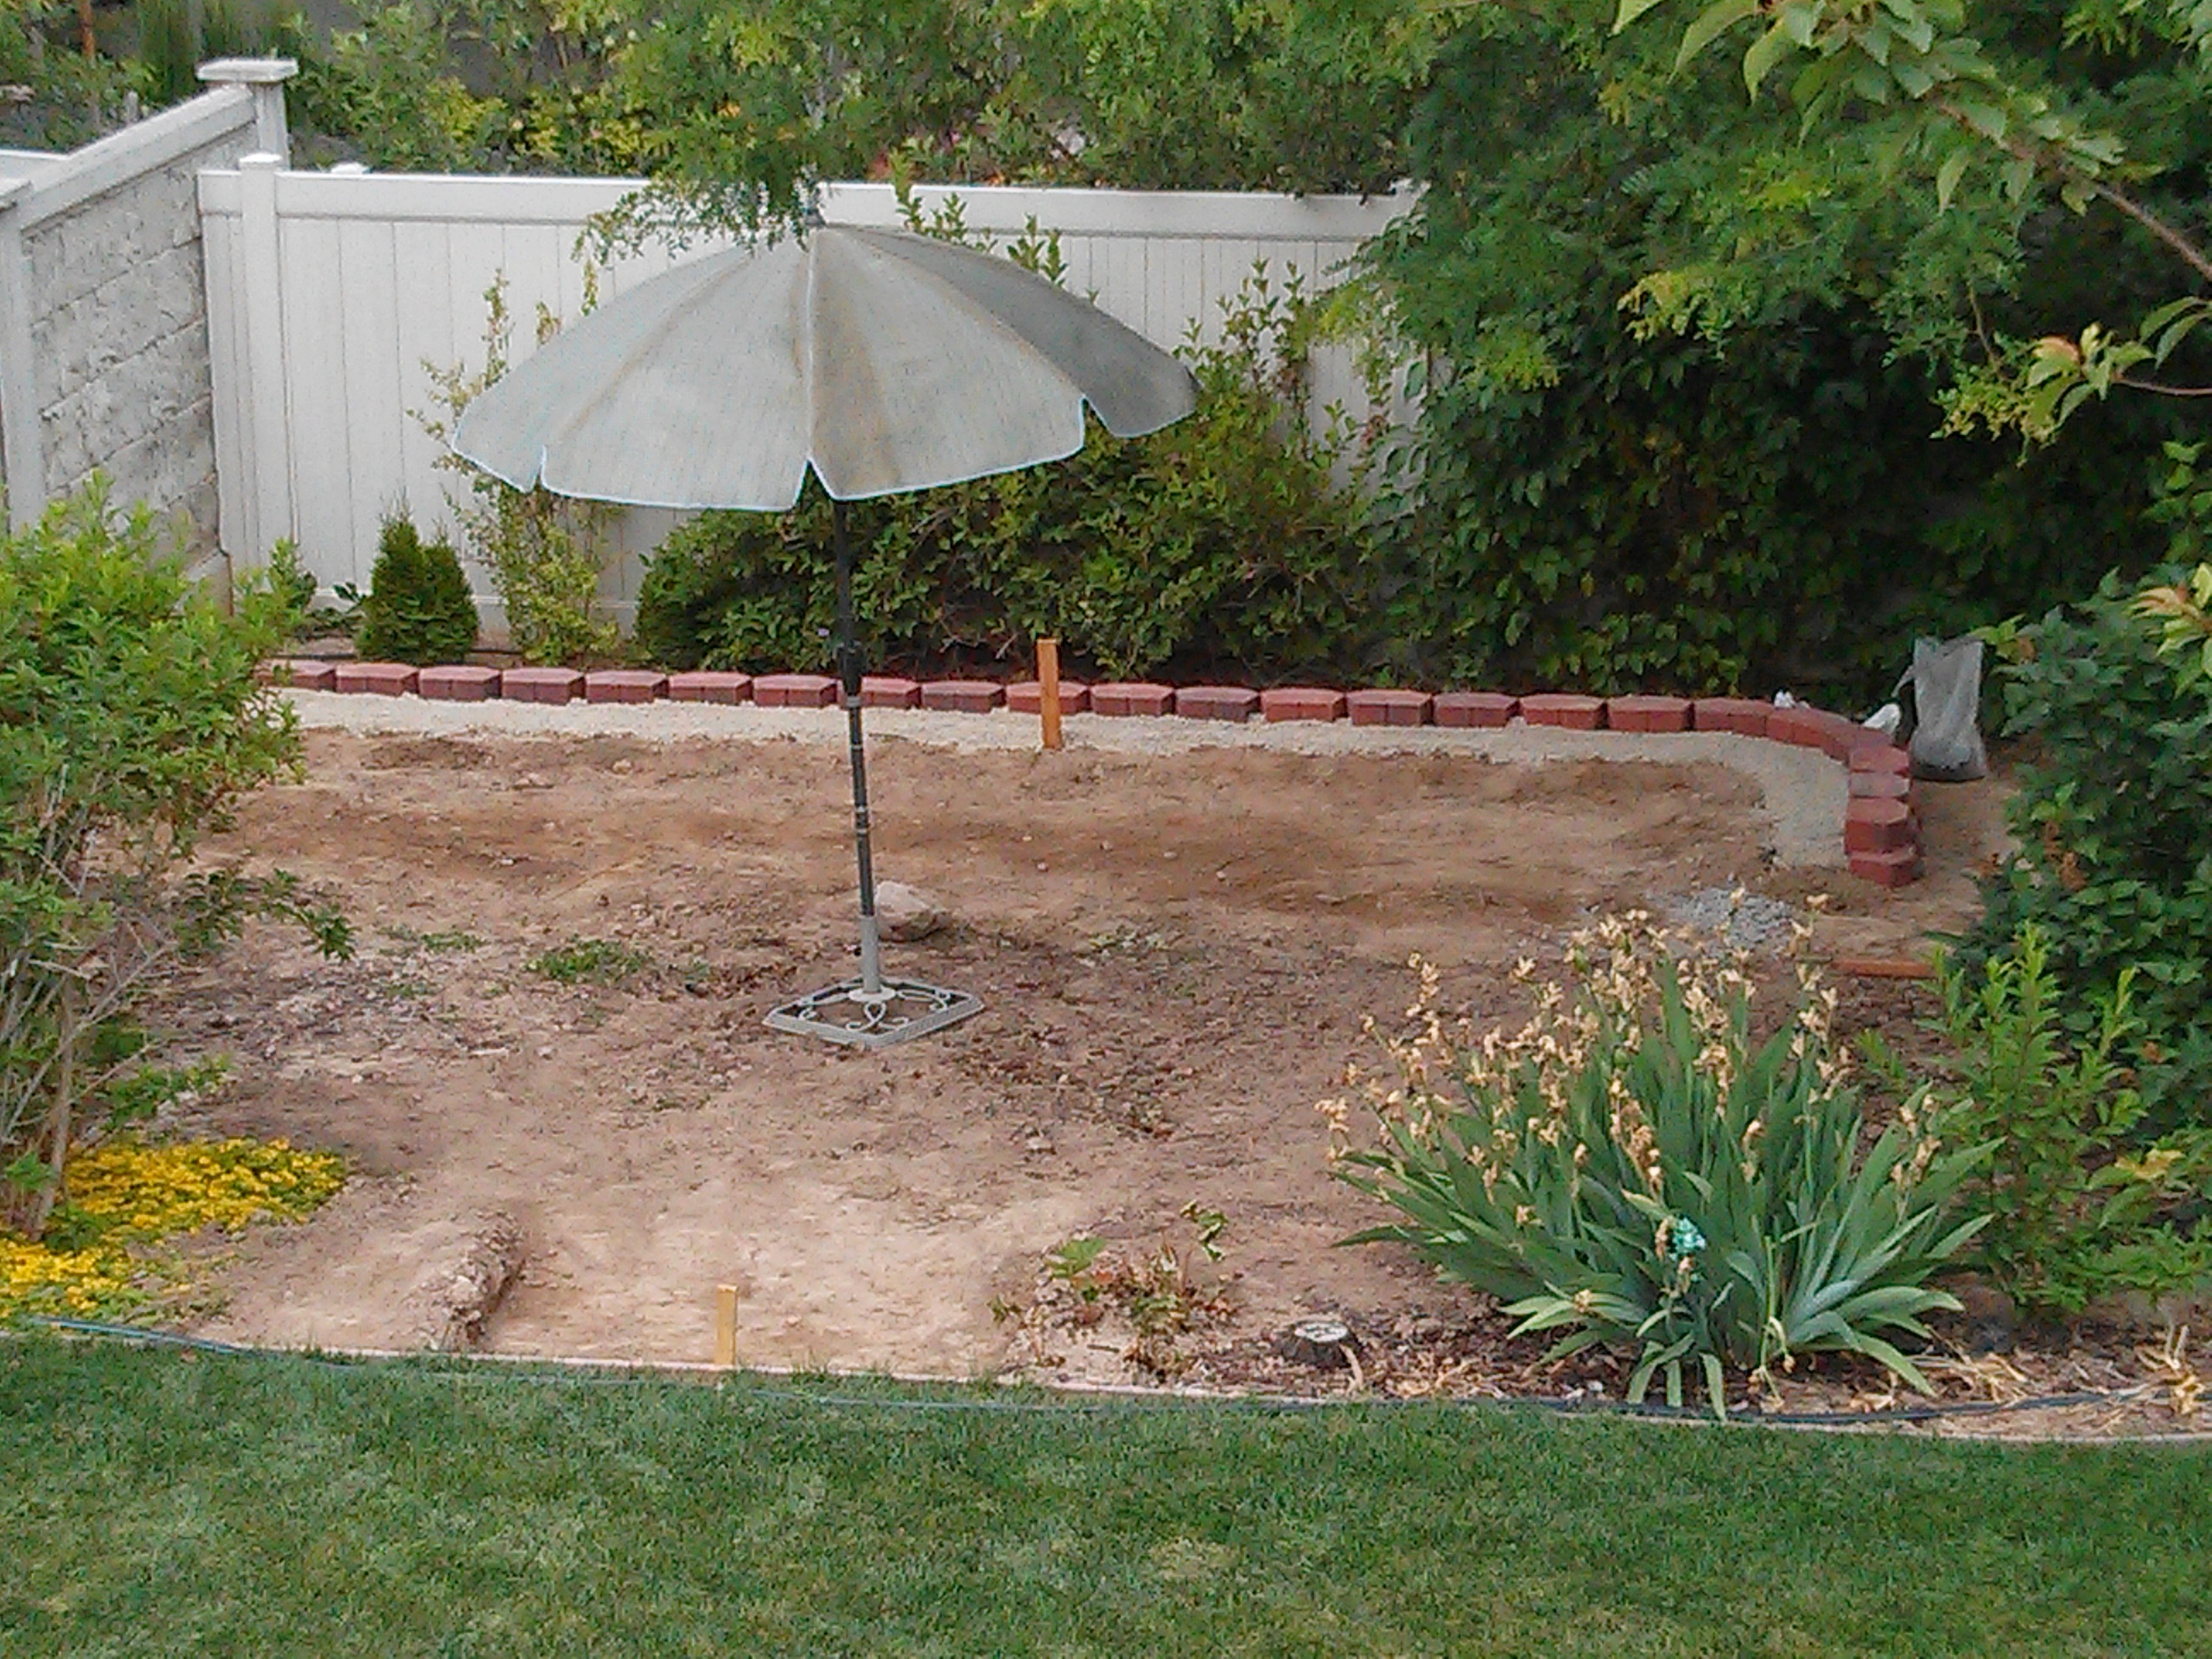
We started work on the pavilion in May of 2014. I applied for a permit and started digging holes for the footings in the front of the property where we always planned to have it. I dug a trench from the house and ran conduit over so that we could have electricity. Once all the footings were poured, we finally heard back from the city. They told me that we don’t actually need a permit because the pavilion was not large enough to warrant one. However, they also told me that I was not allowed to build so close to the property line. Since we live on a corner lot, the part of the property that runs along the street is considered our front yard. The city requires a 30 foot setback.
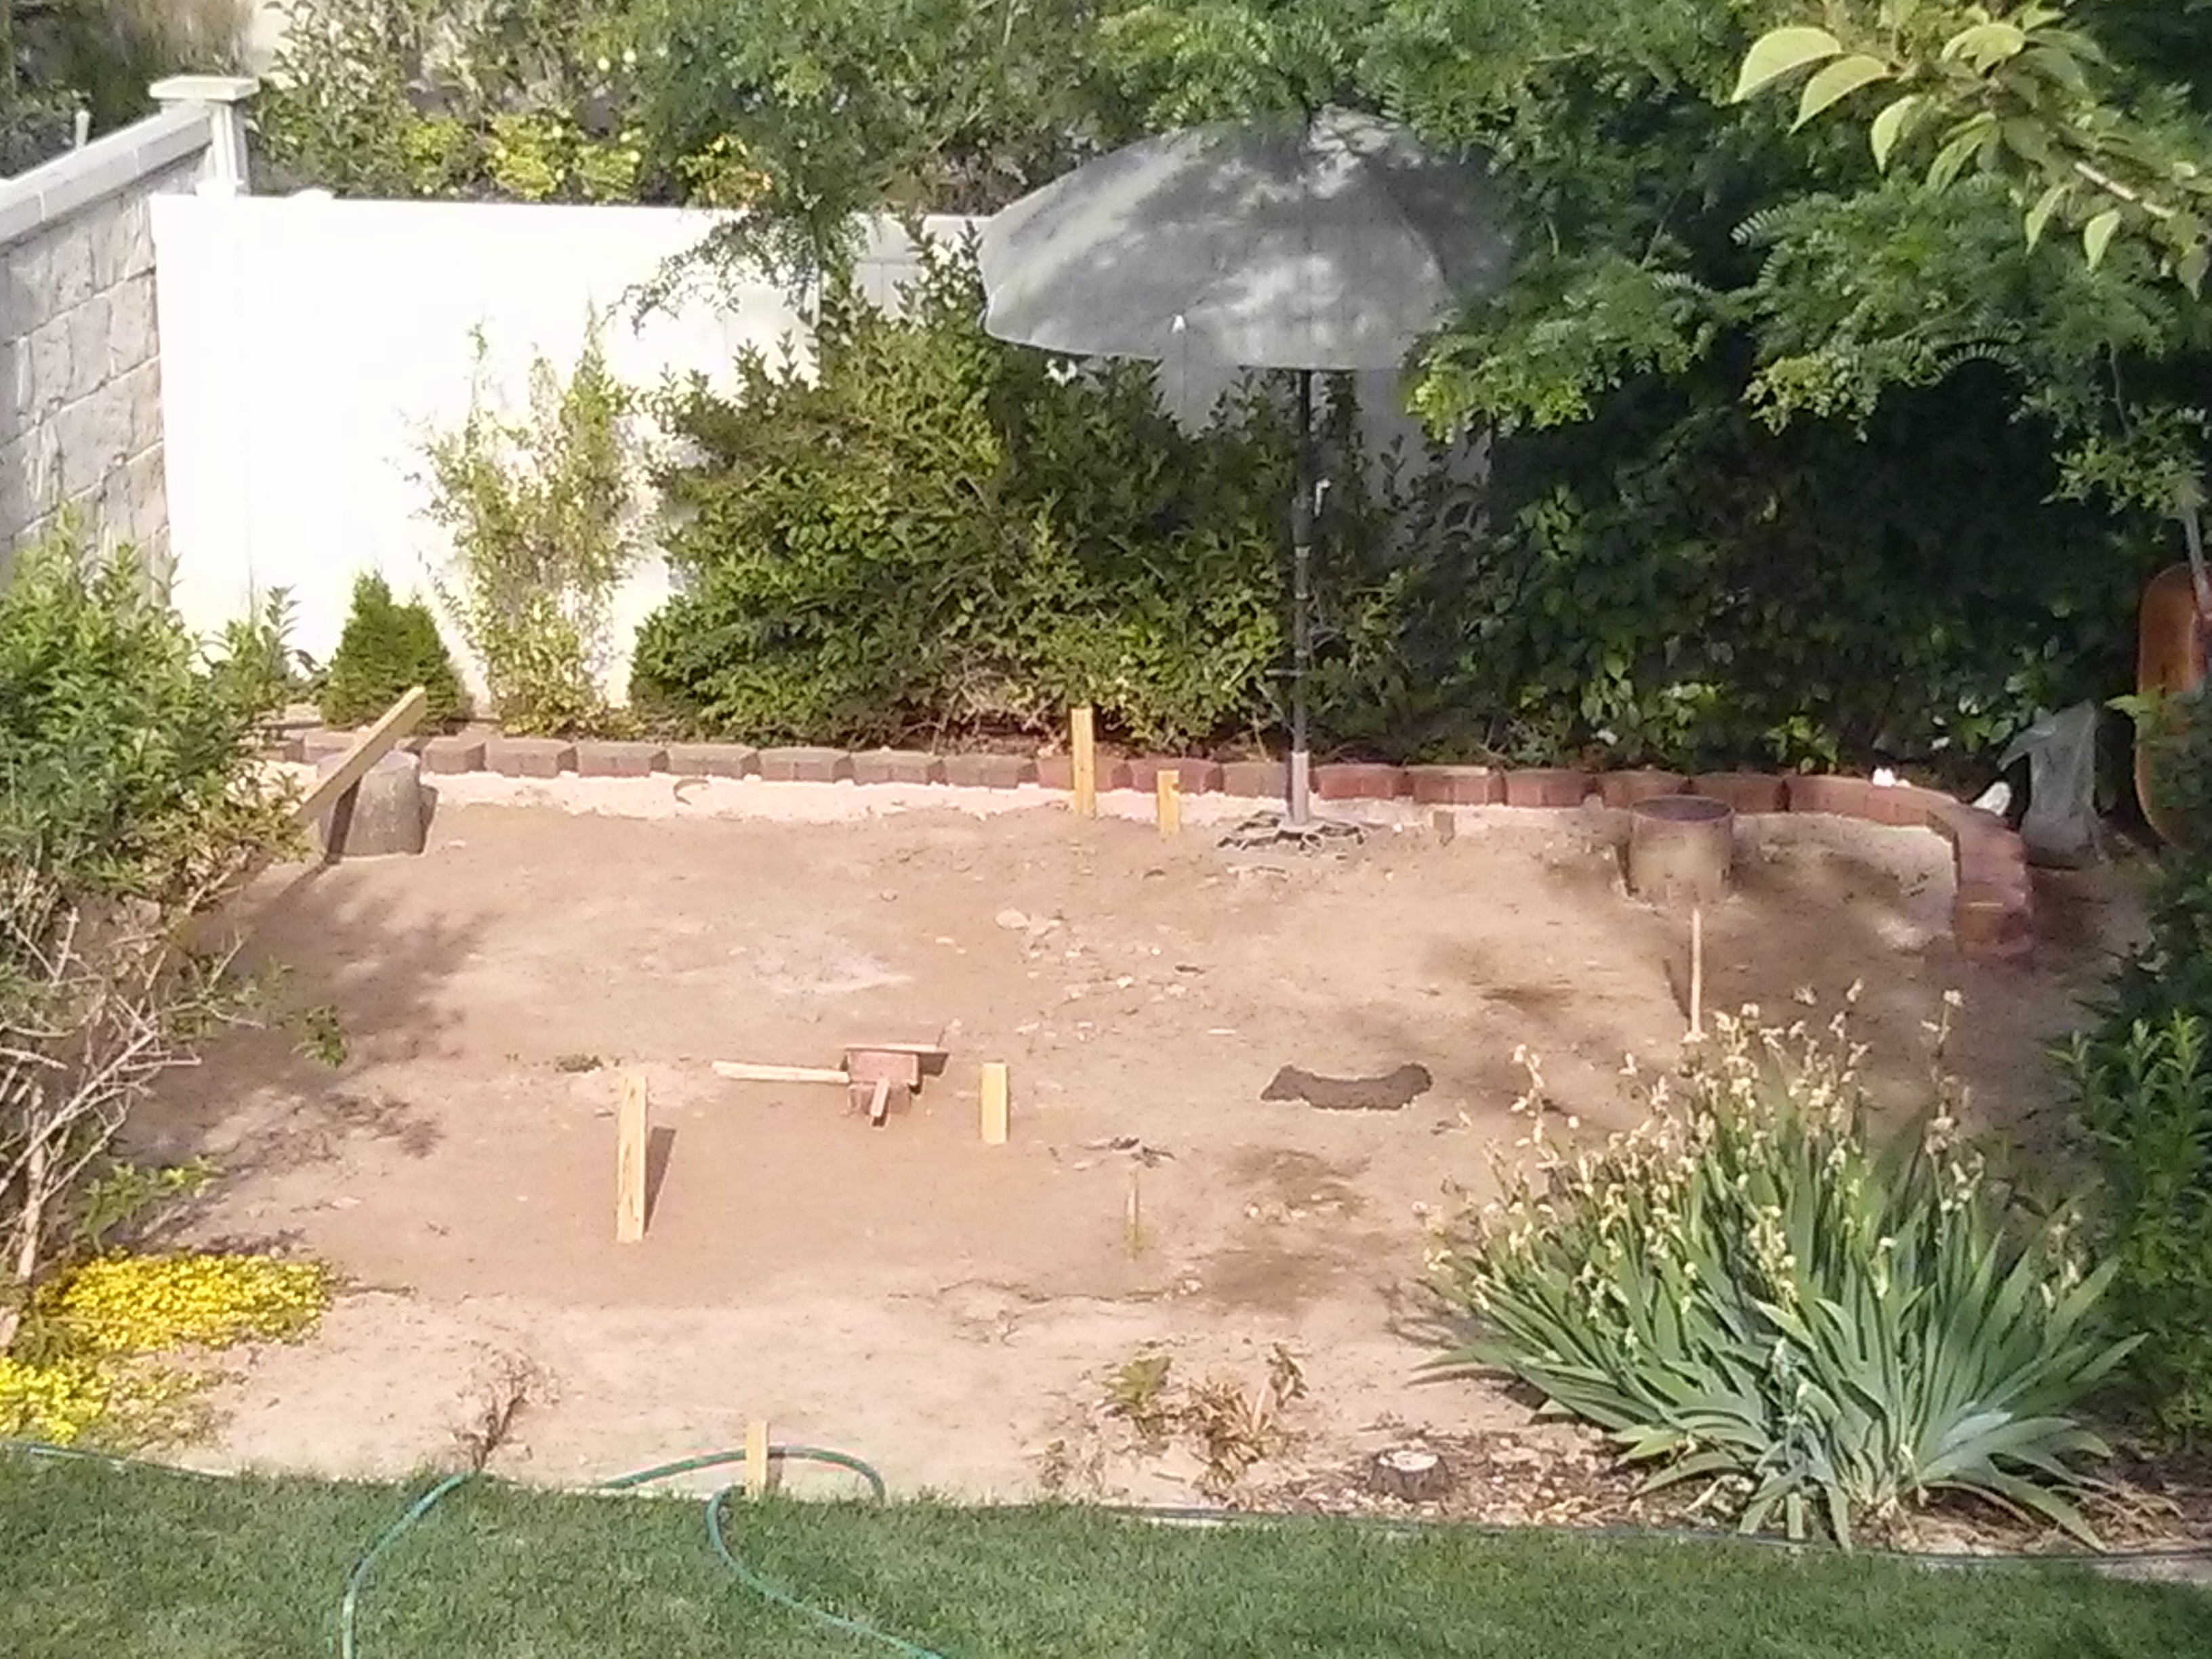
So we tore out the footings and put in a grass area so it wouldn’t look terrible for the wedding…
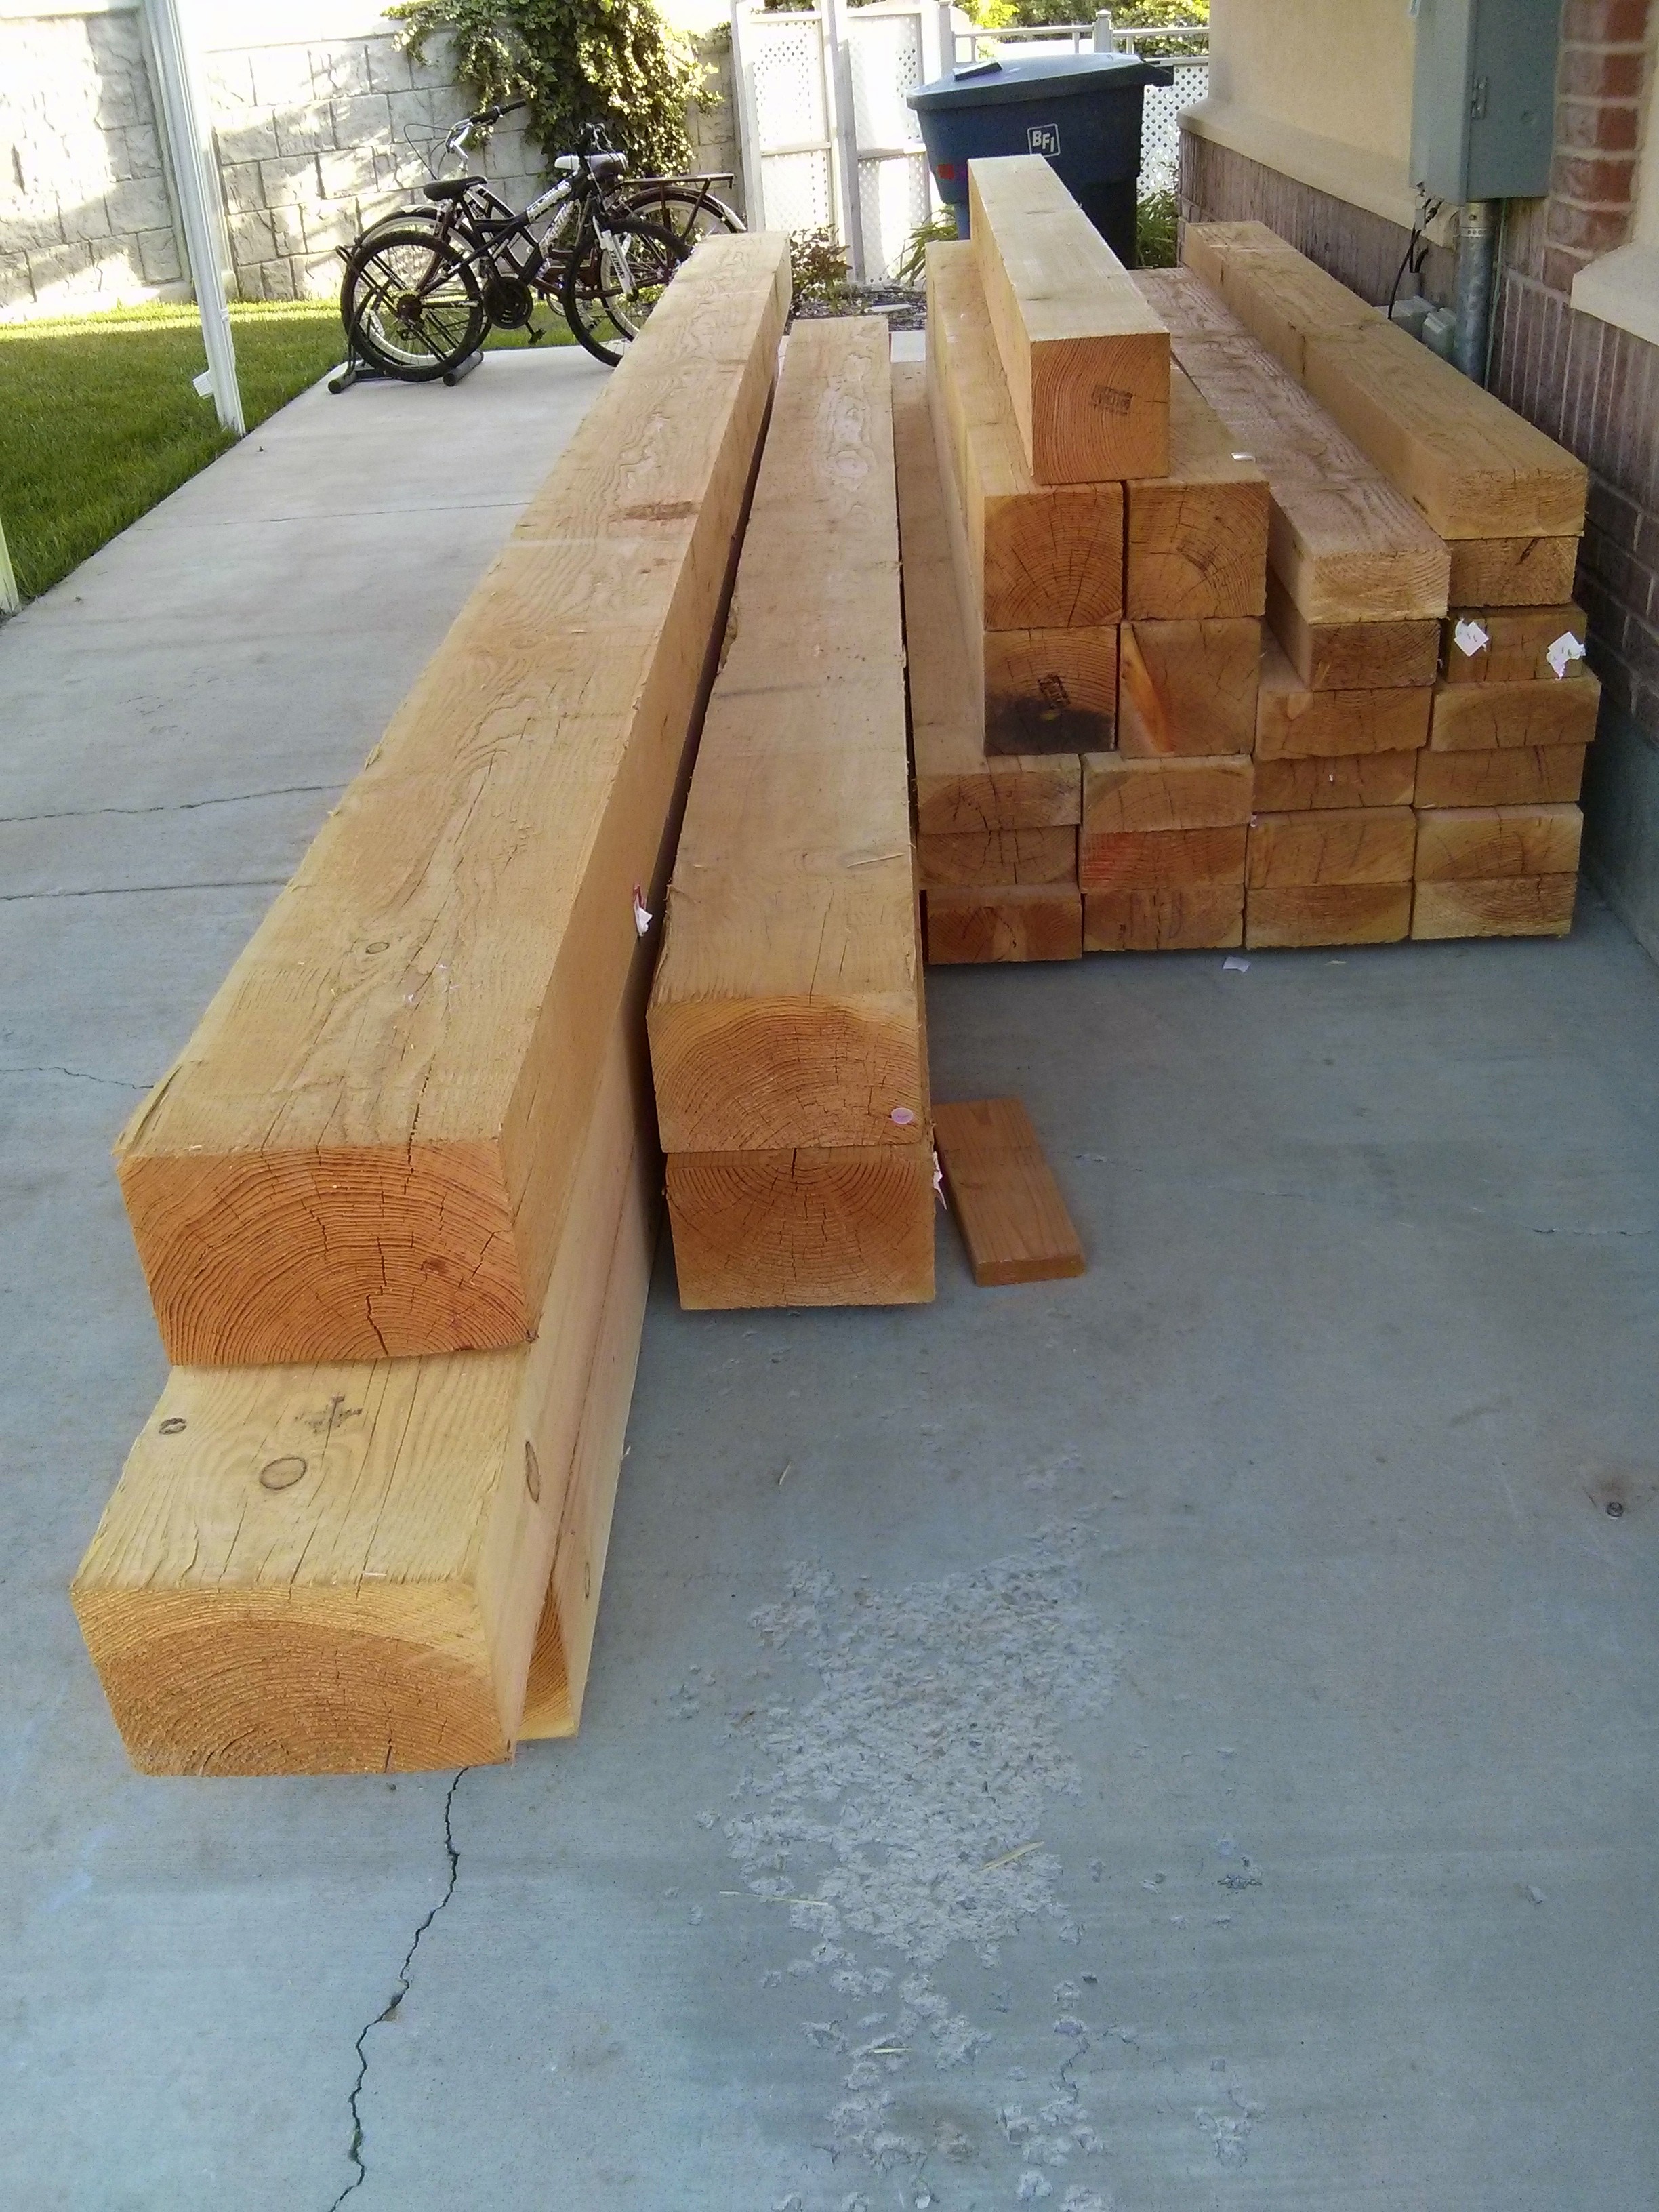
Here is all the lumber that I ordered to build the pavilion. We stored it under our carport on the side of the house so that it would not be in the way, but would be protected from the elements.
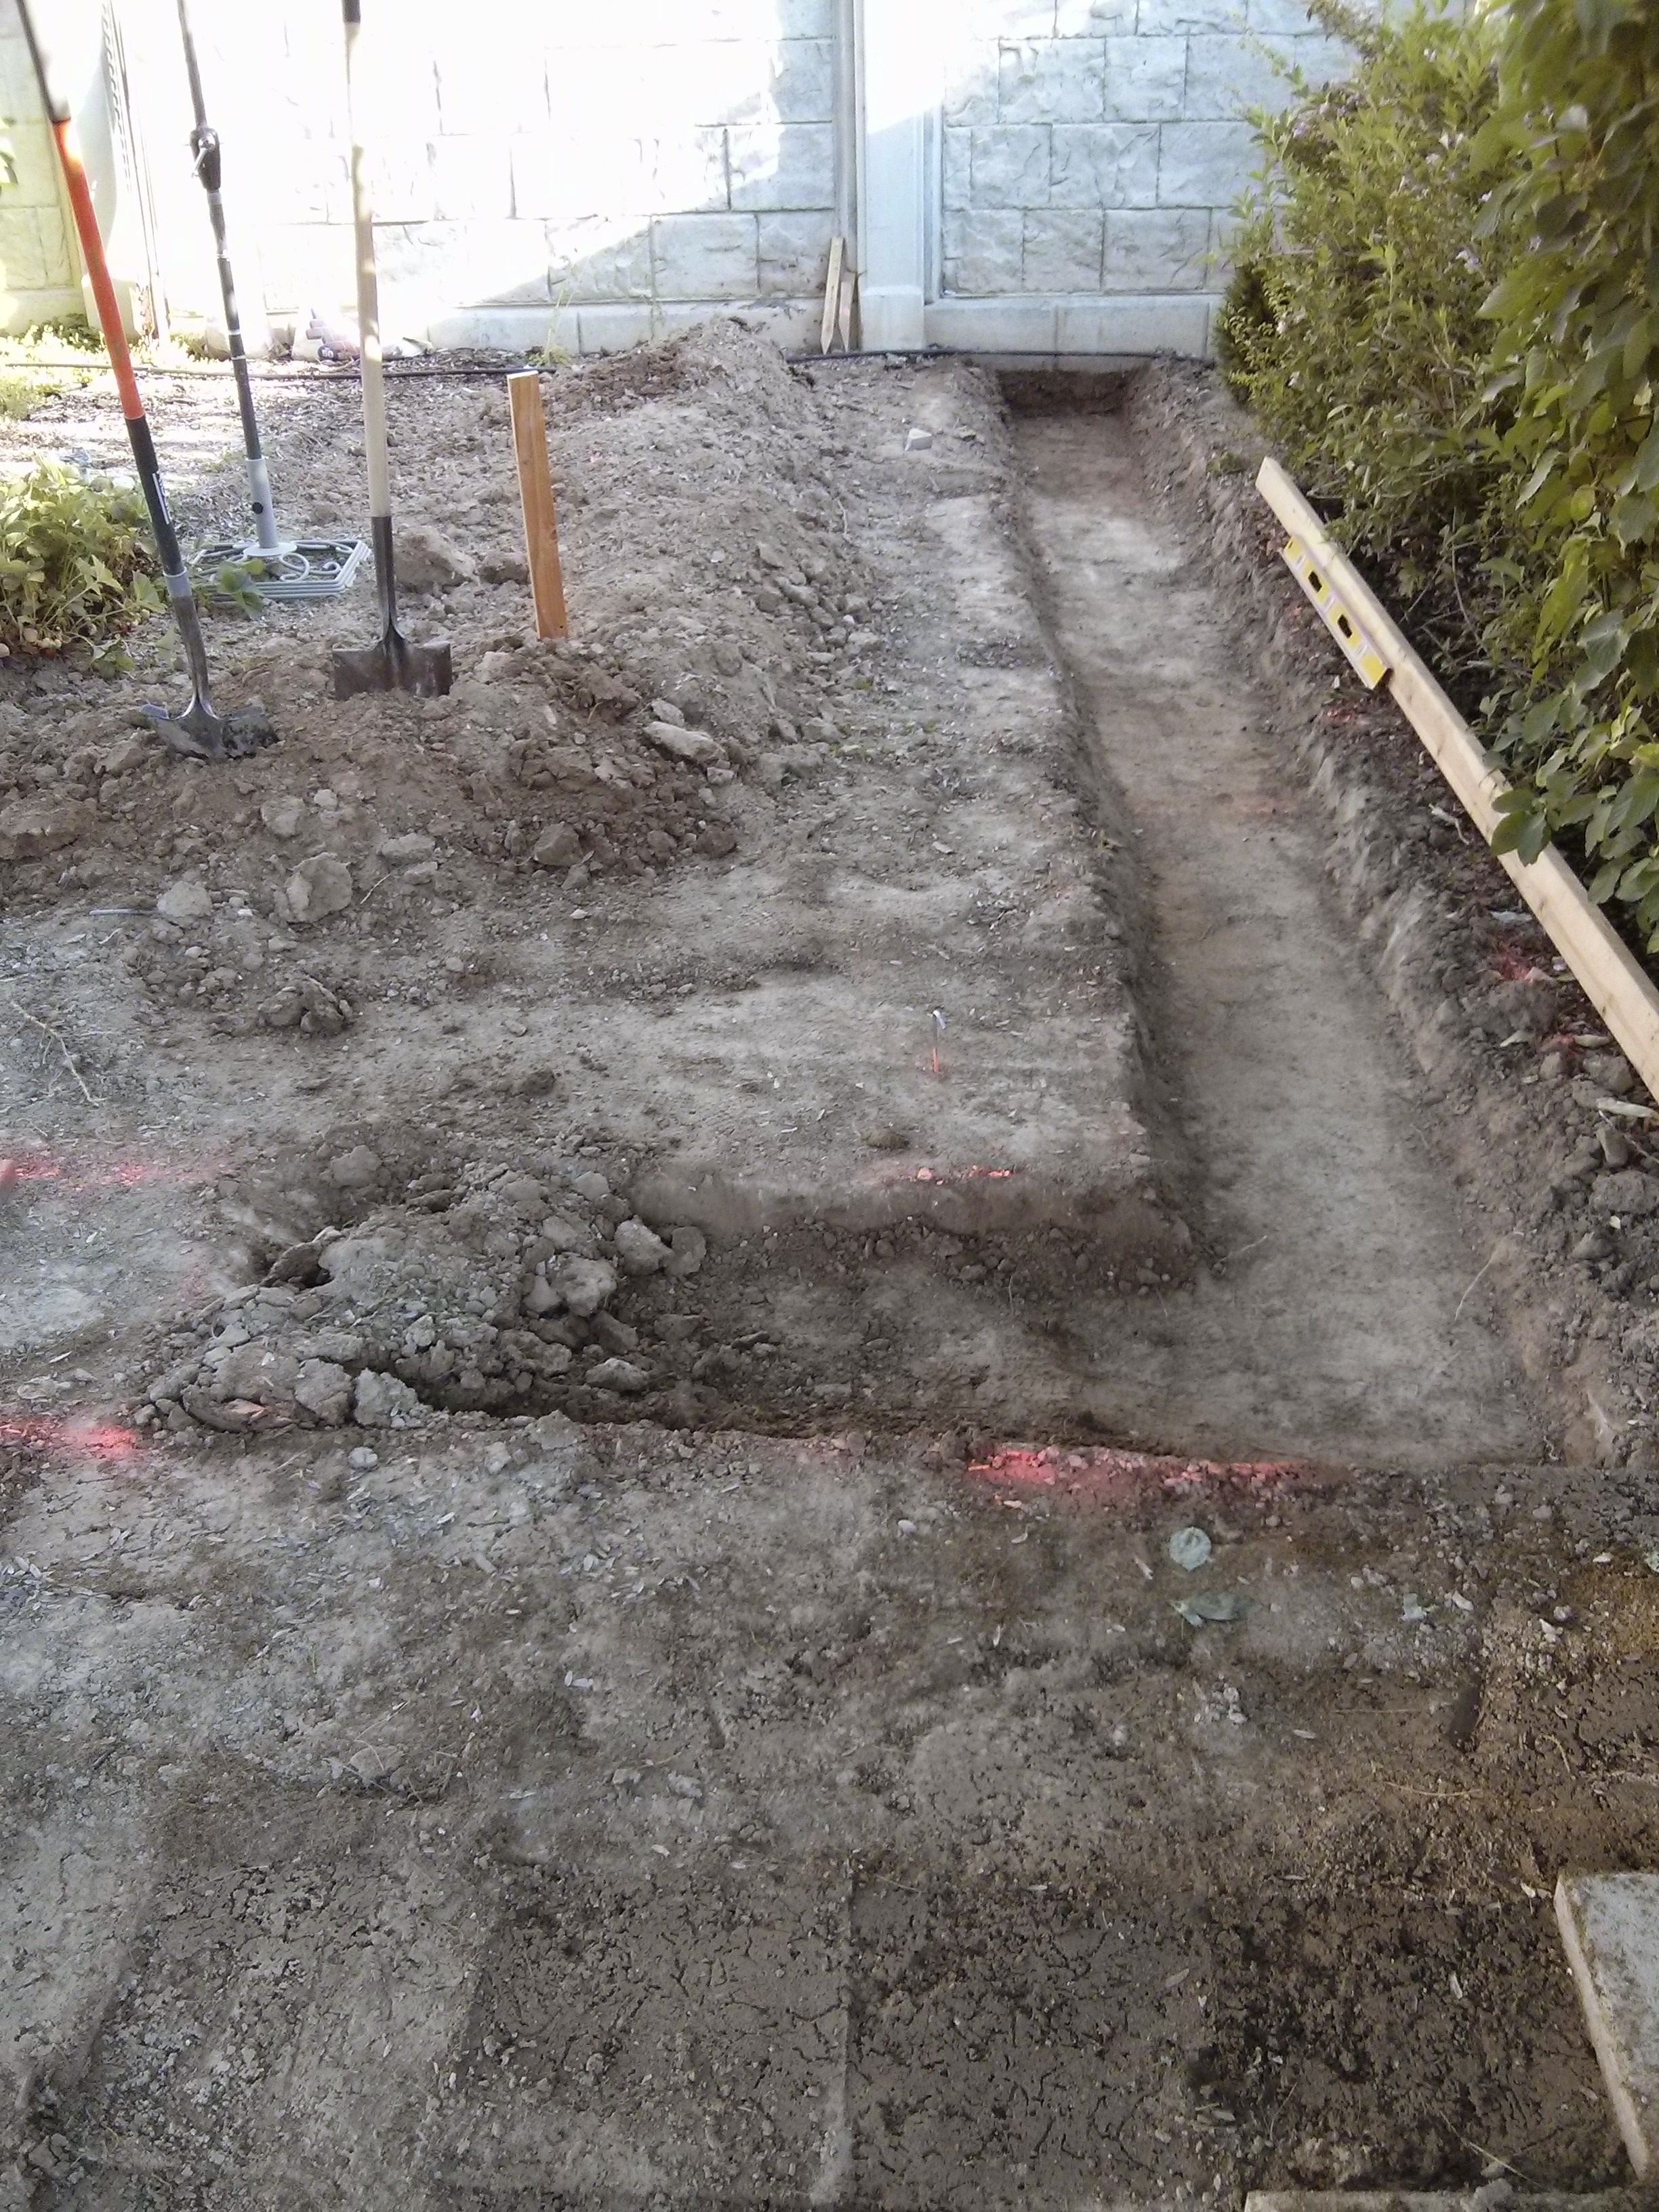
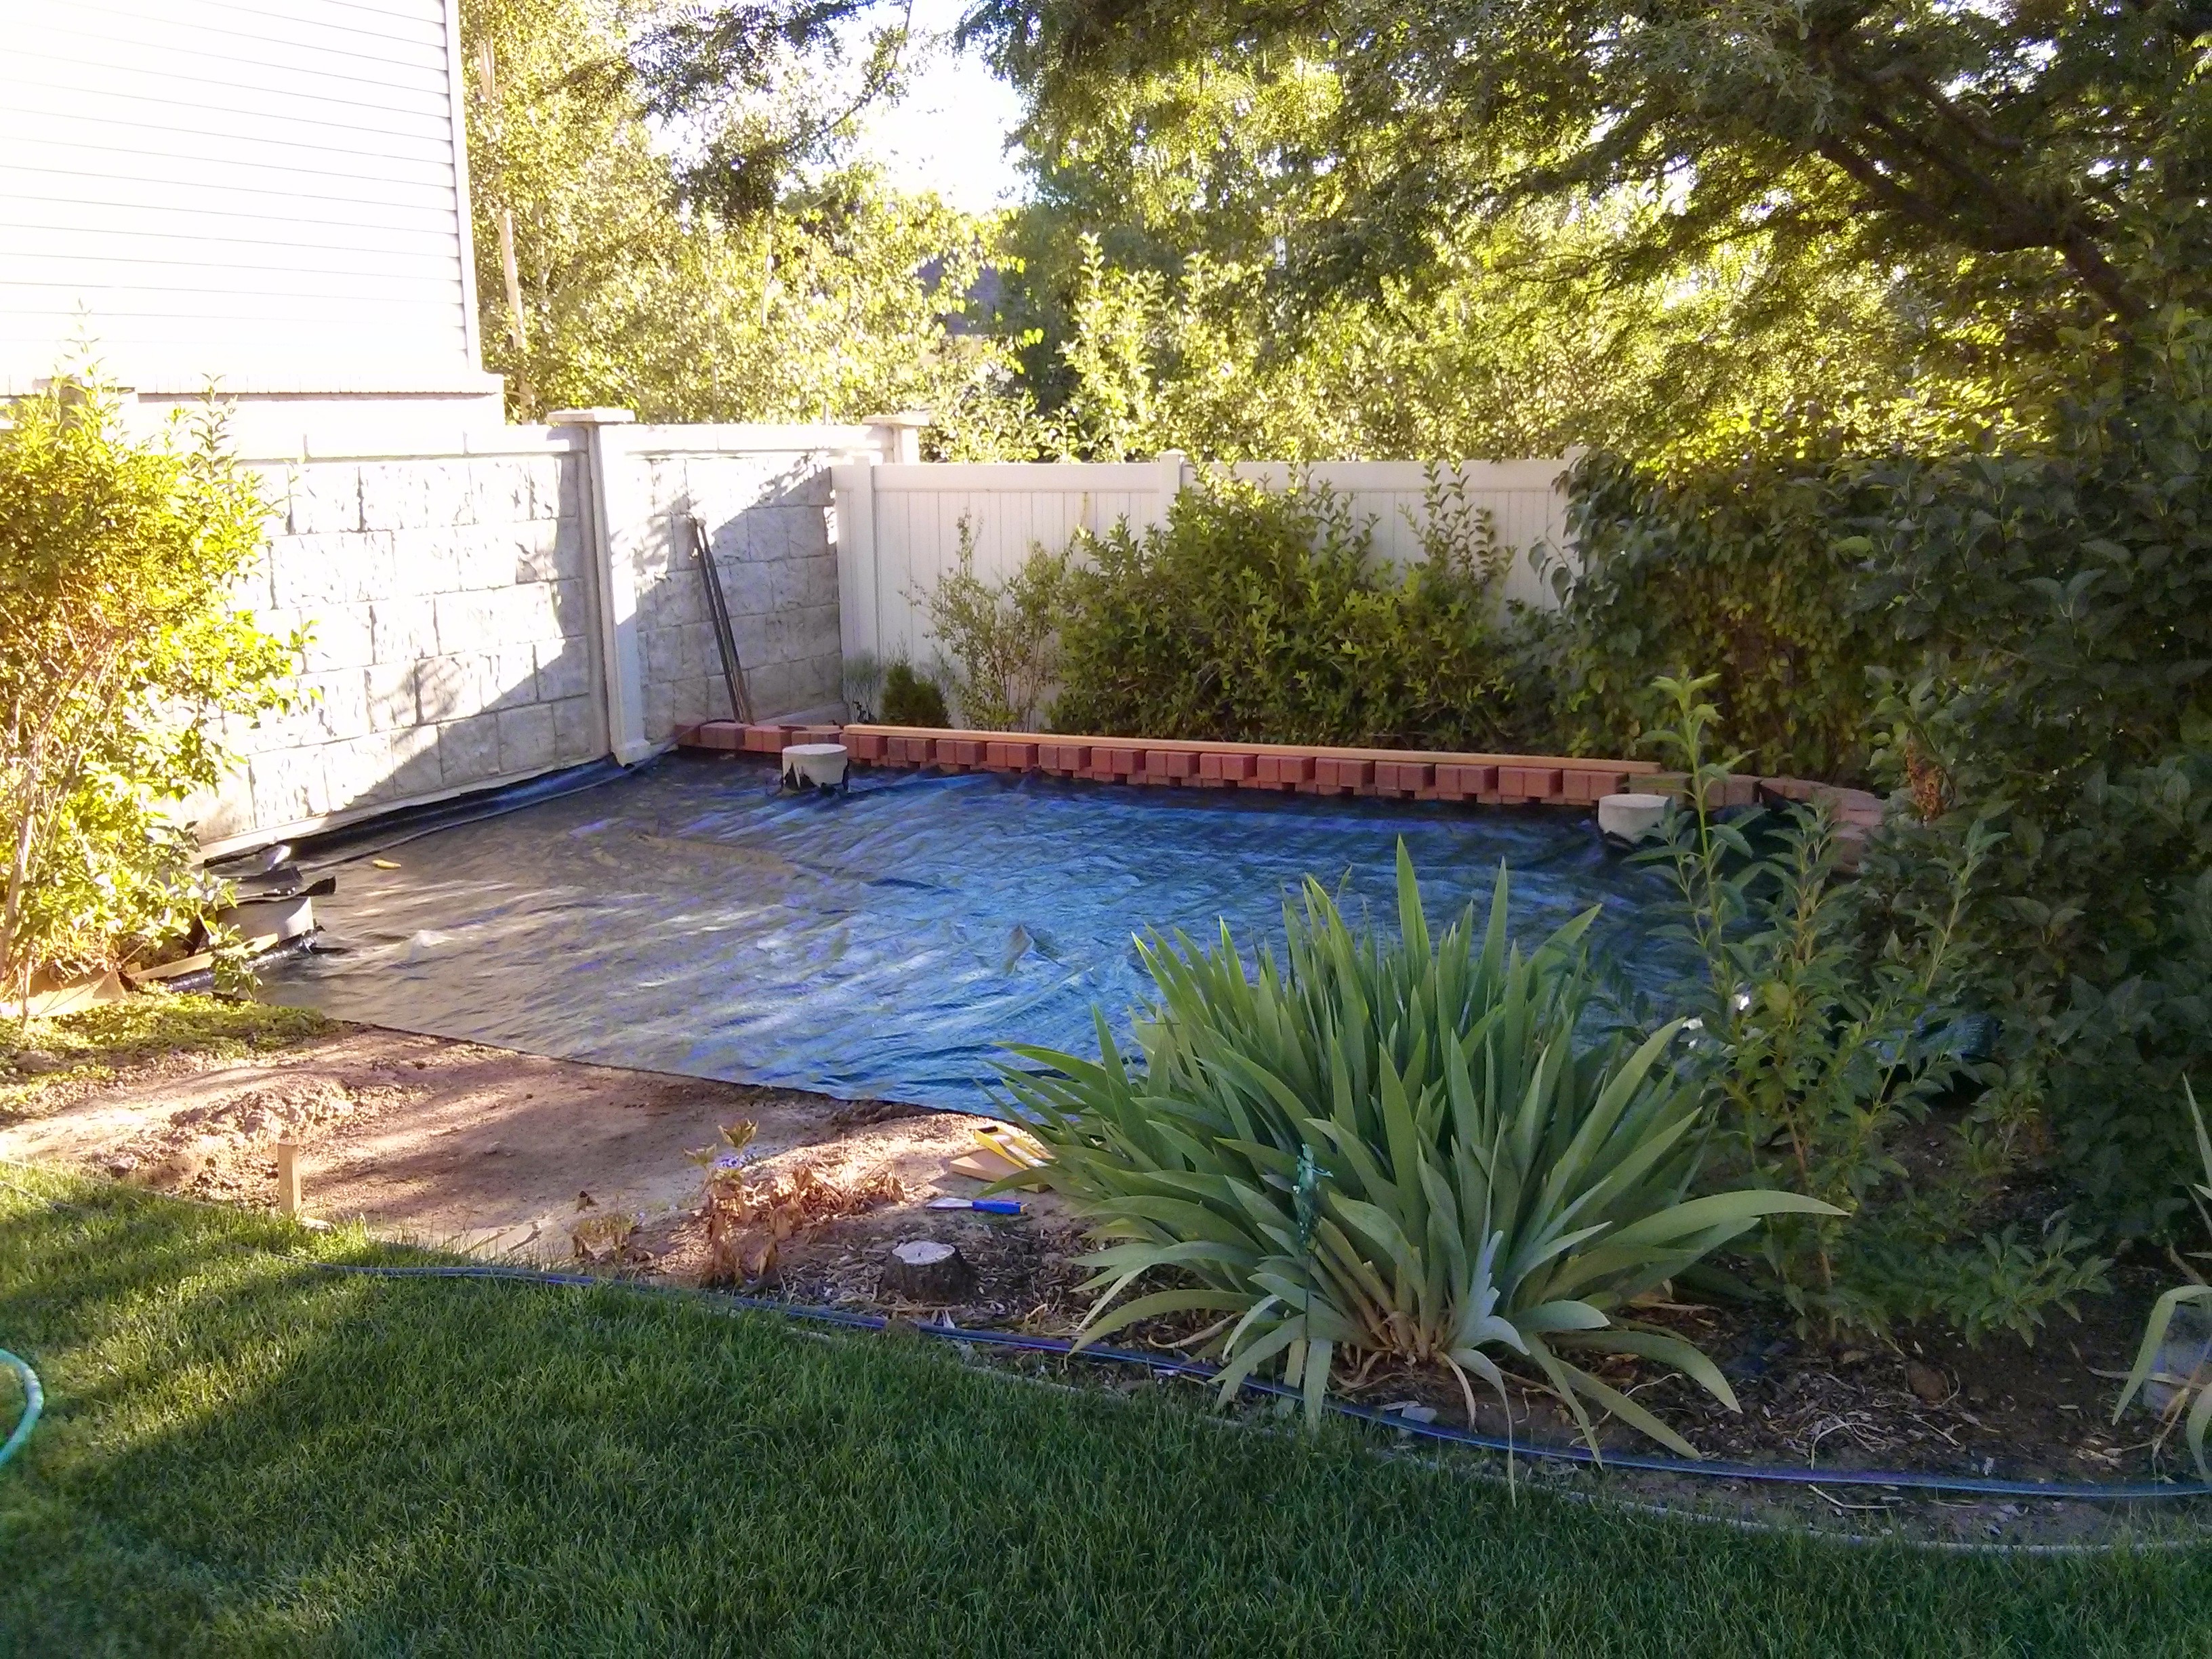
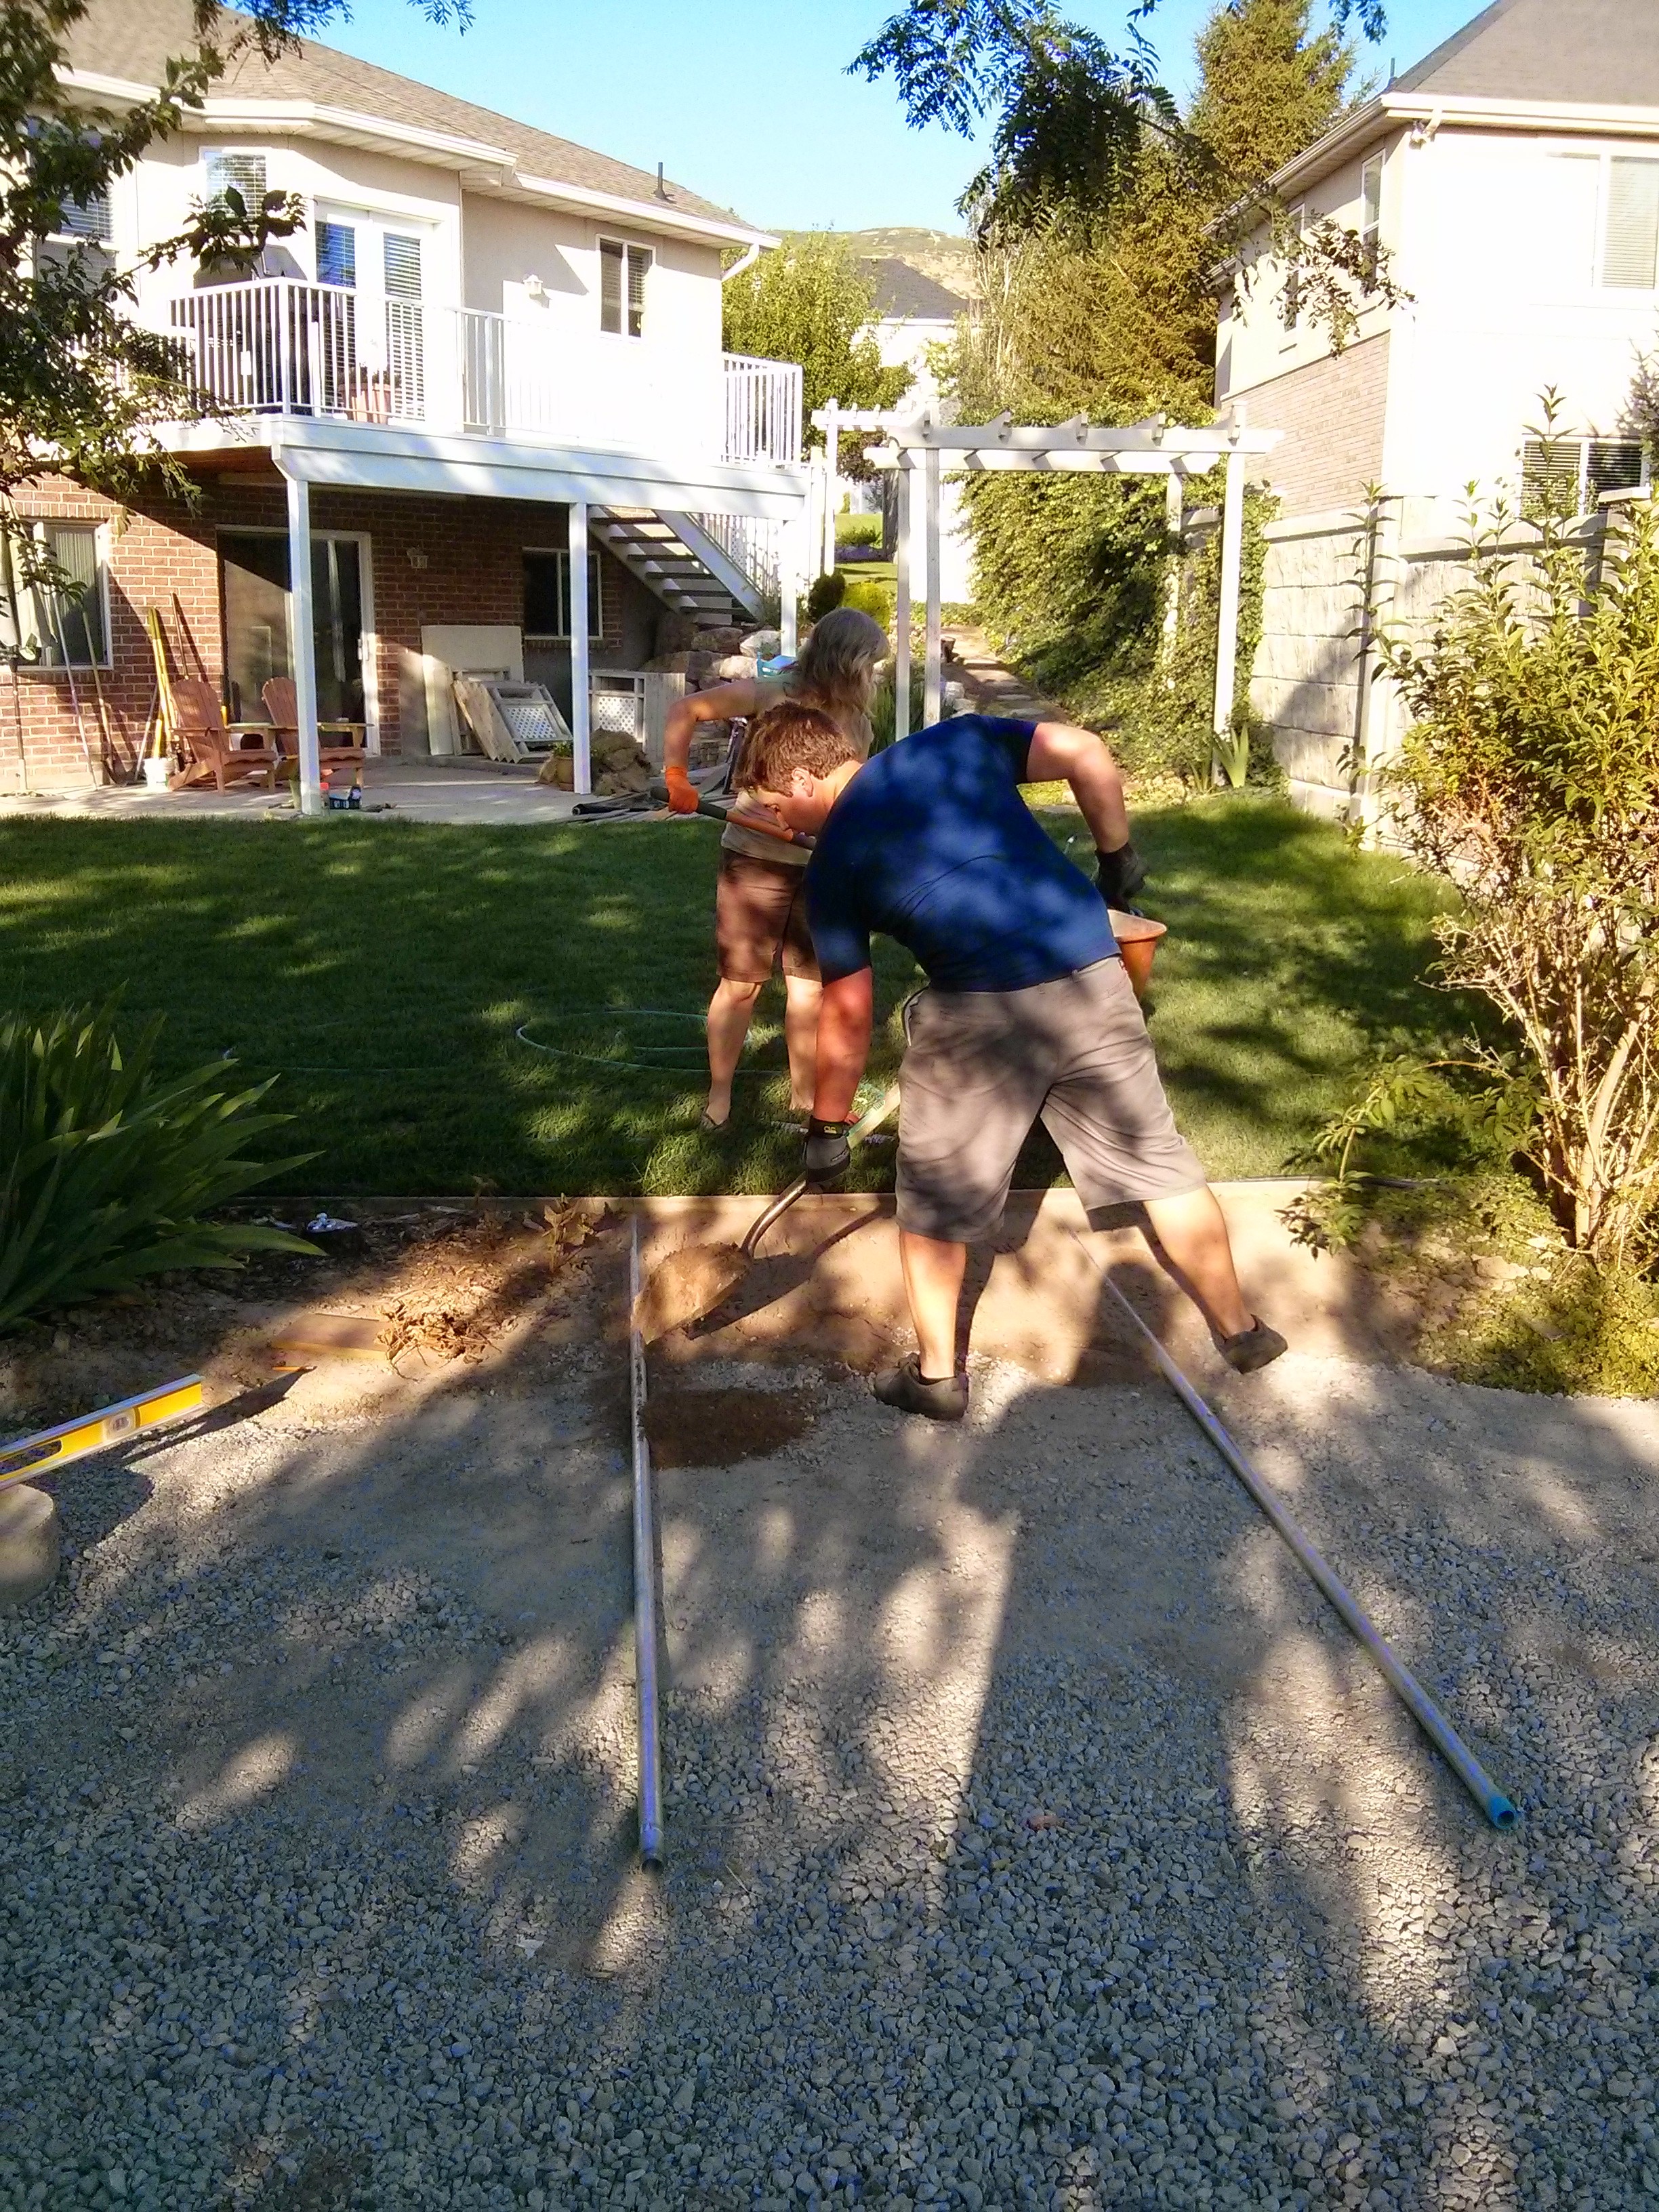
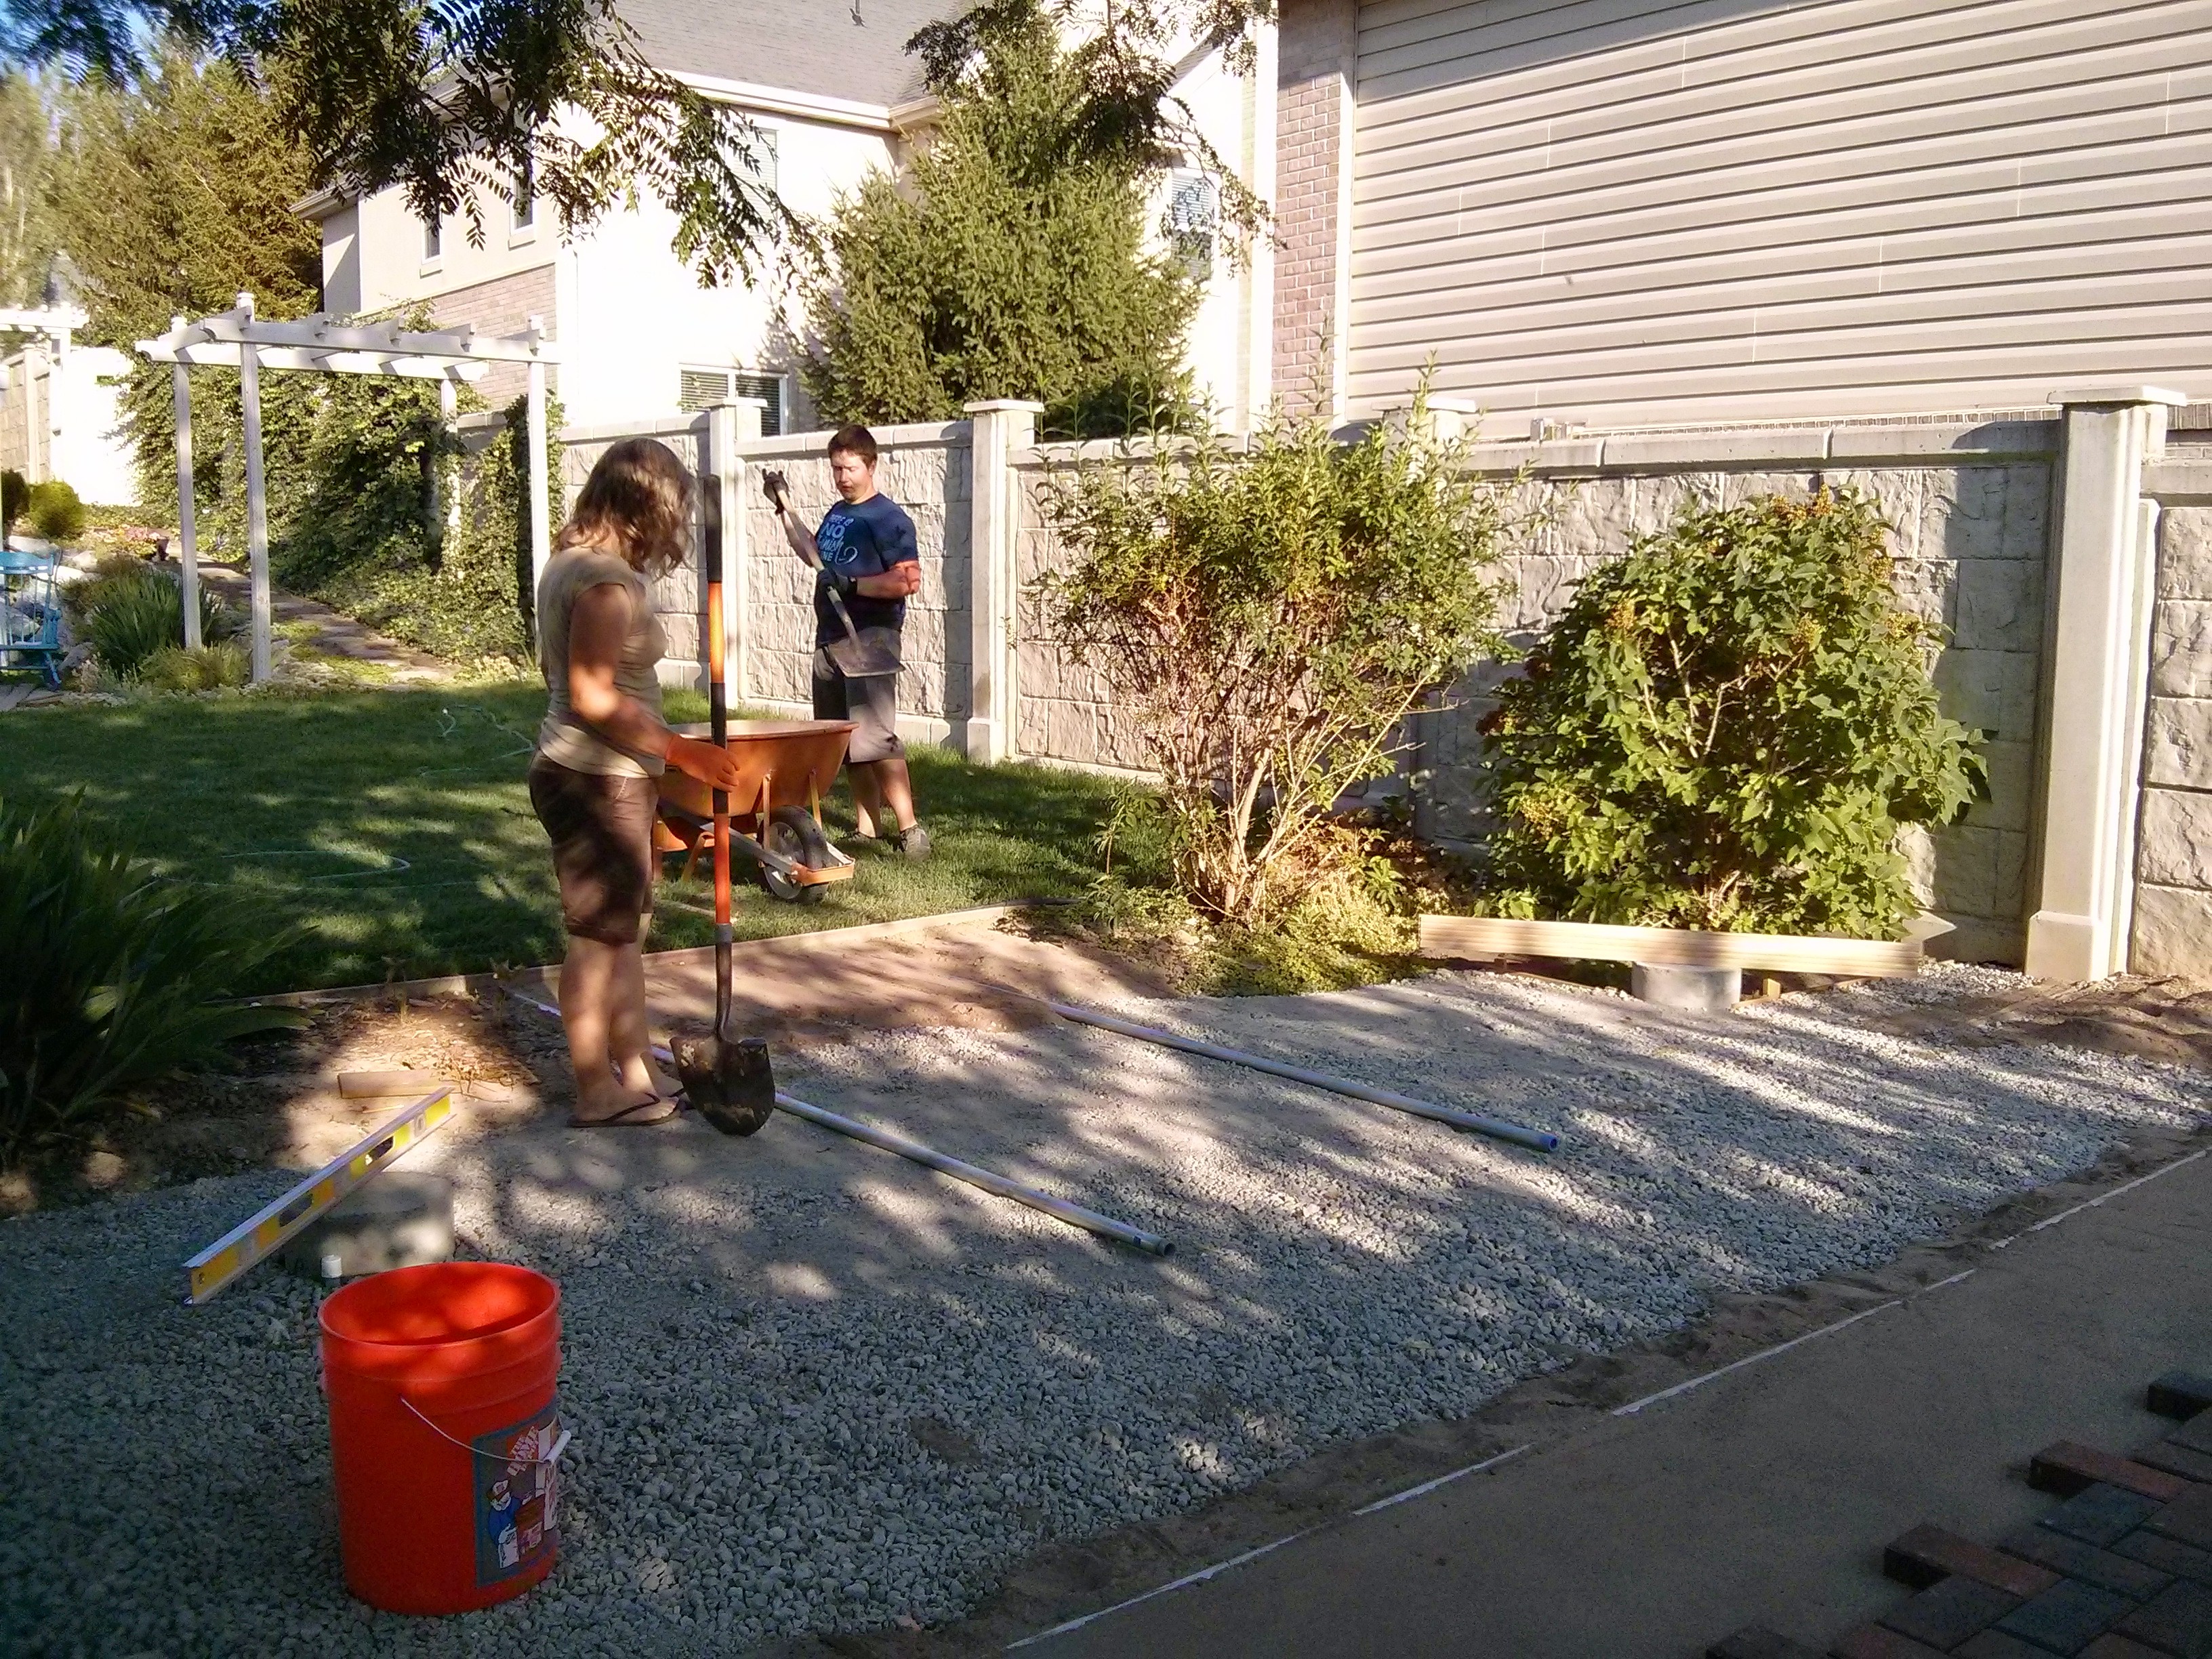
We decided on a spot in the back corner of the yard. Unfortunately, the spot was not very level. So the first task was to build a retaining wall and fill in the area to make it level.

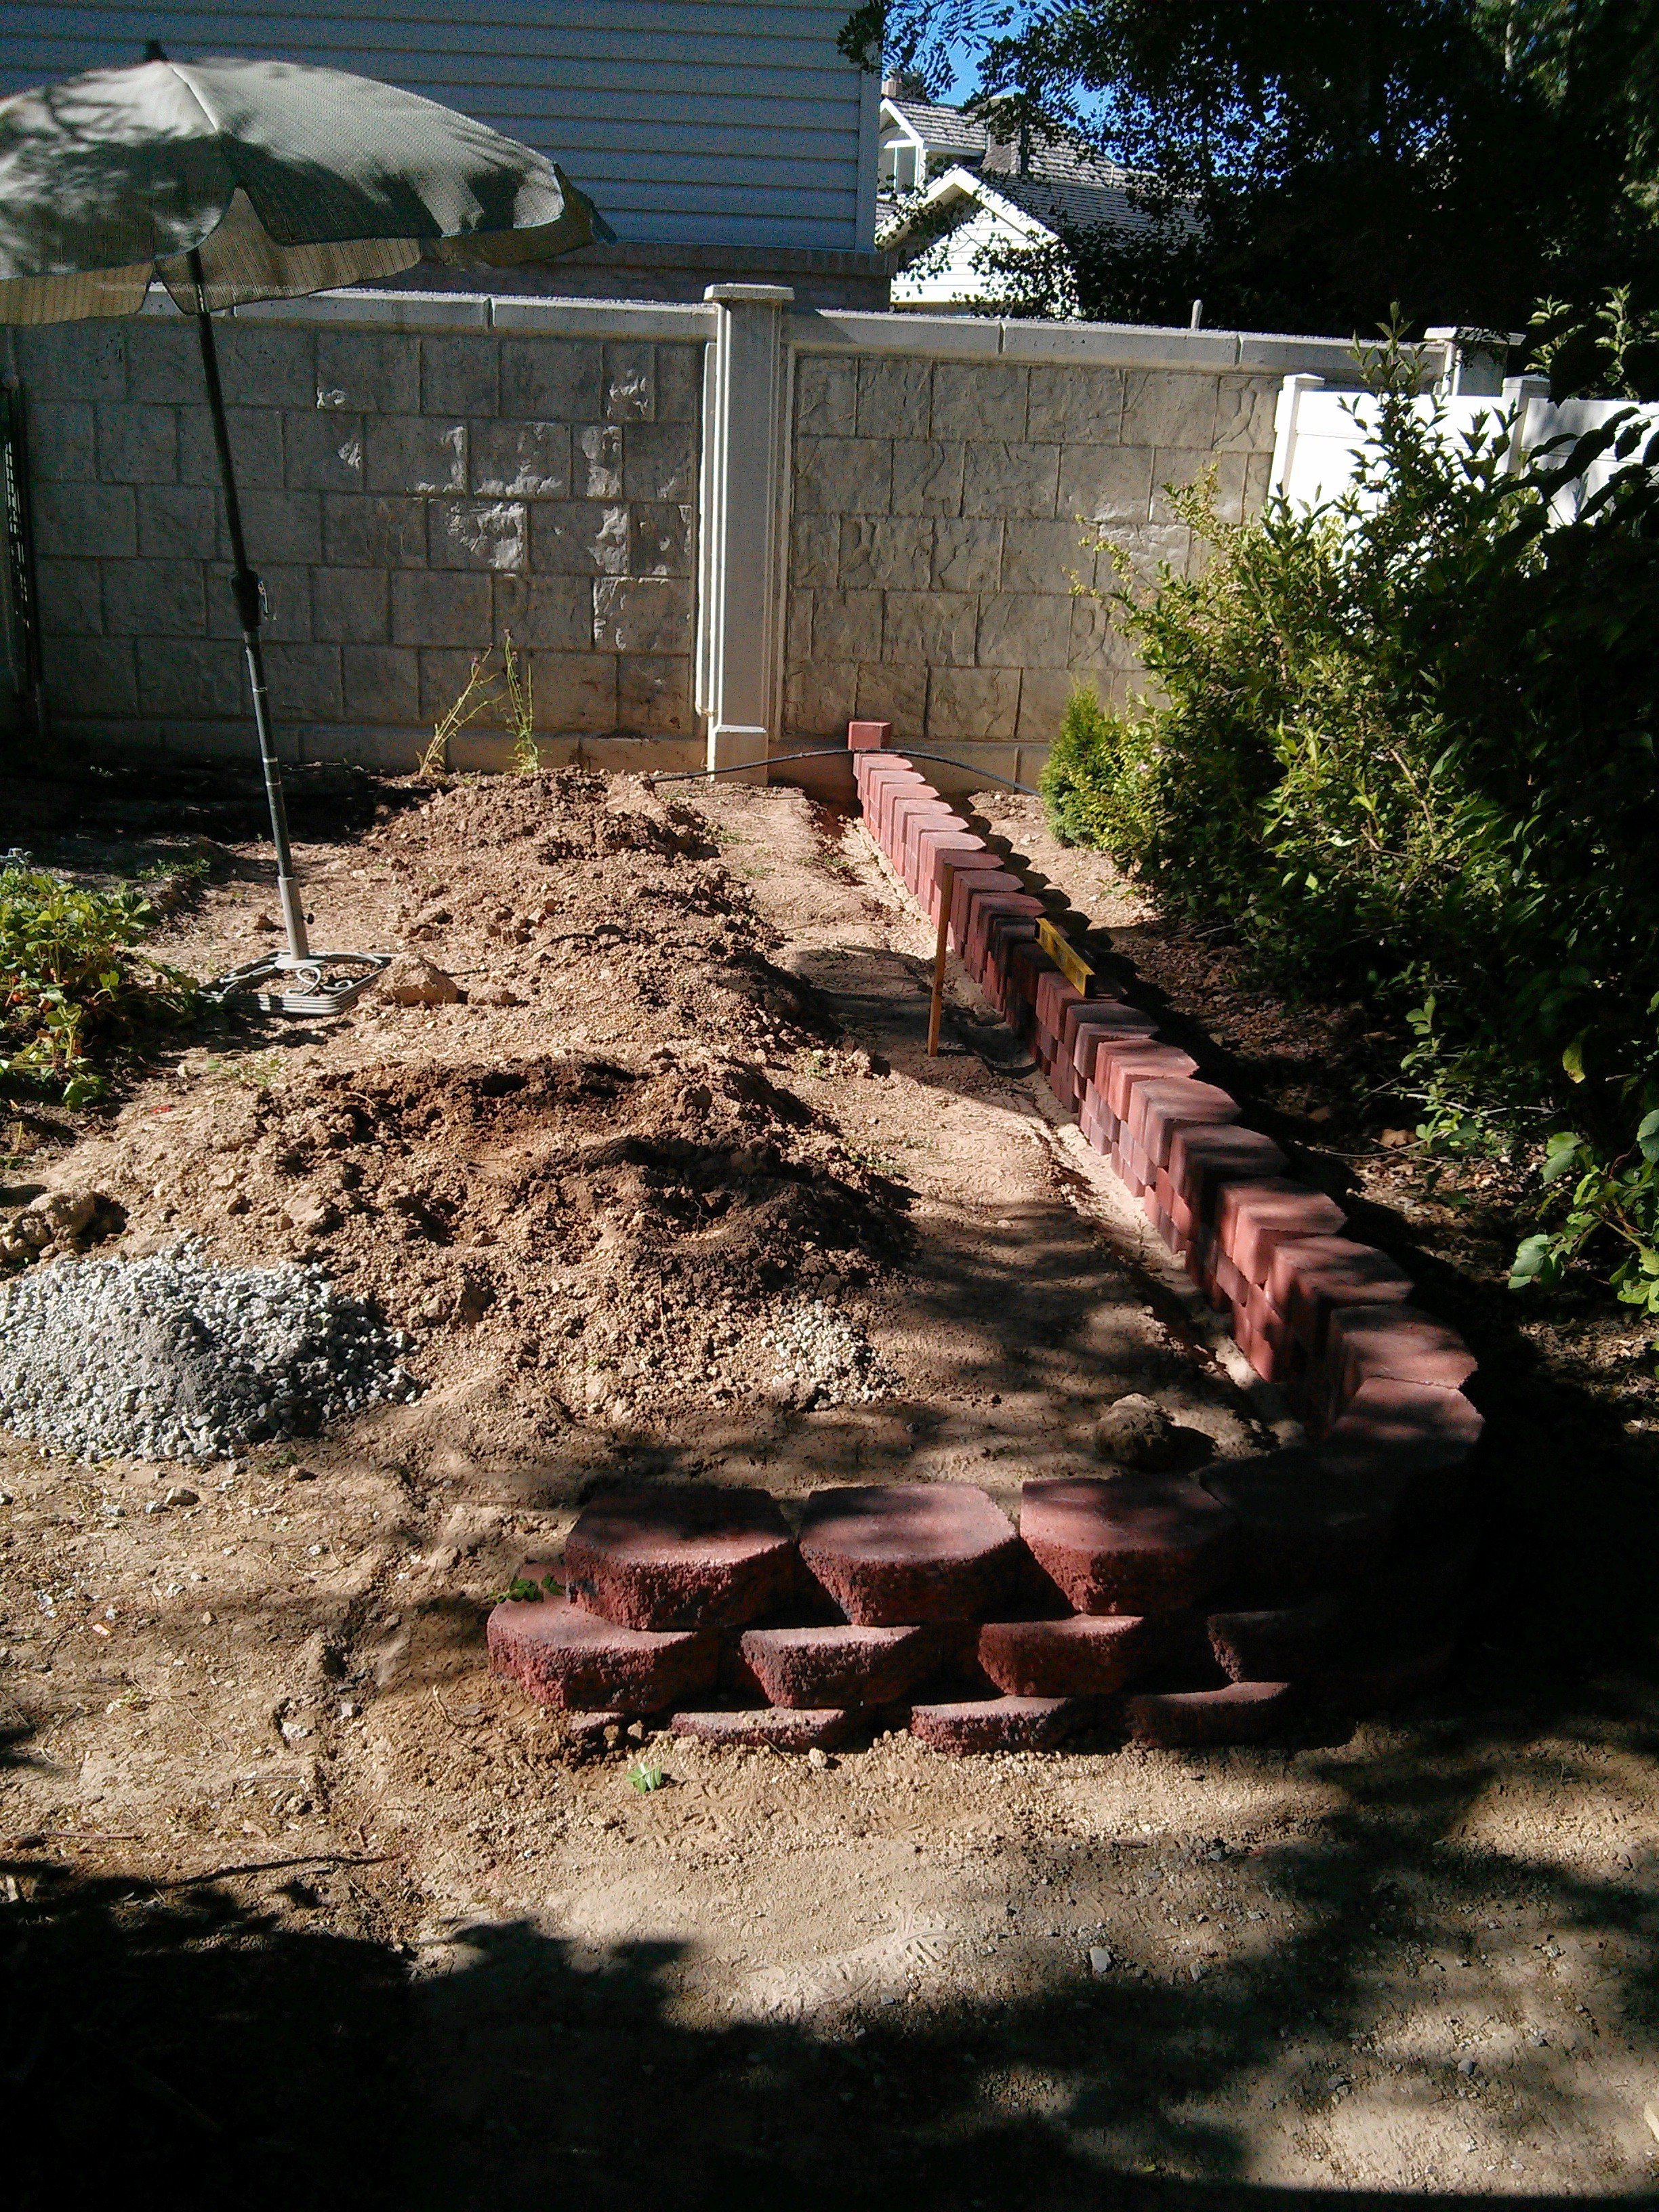
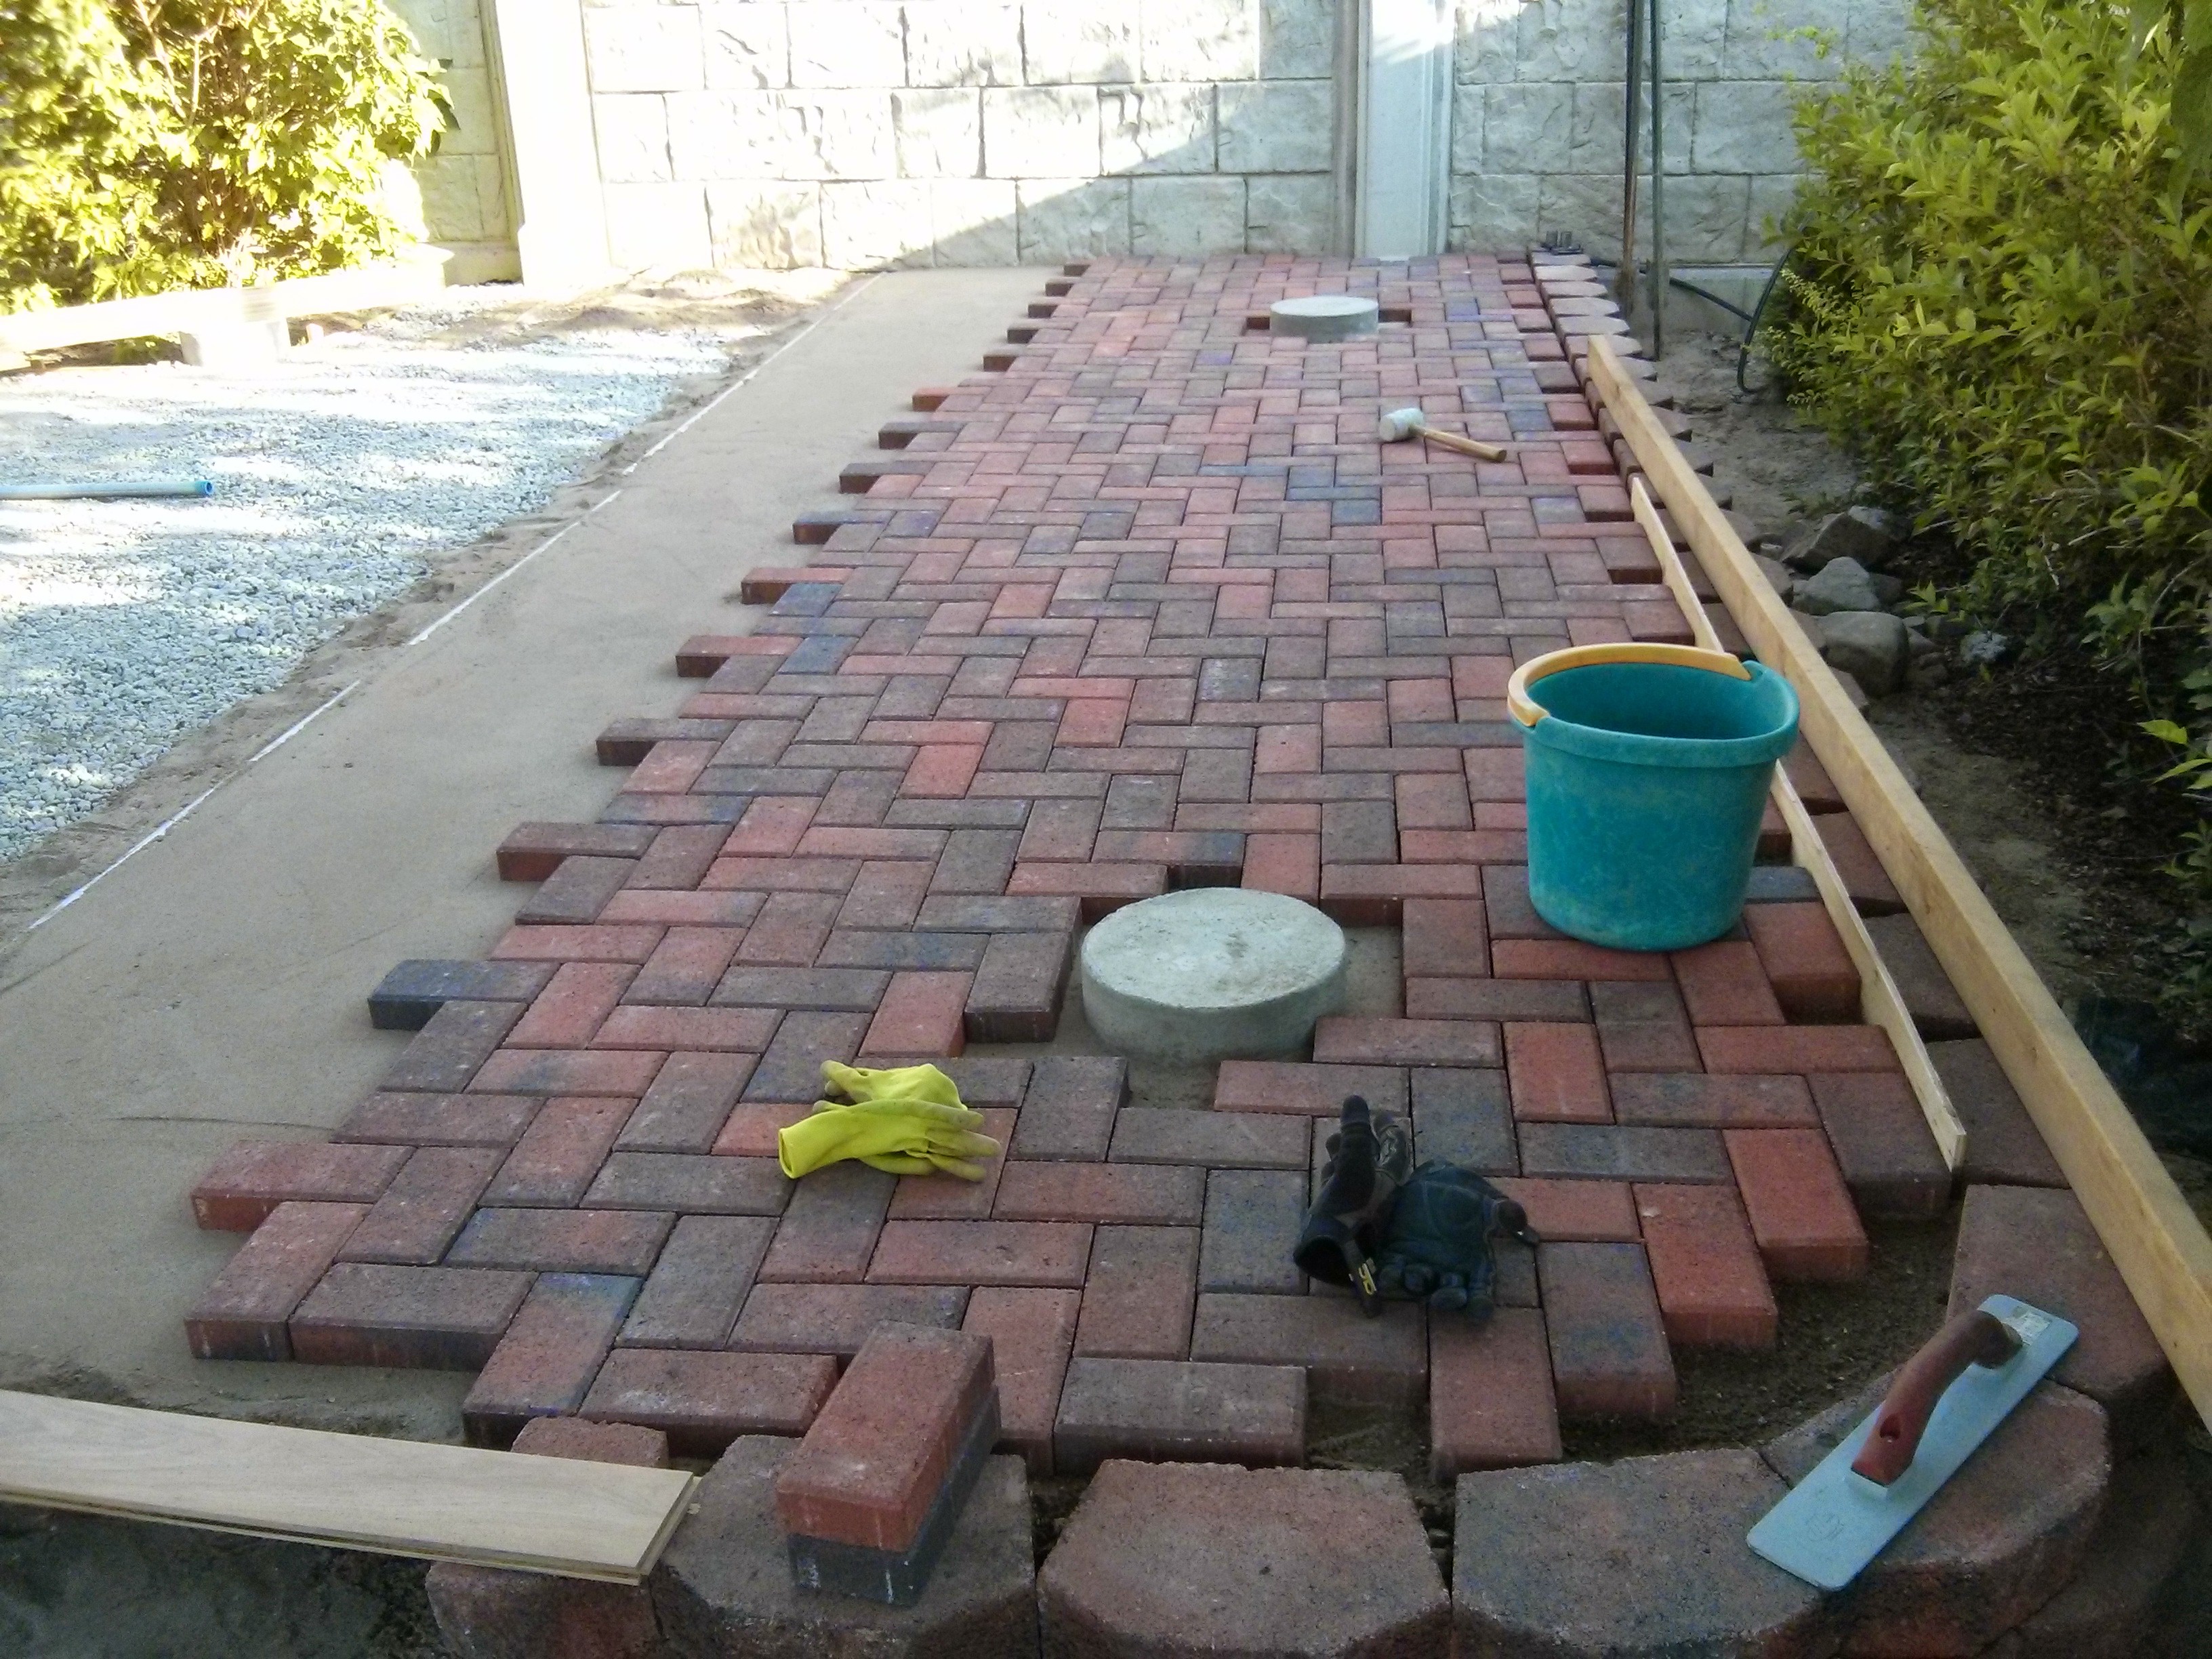
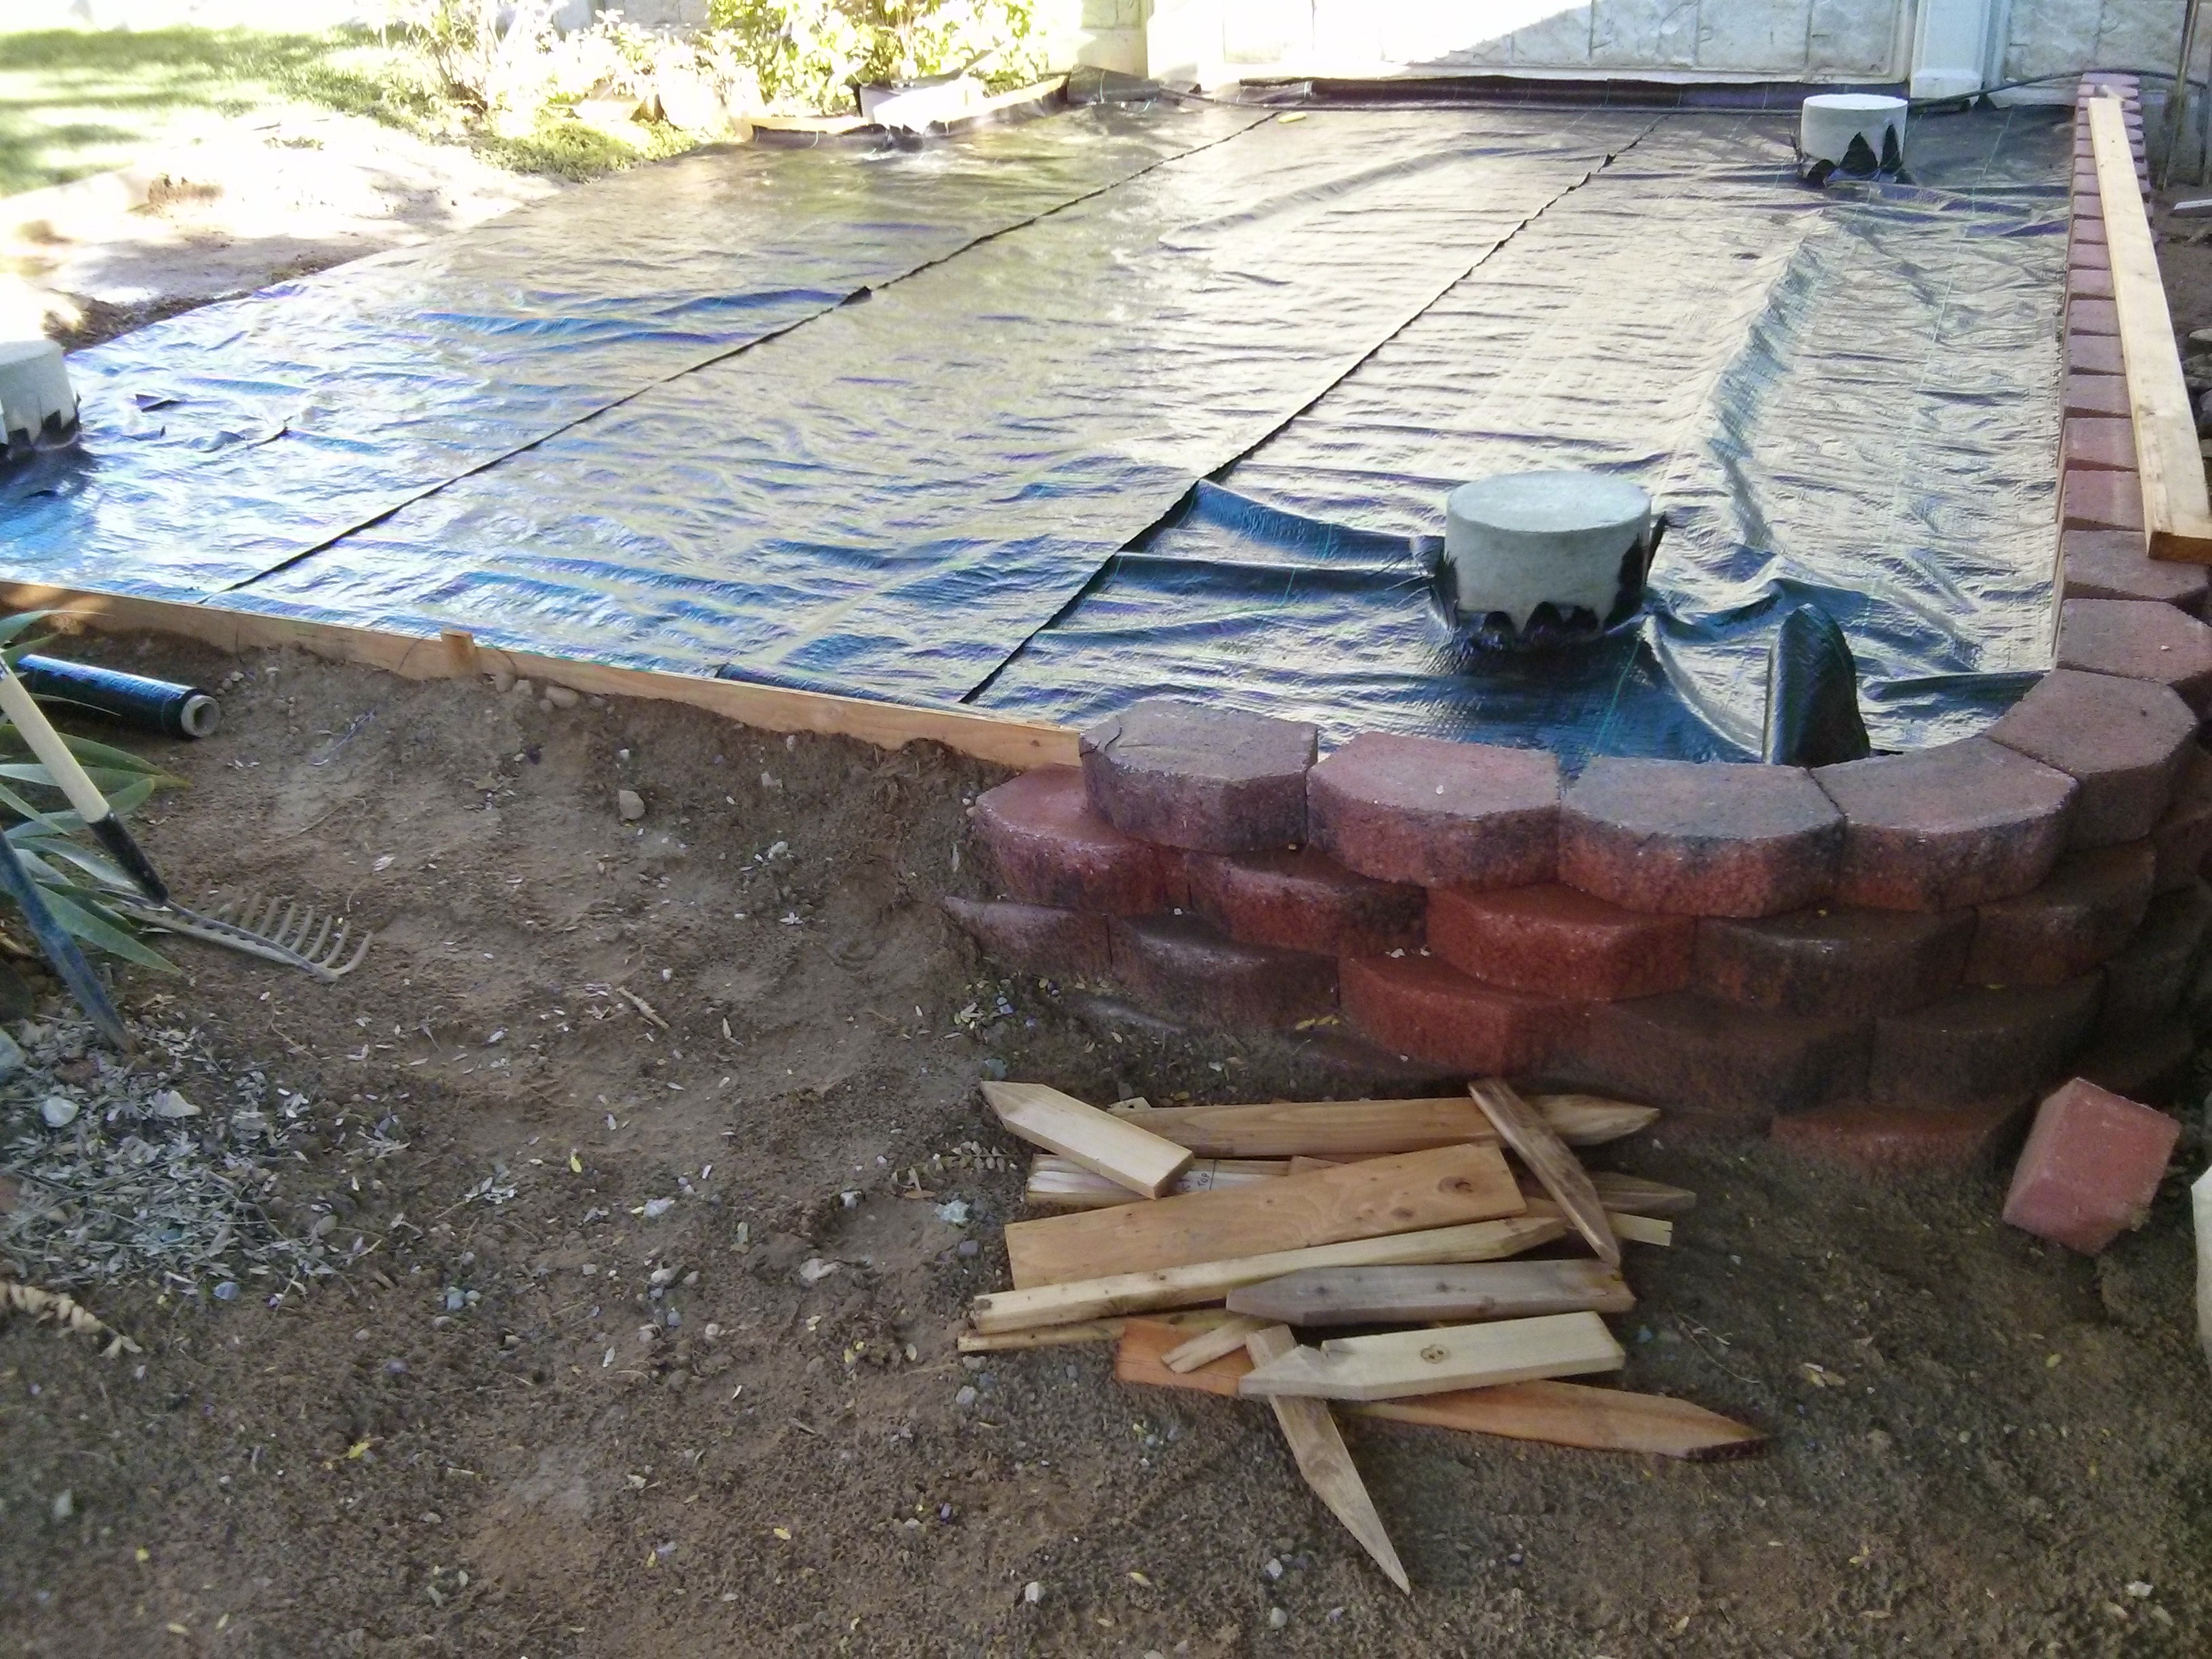
Next we laid the pavers. Unfortunately, this is a far as we made it before the wedding. We didn’t want to start construction and have a mess for the wedding. So we gave up our plan to have it done for the wedding and instead focused on making the yard look nice for Rachel’s special day.
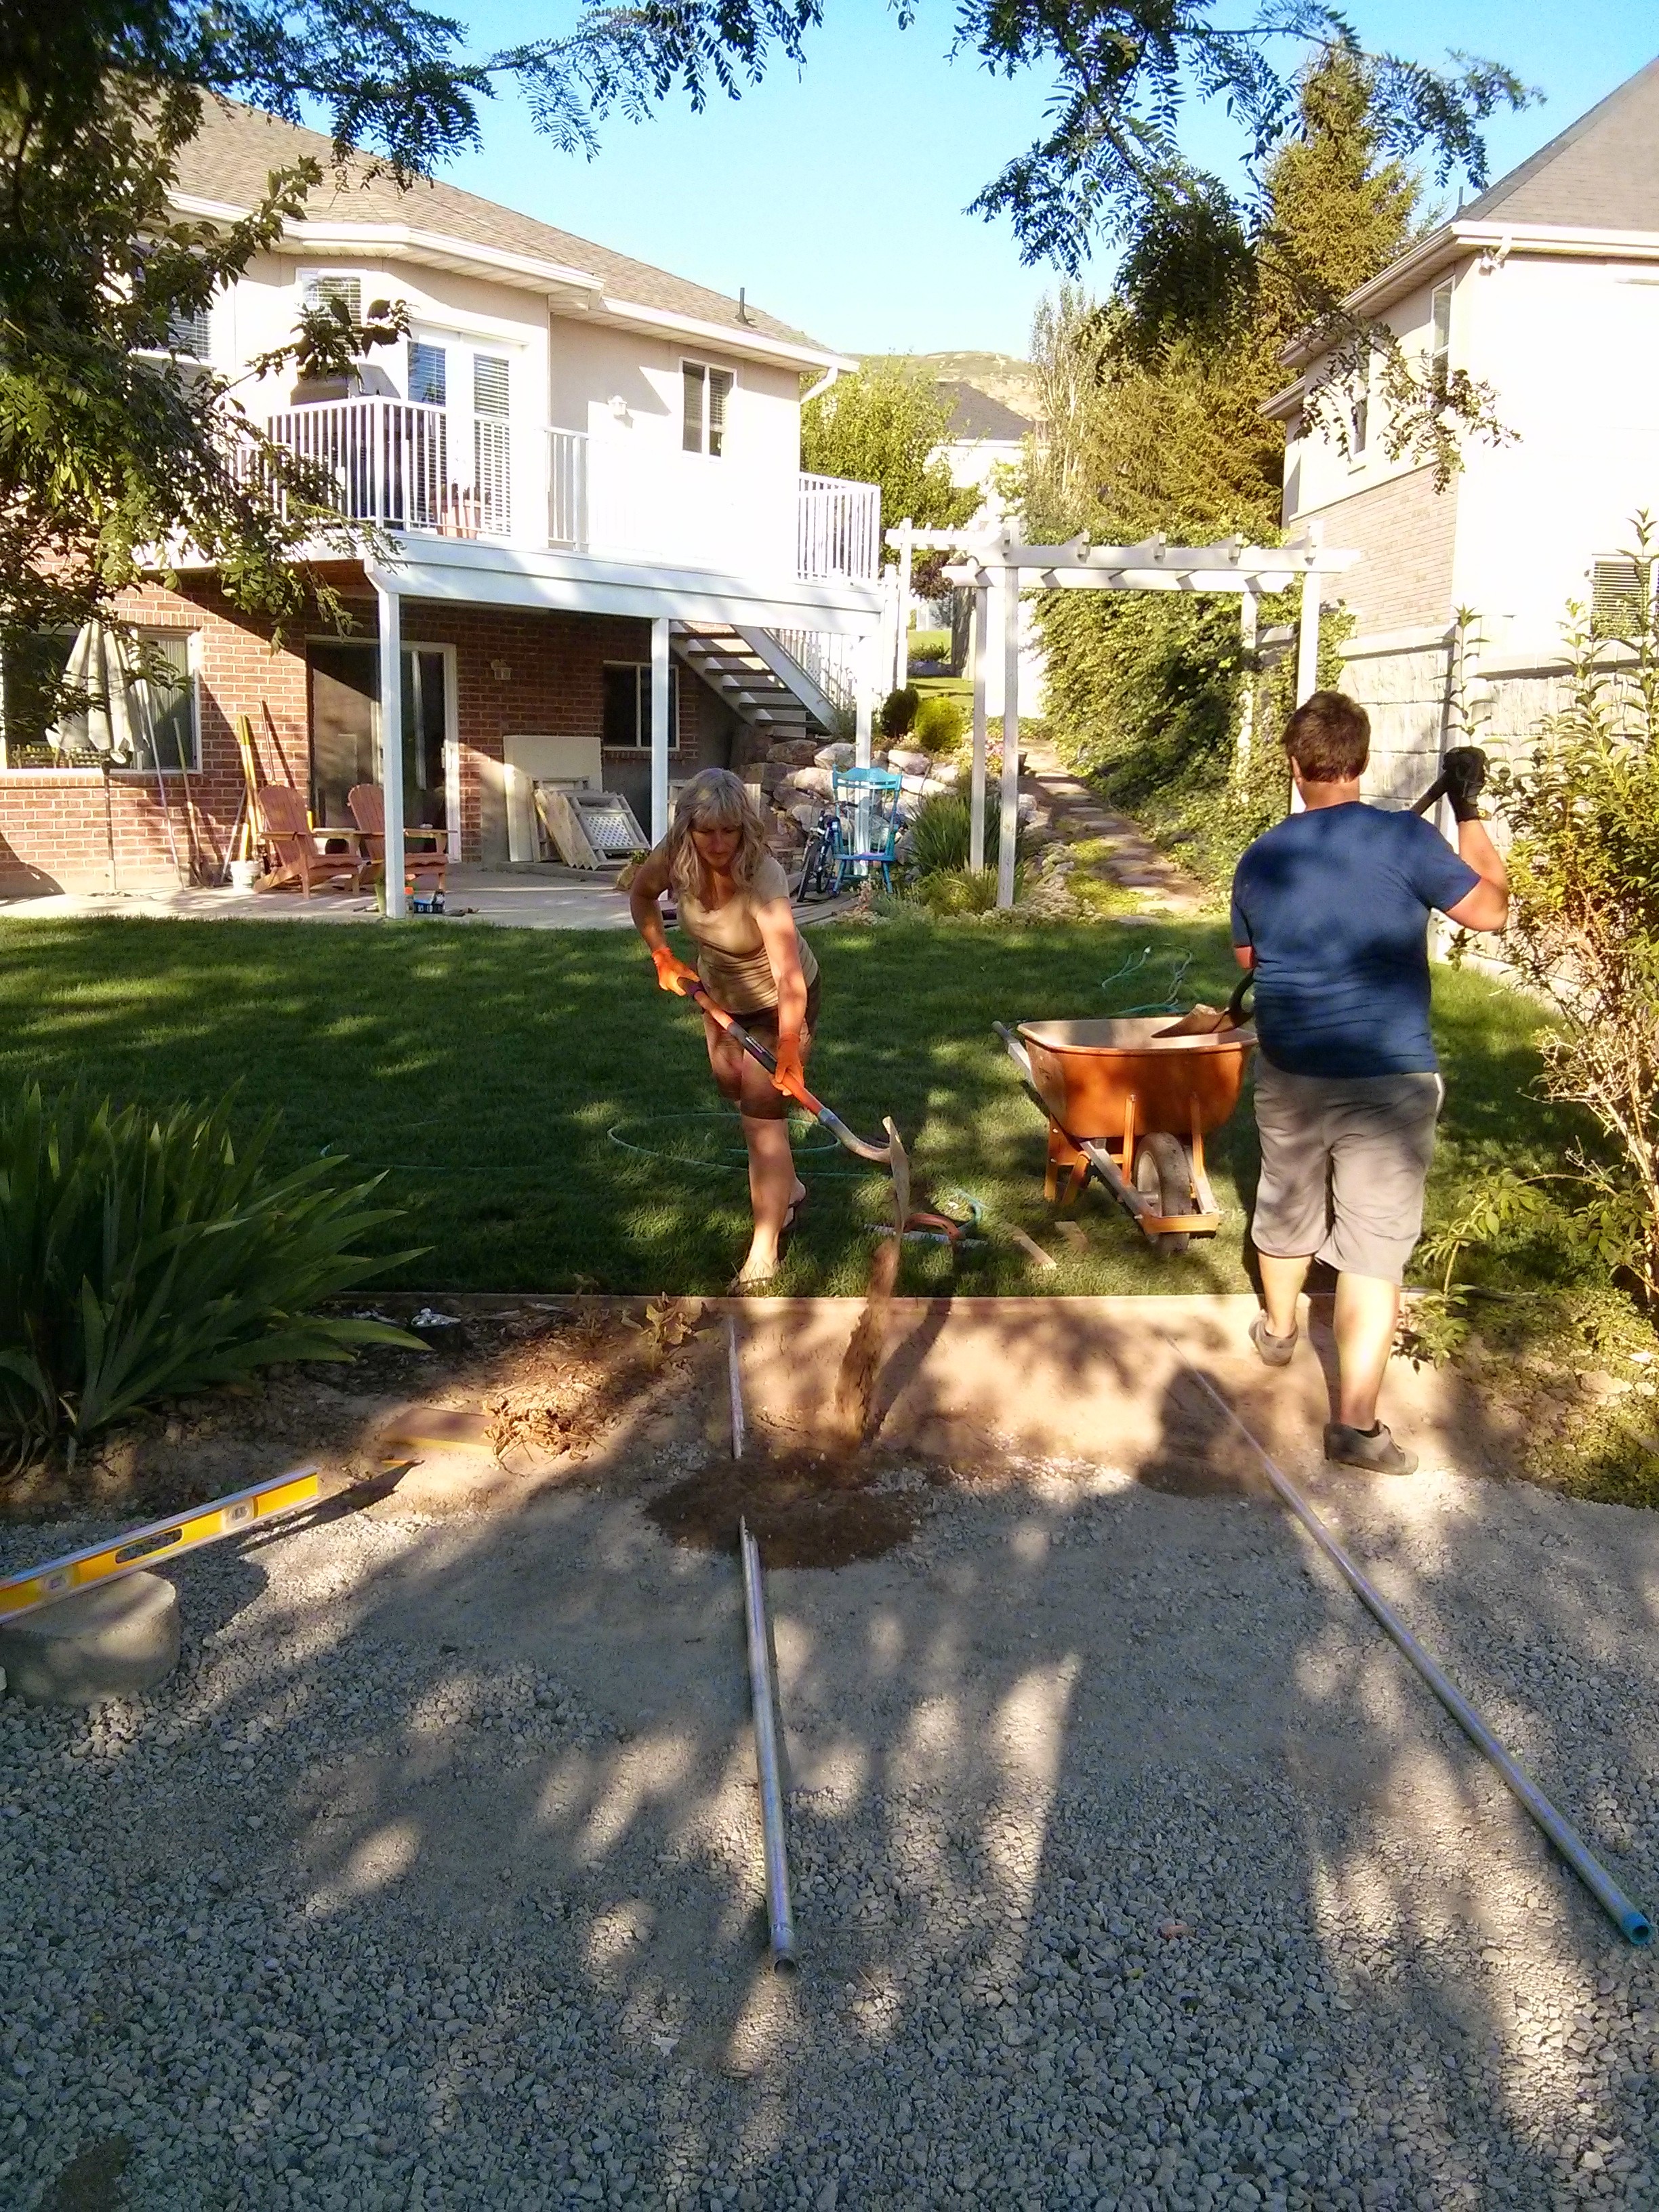
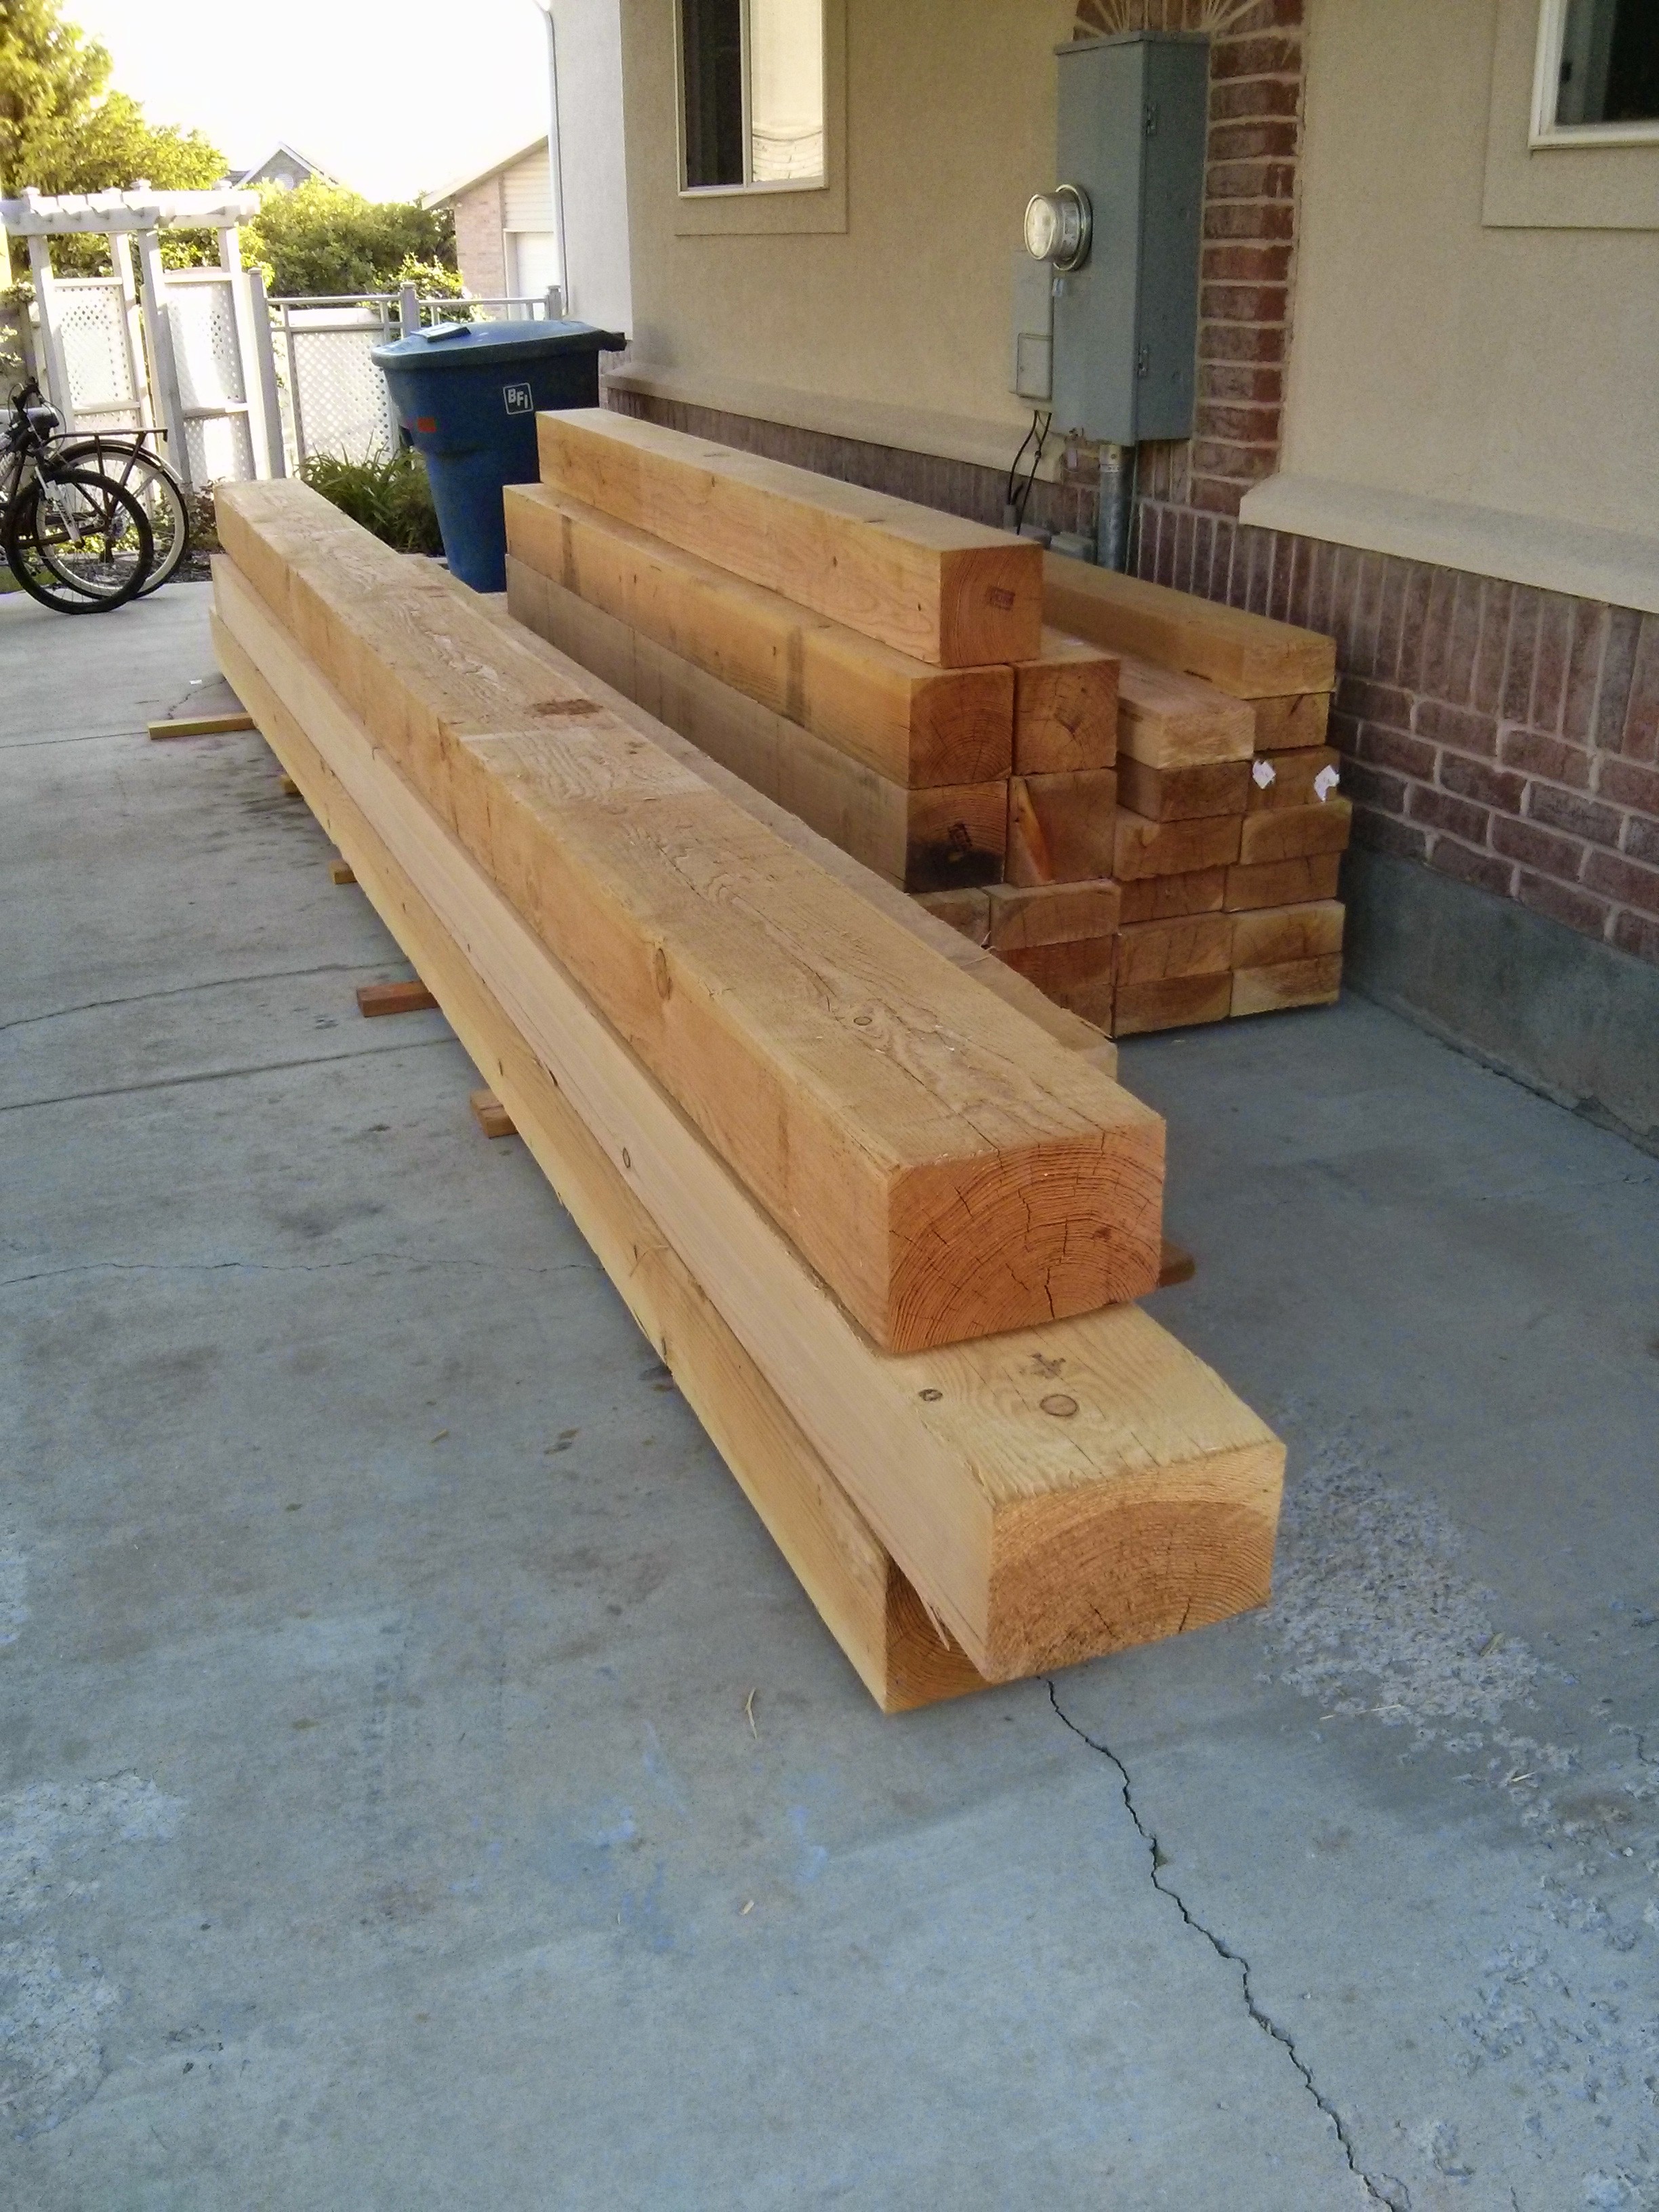
After the wedding we moved the lumber to the back yard and put it under the back deck. I strung up some tarps to protect the wood from the sun. I then began working on the various timbers, getting them ready to assemble the next spring.
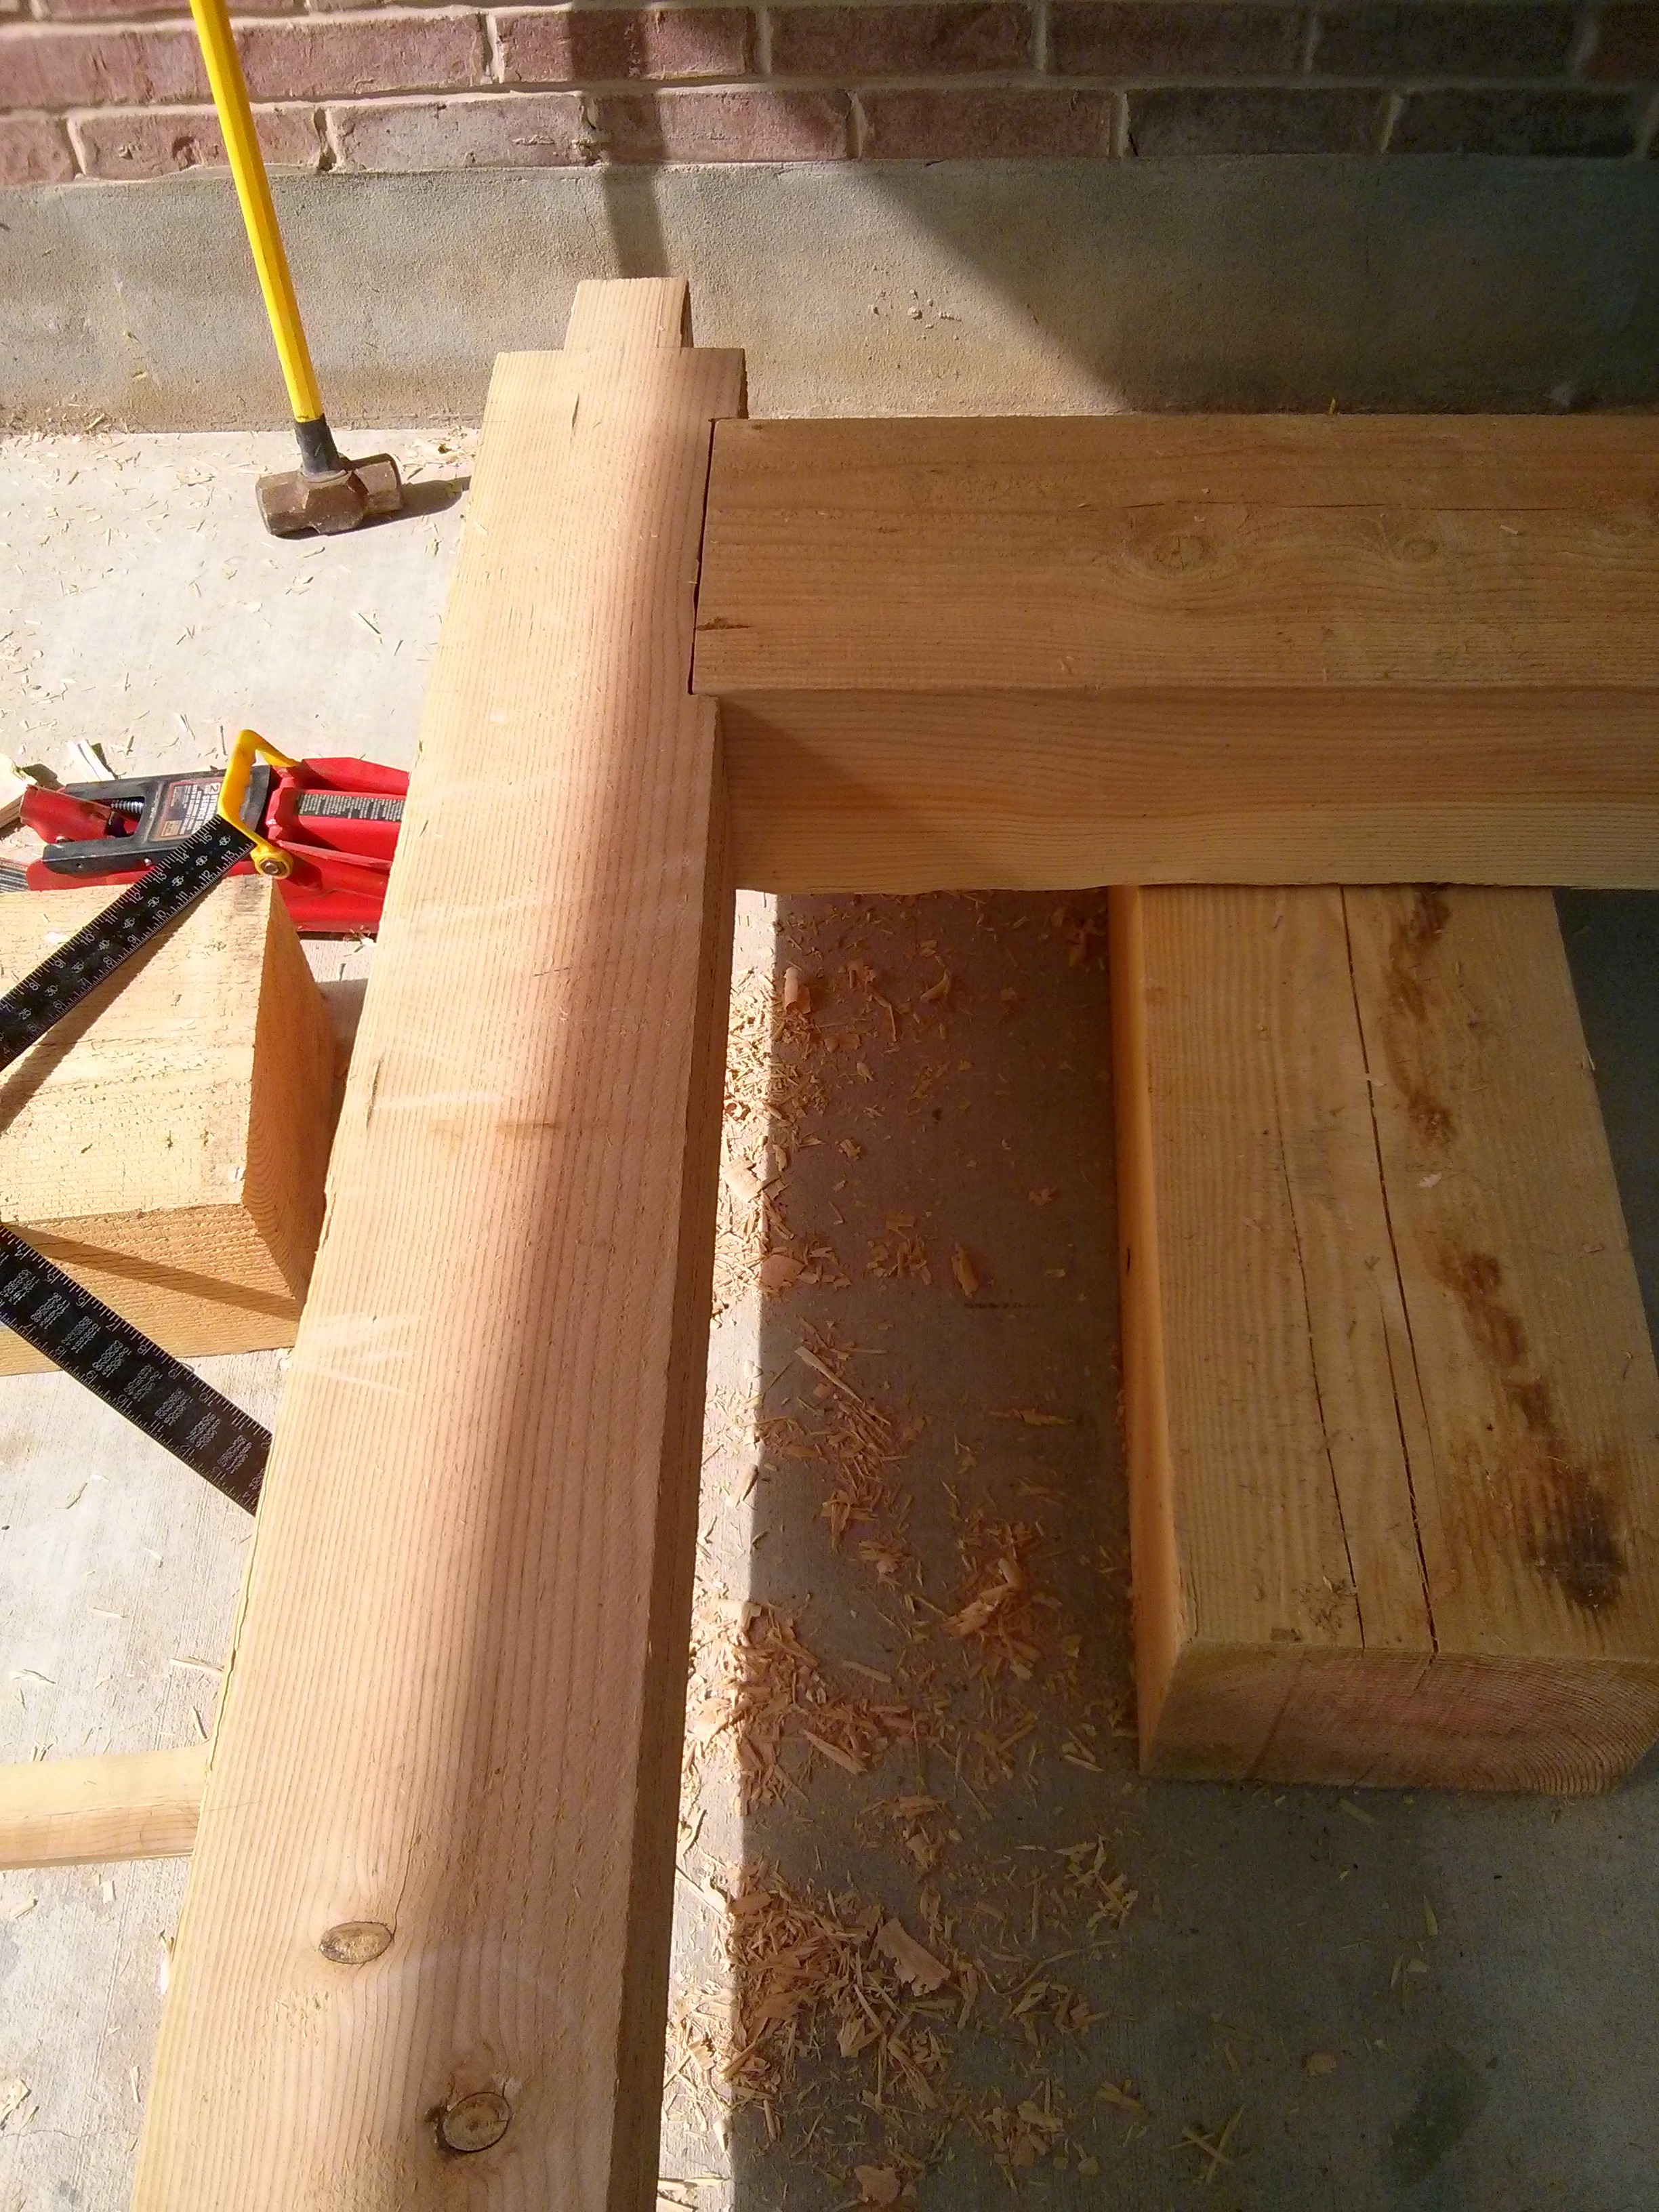
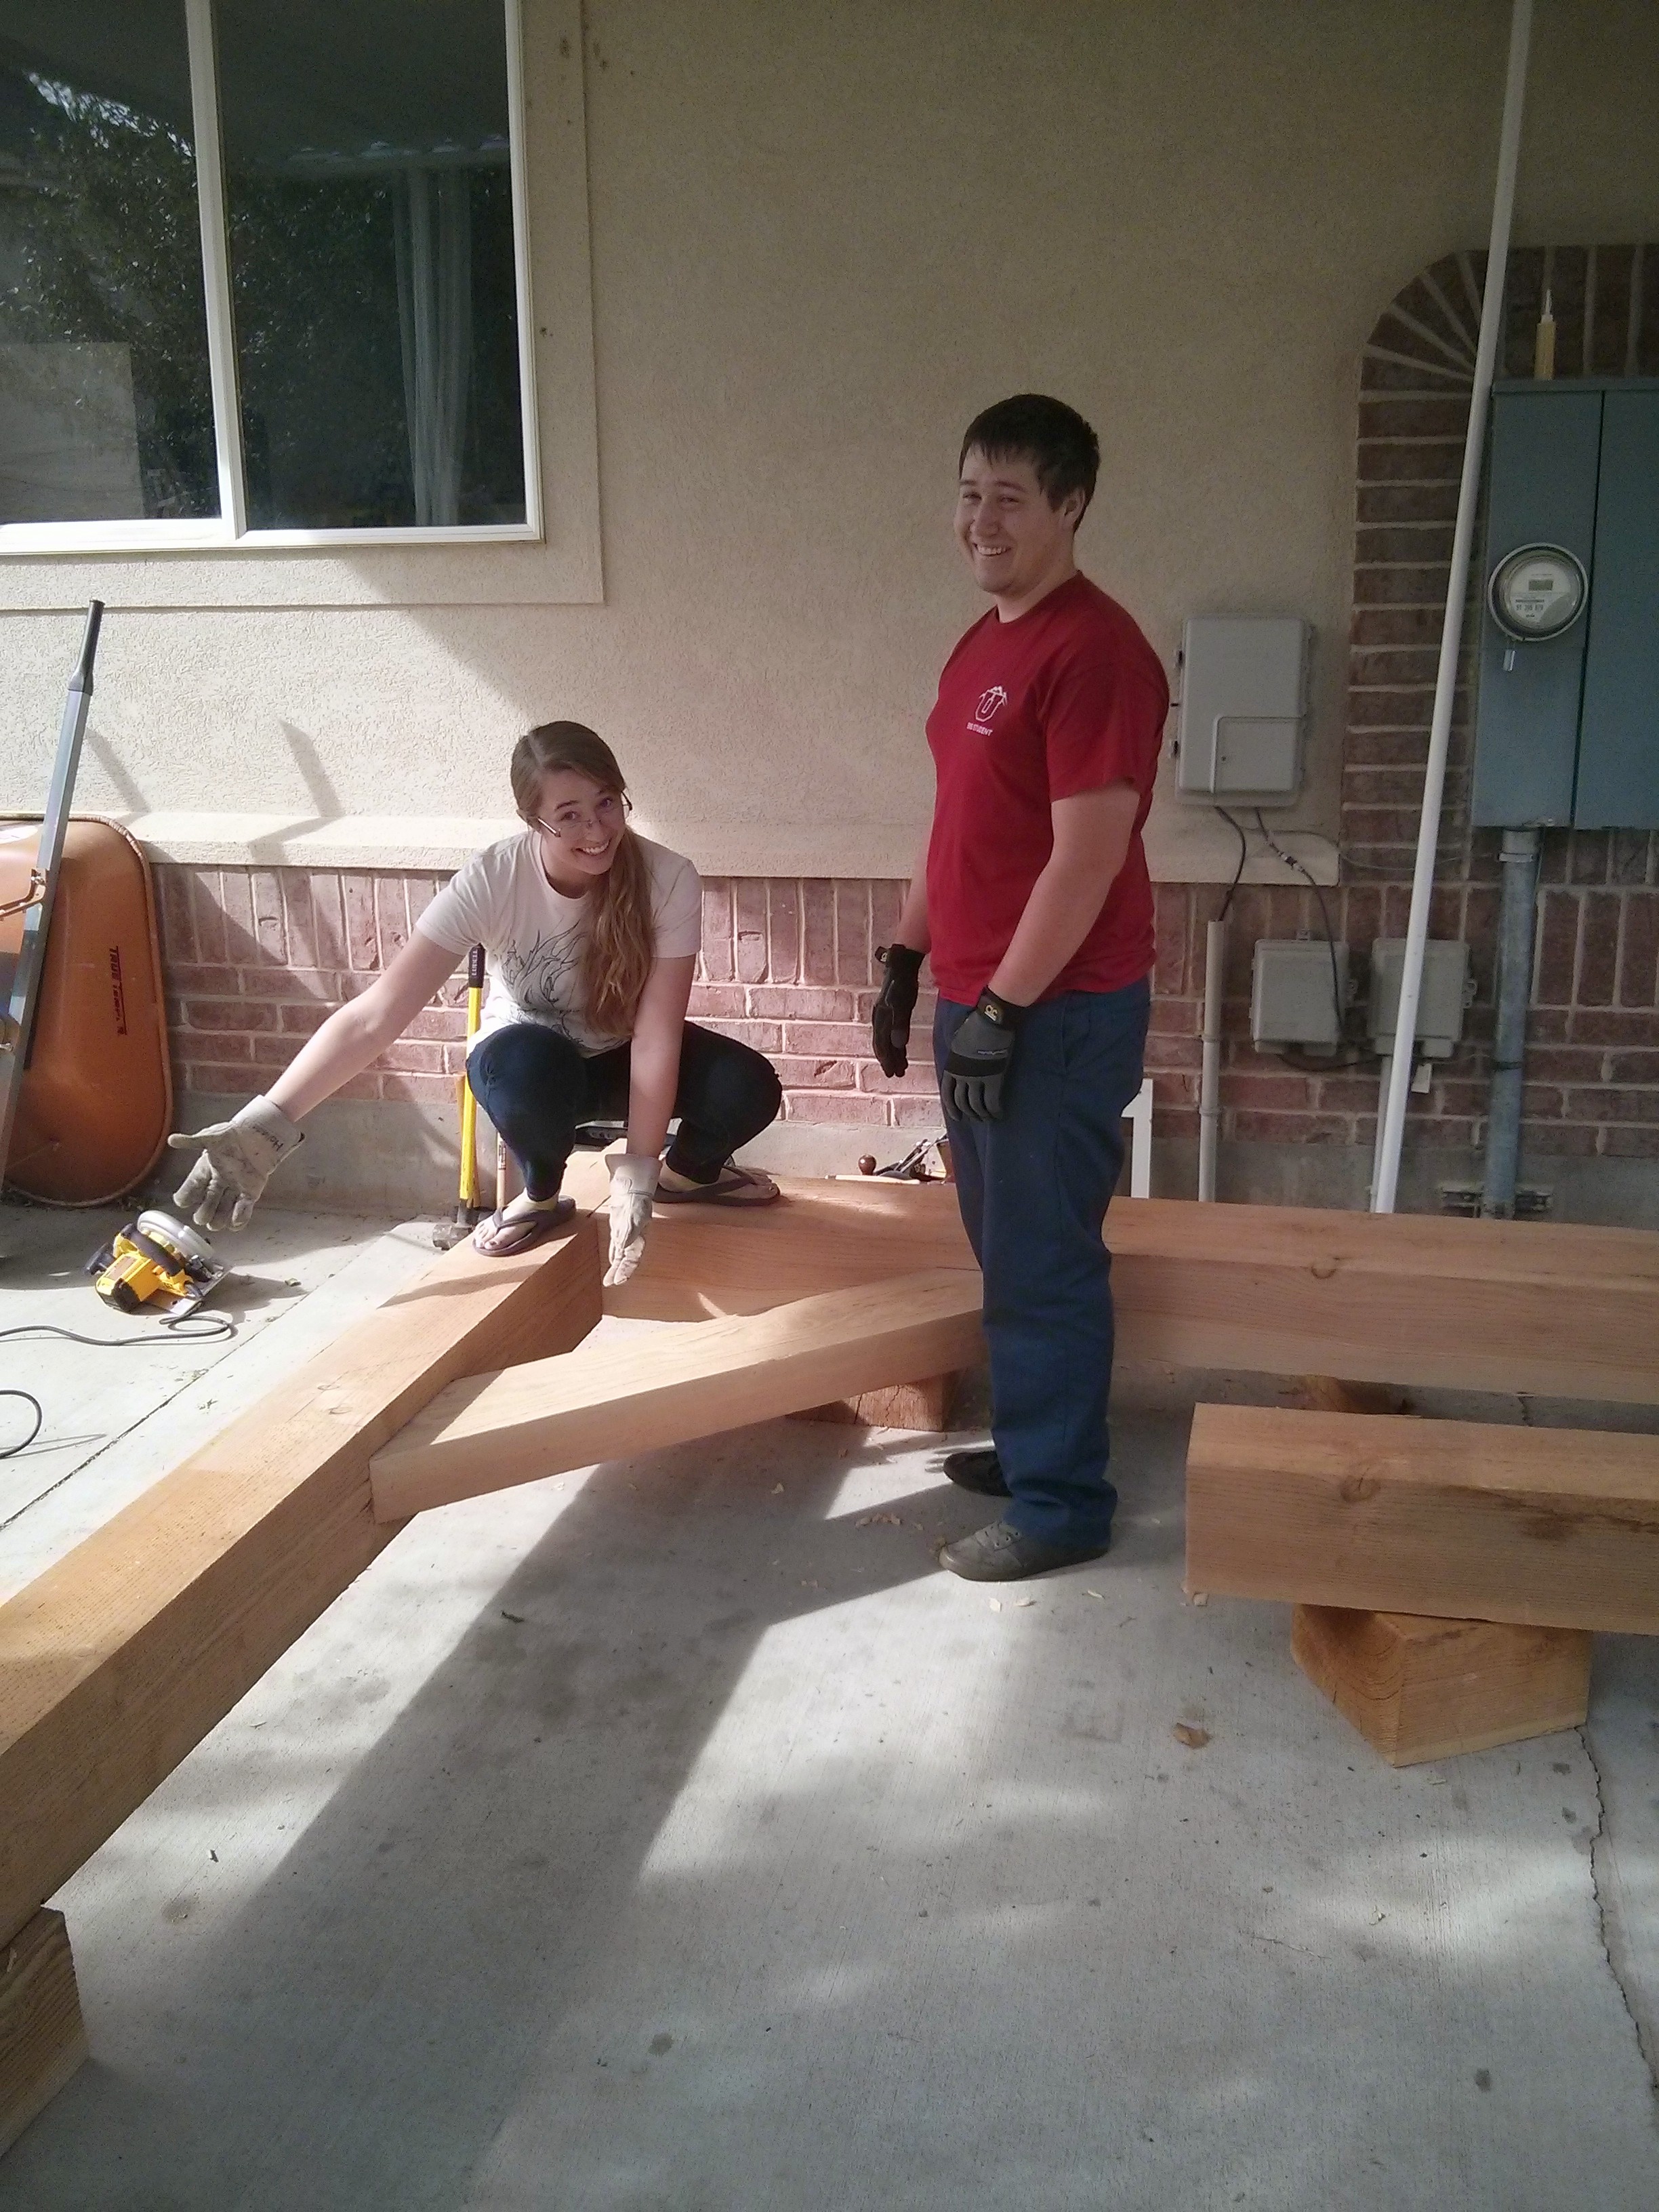
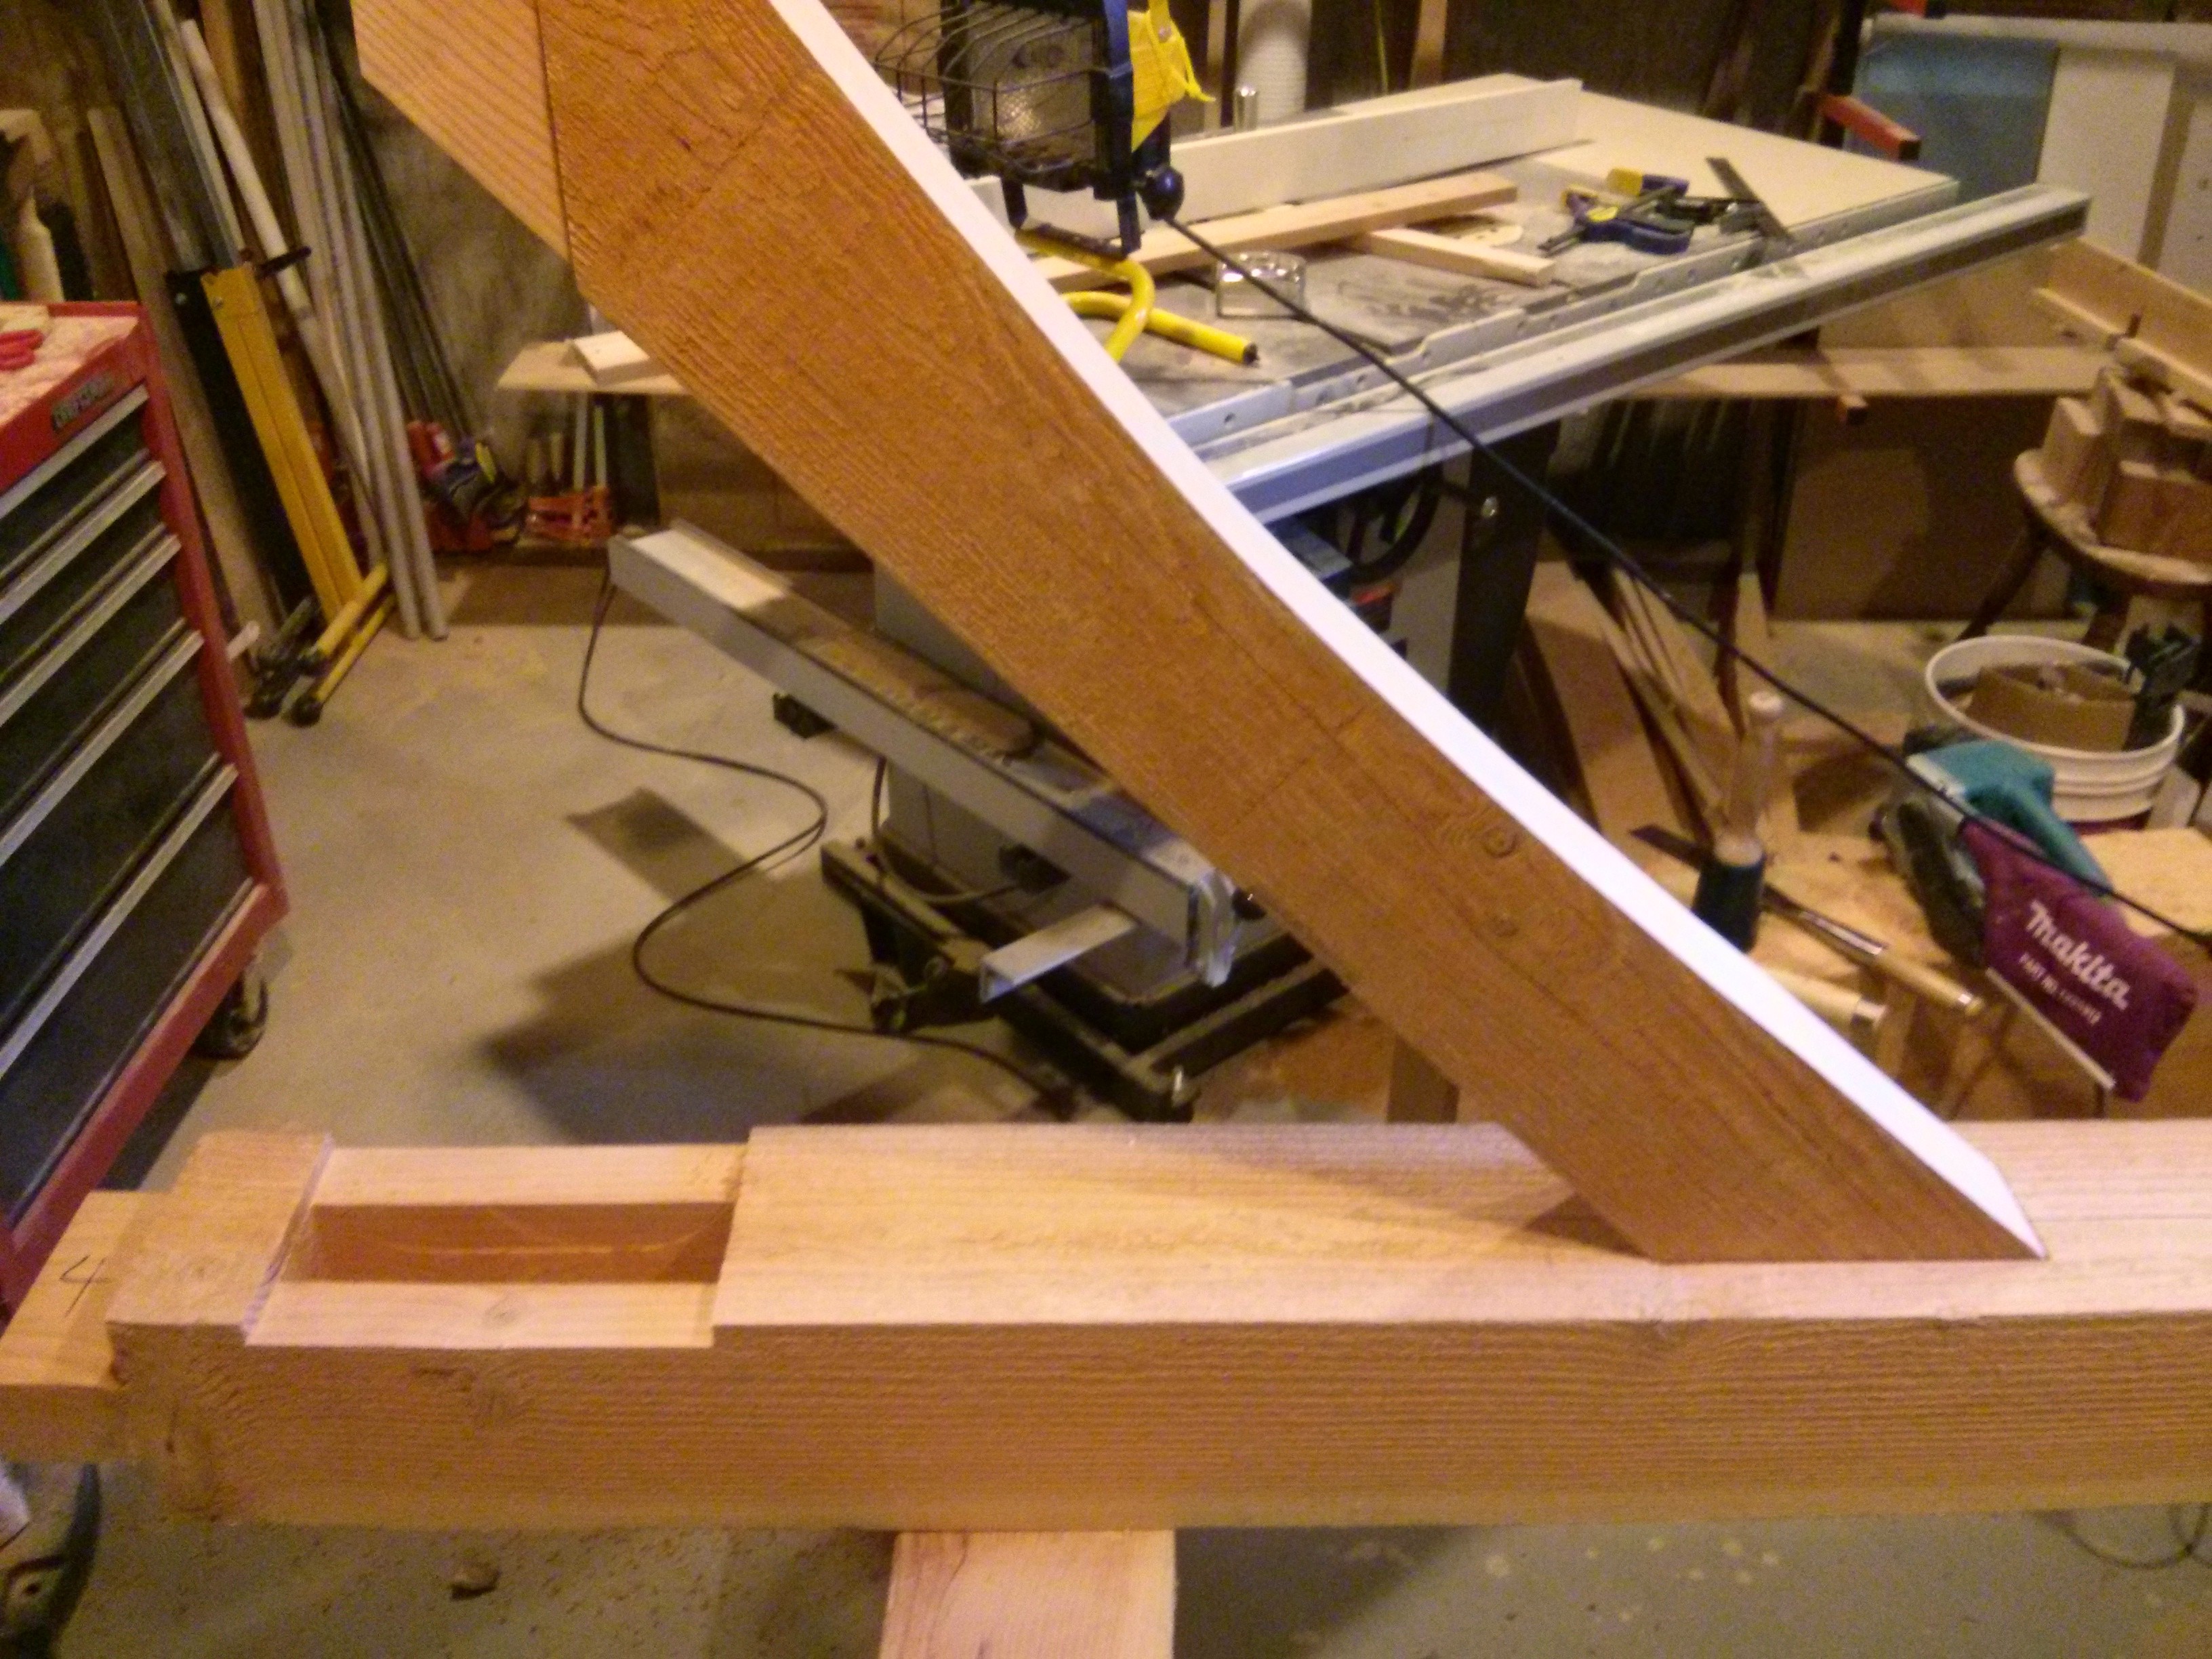
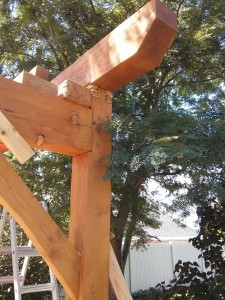
One of the tools I bought to help with the construction was a chain mortiser. This is a wonderful tool for making large mortises. However, soon after I began using it, I broke it! Fortunately, it came with a one year warranty. I got it fixed and continued on with the work.
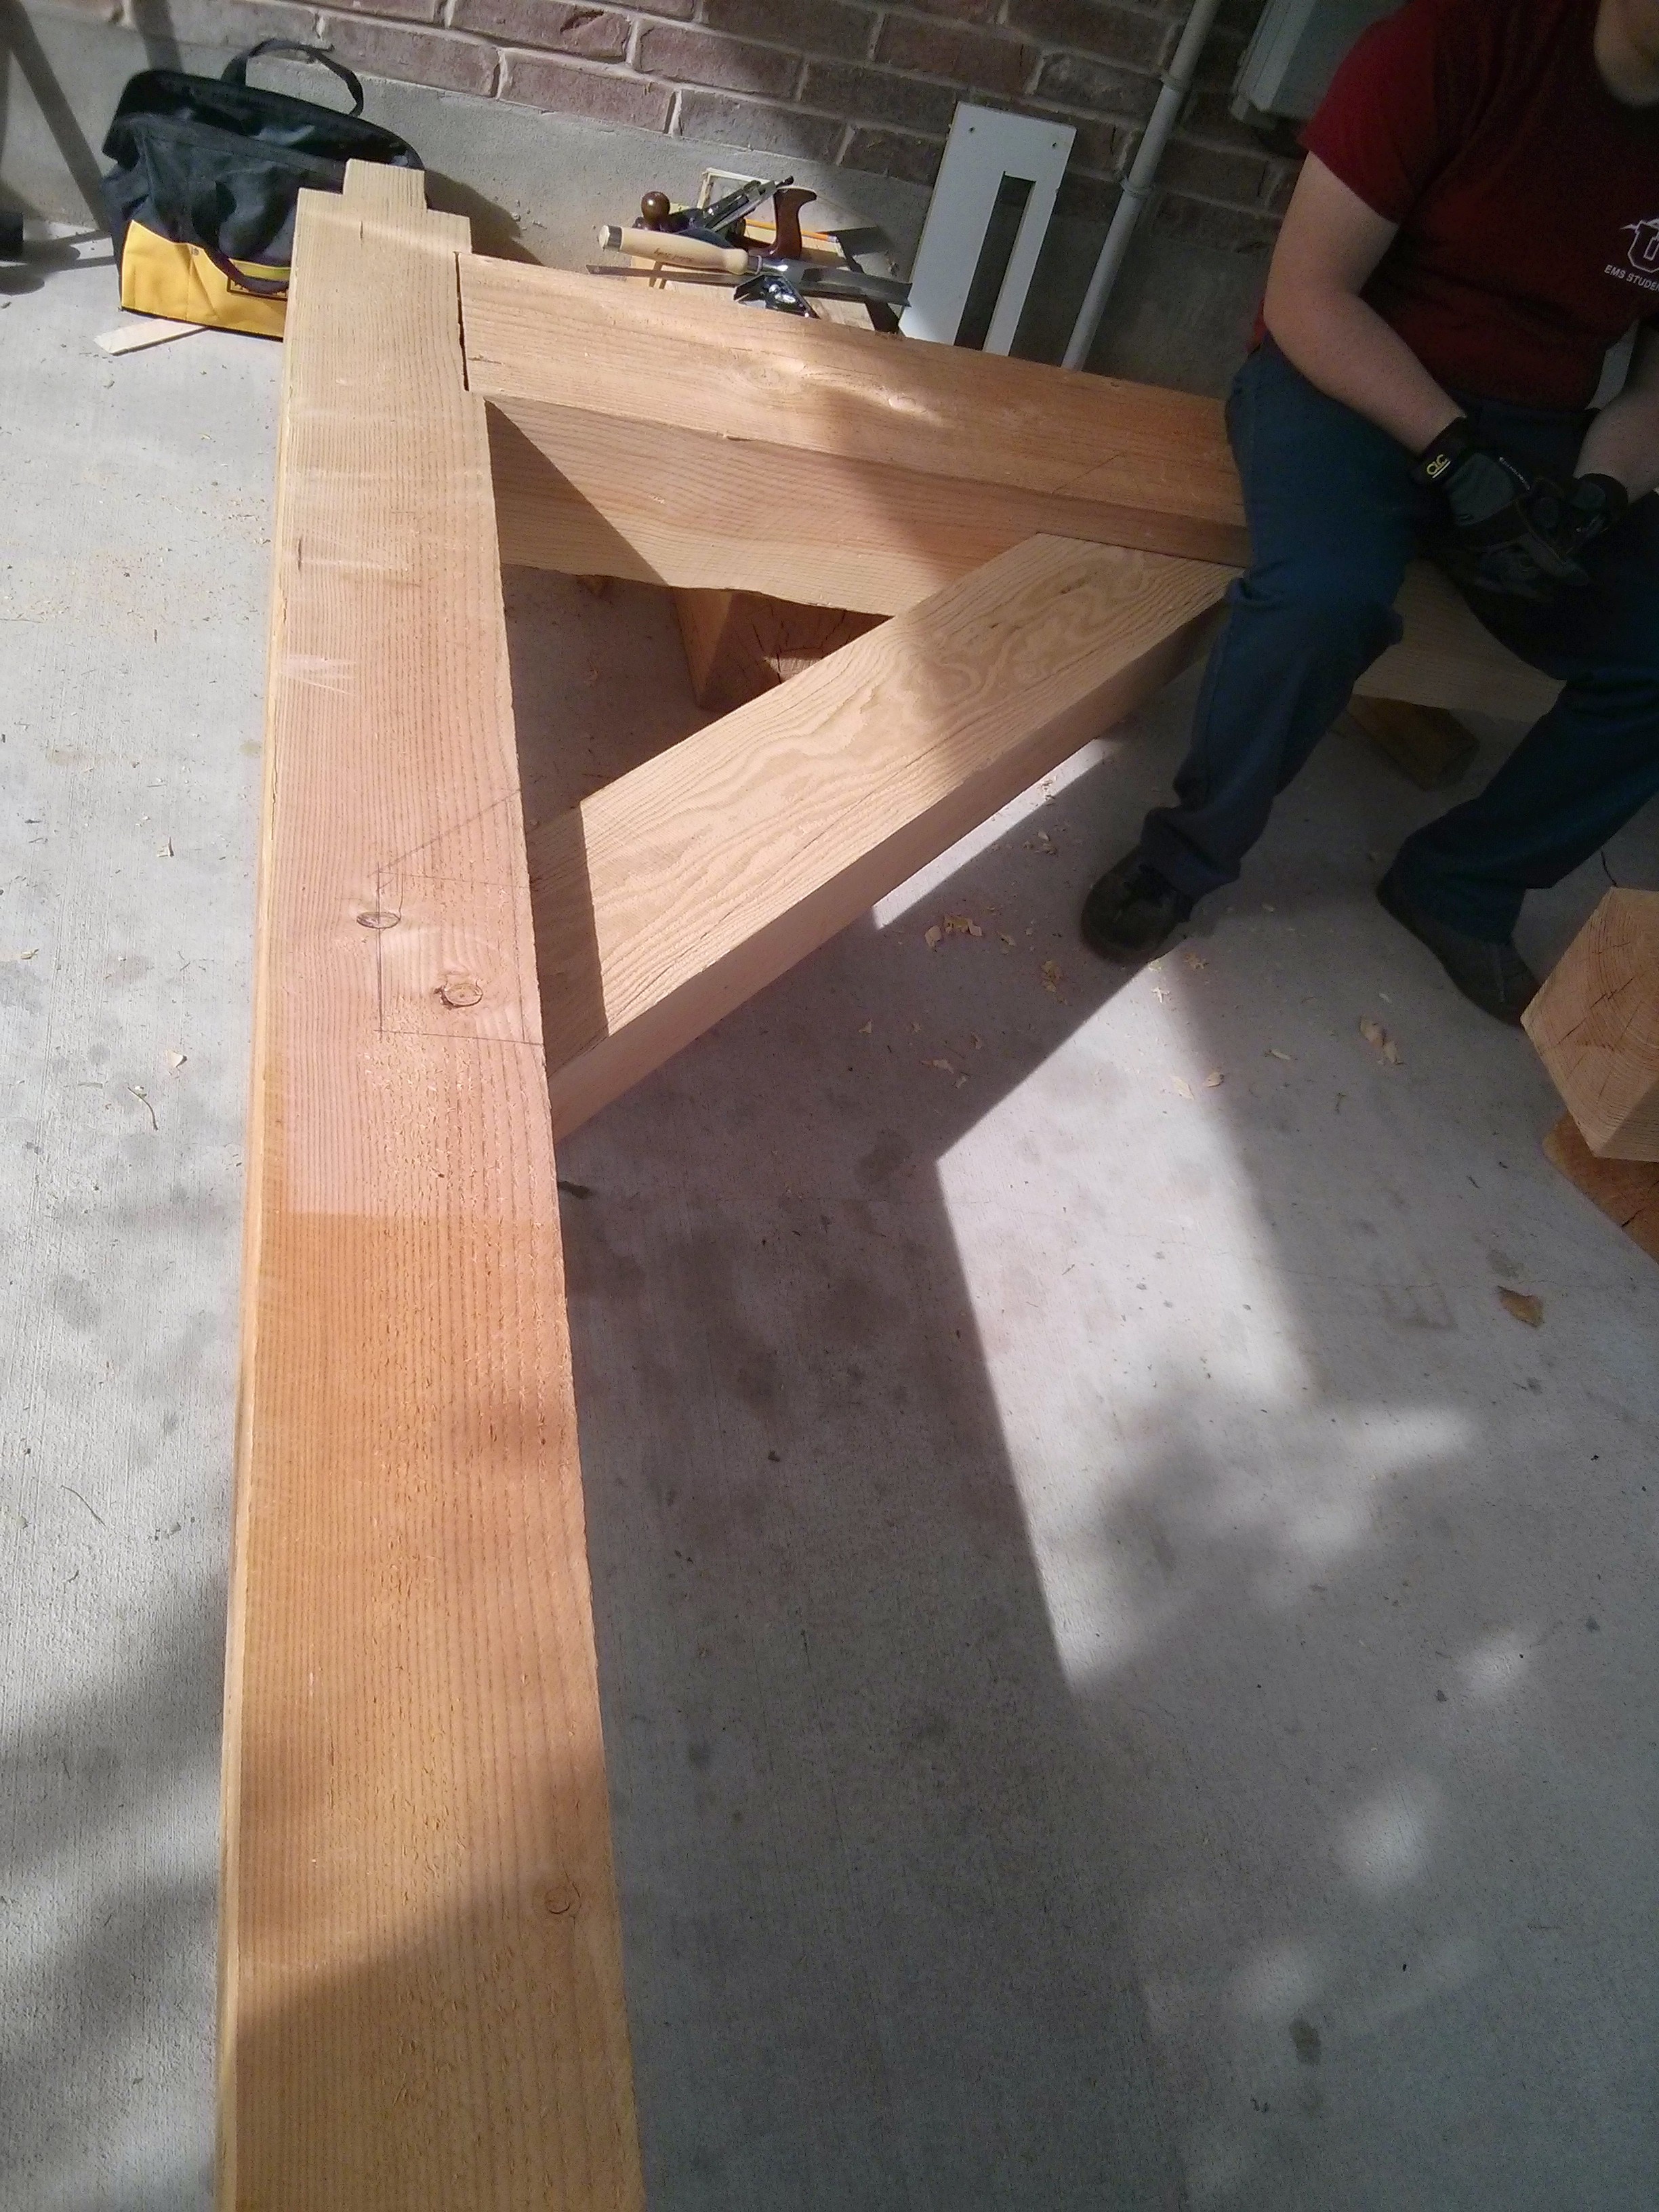
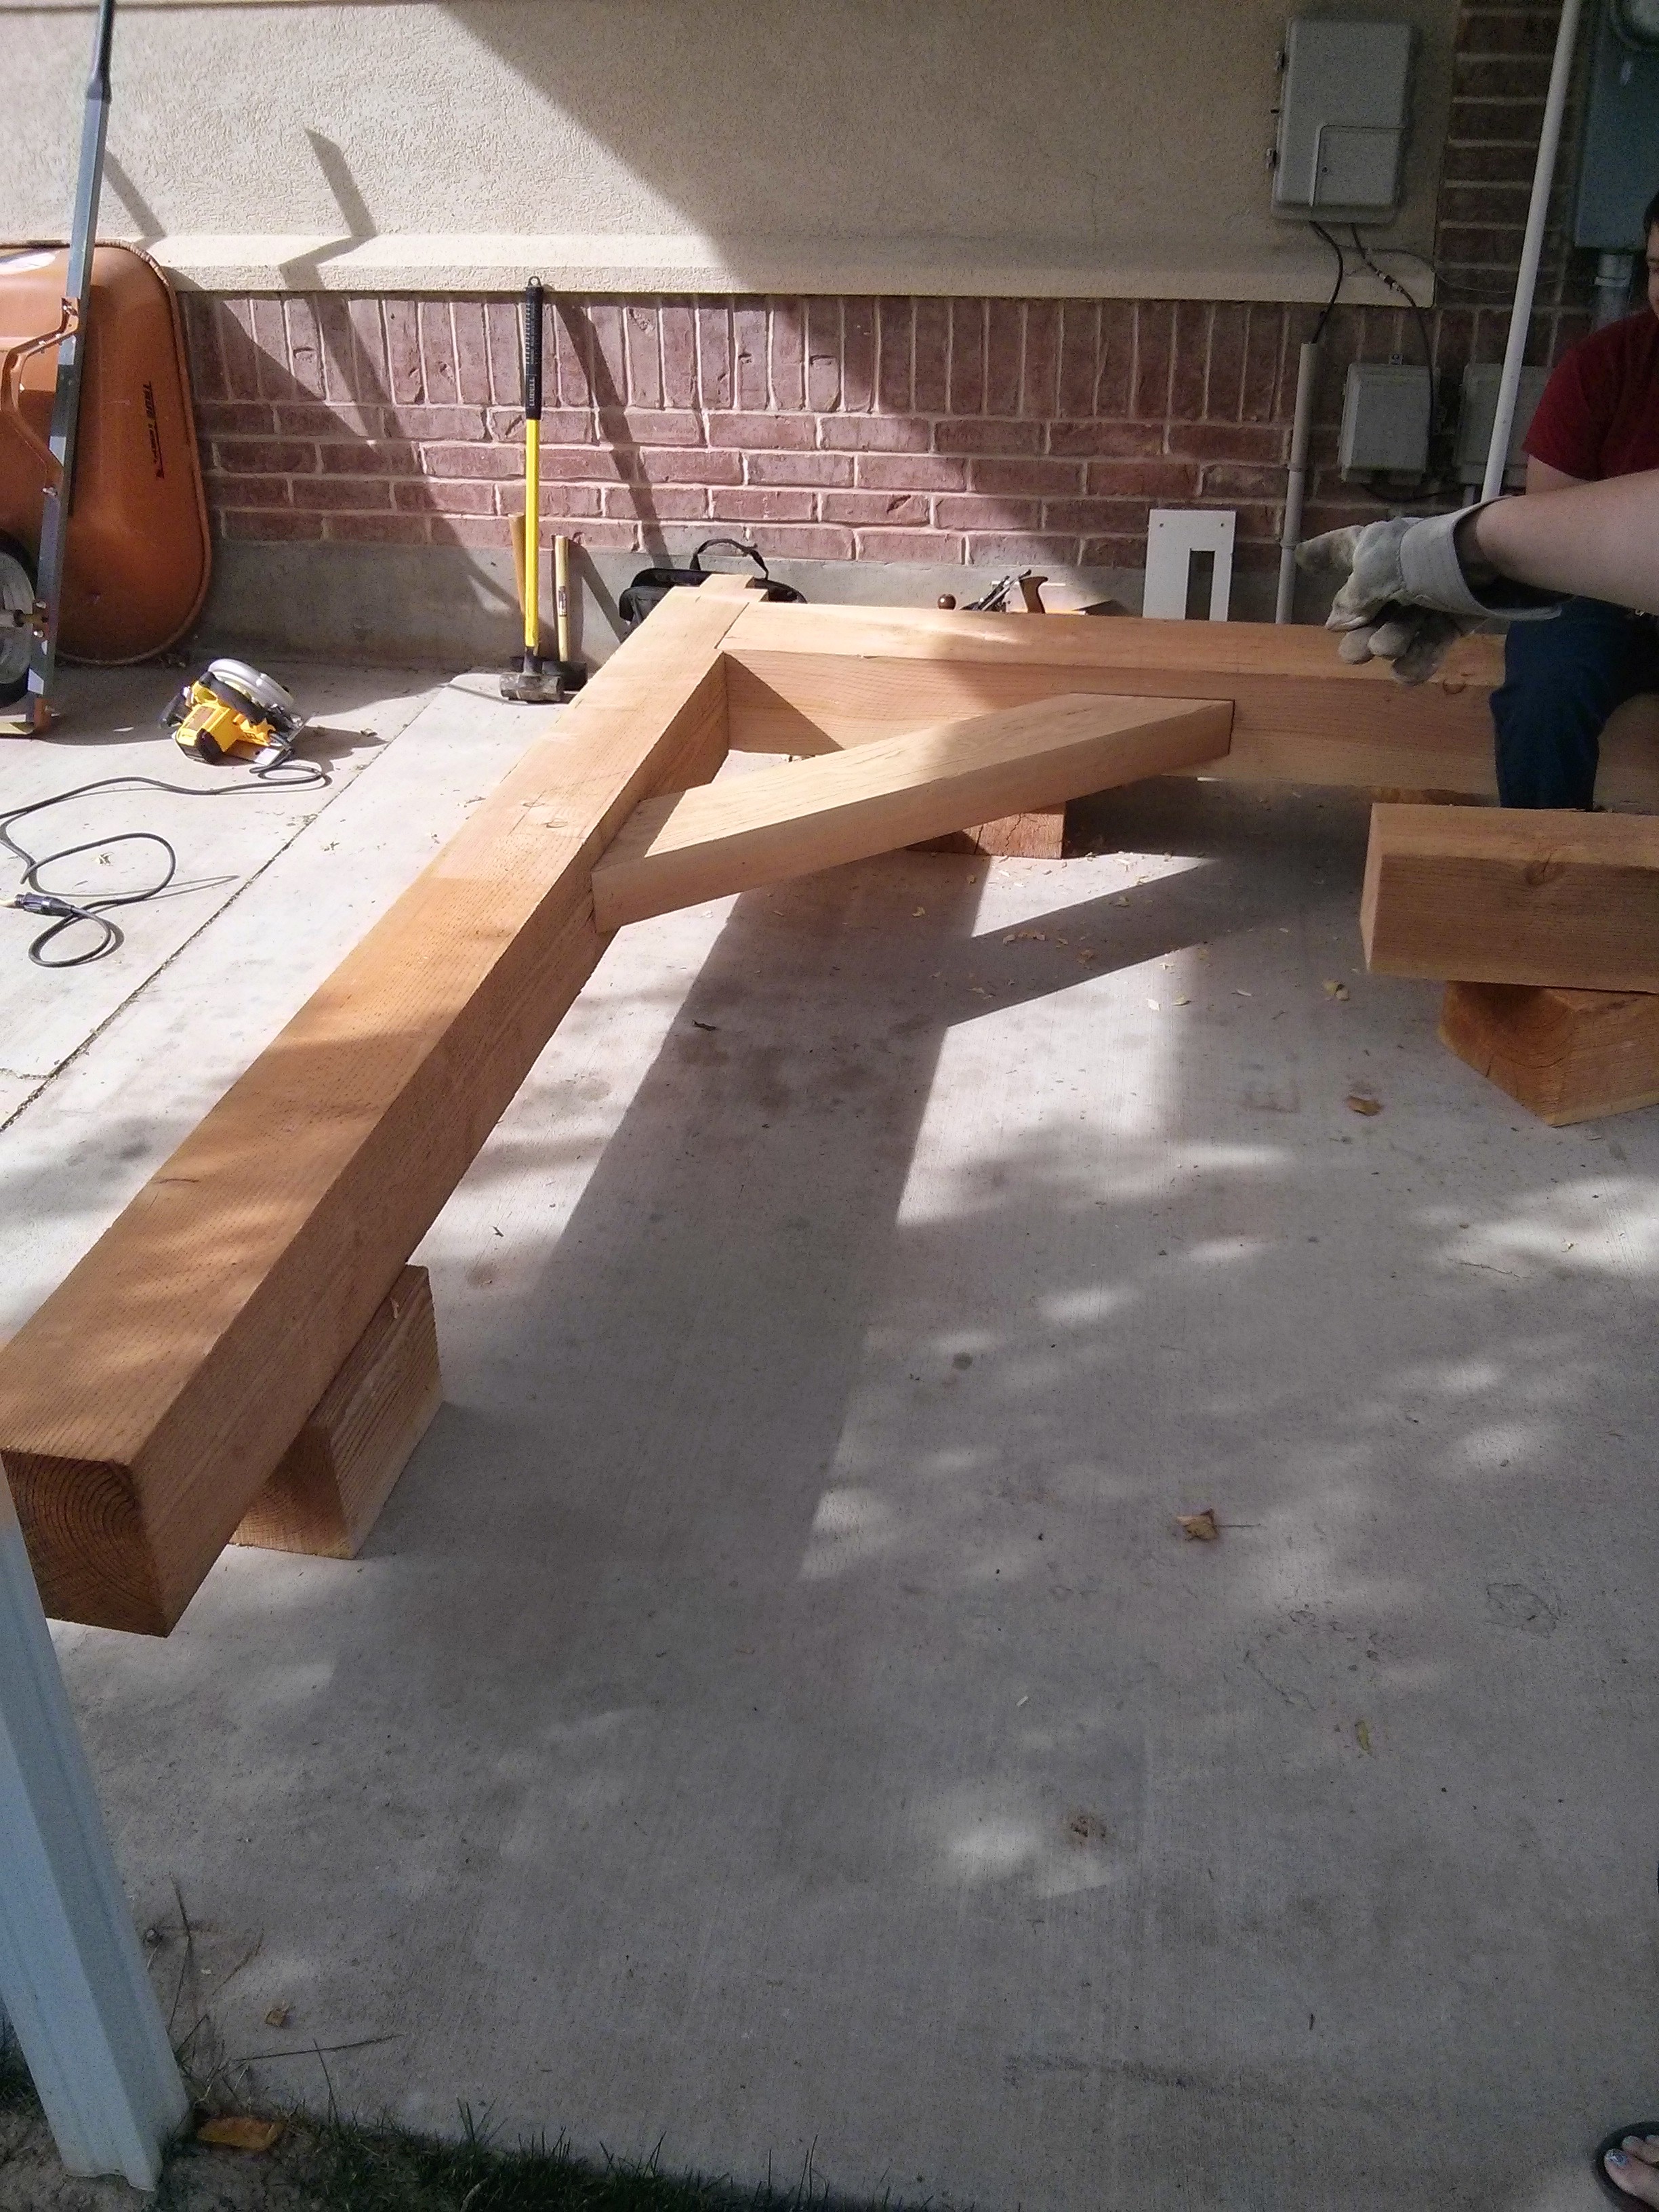
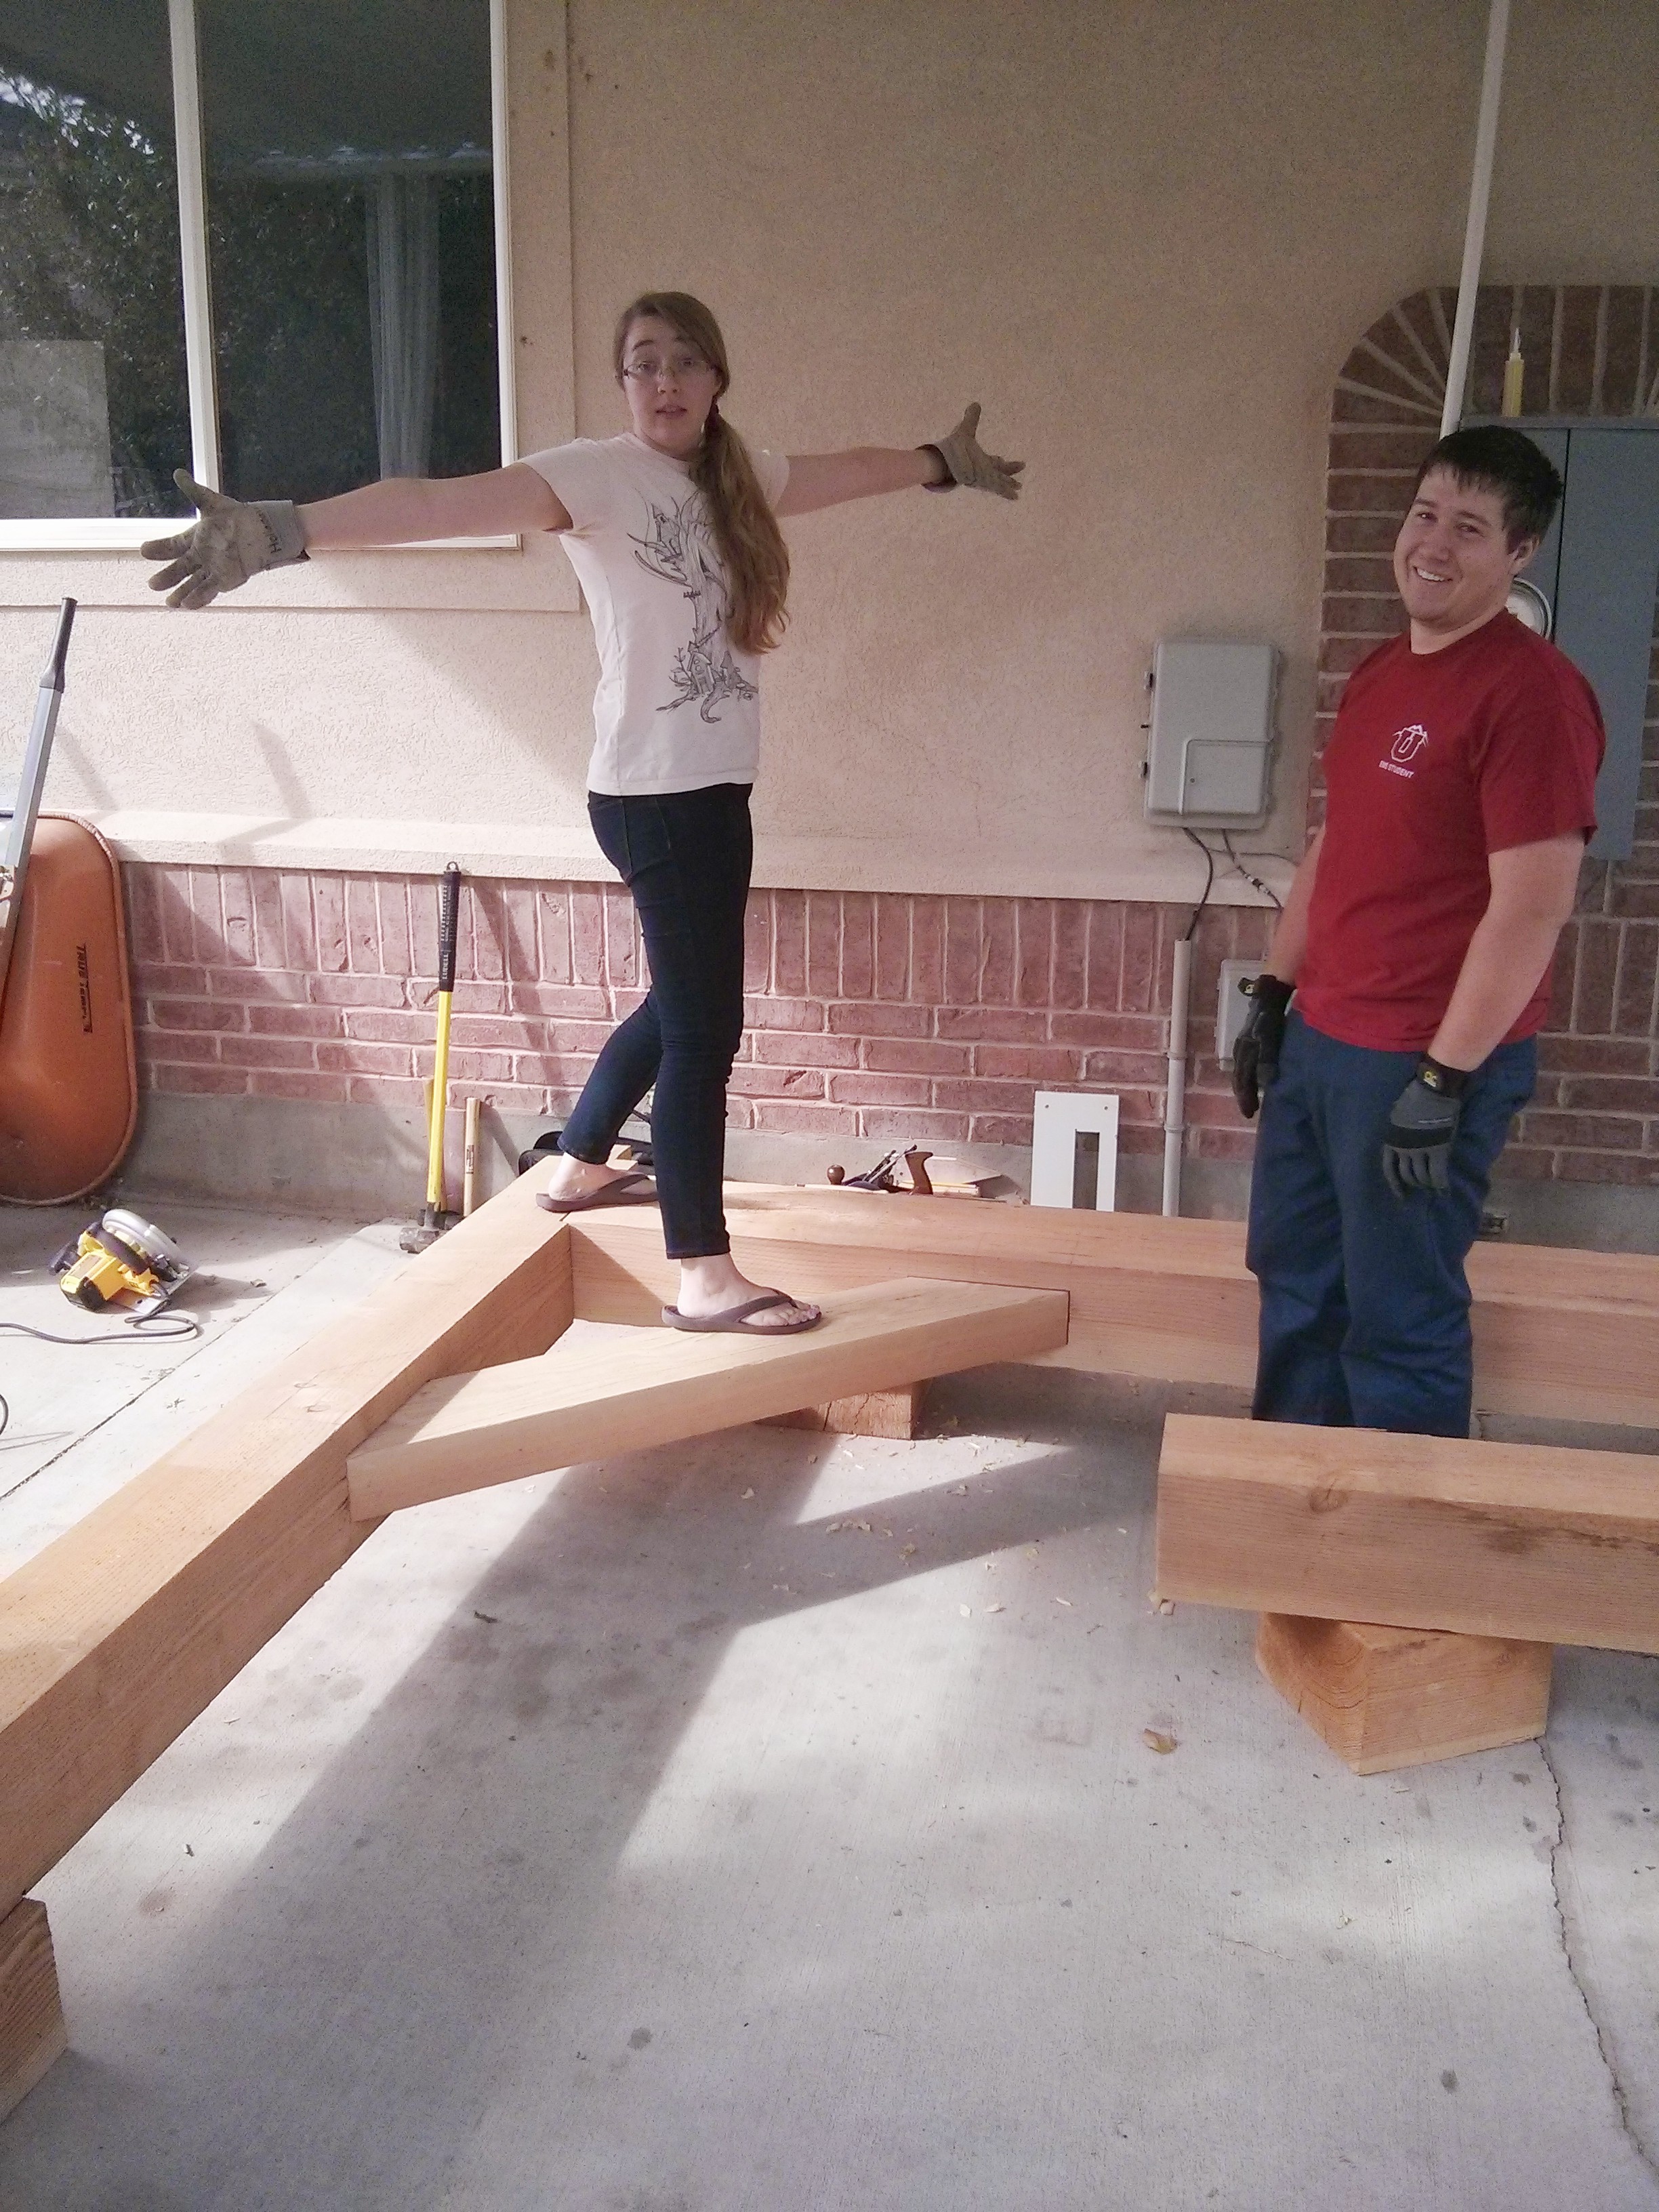
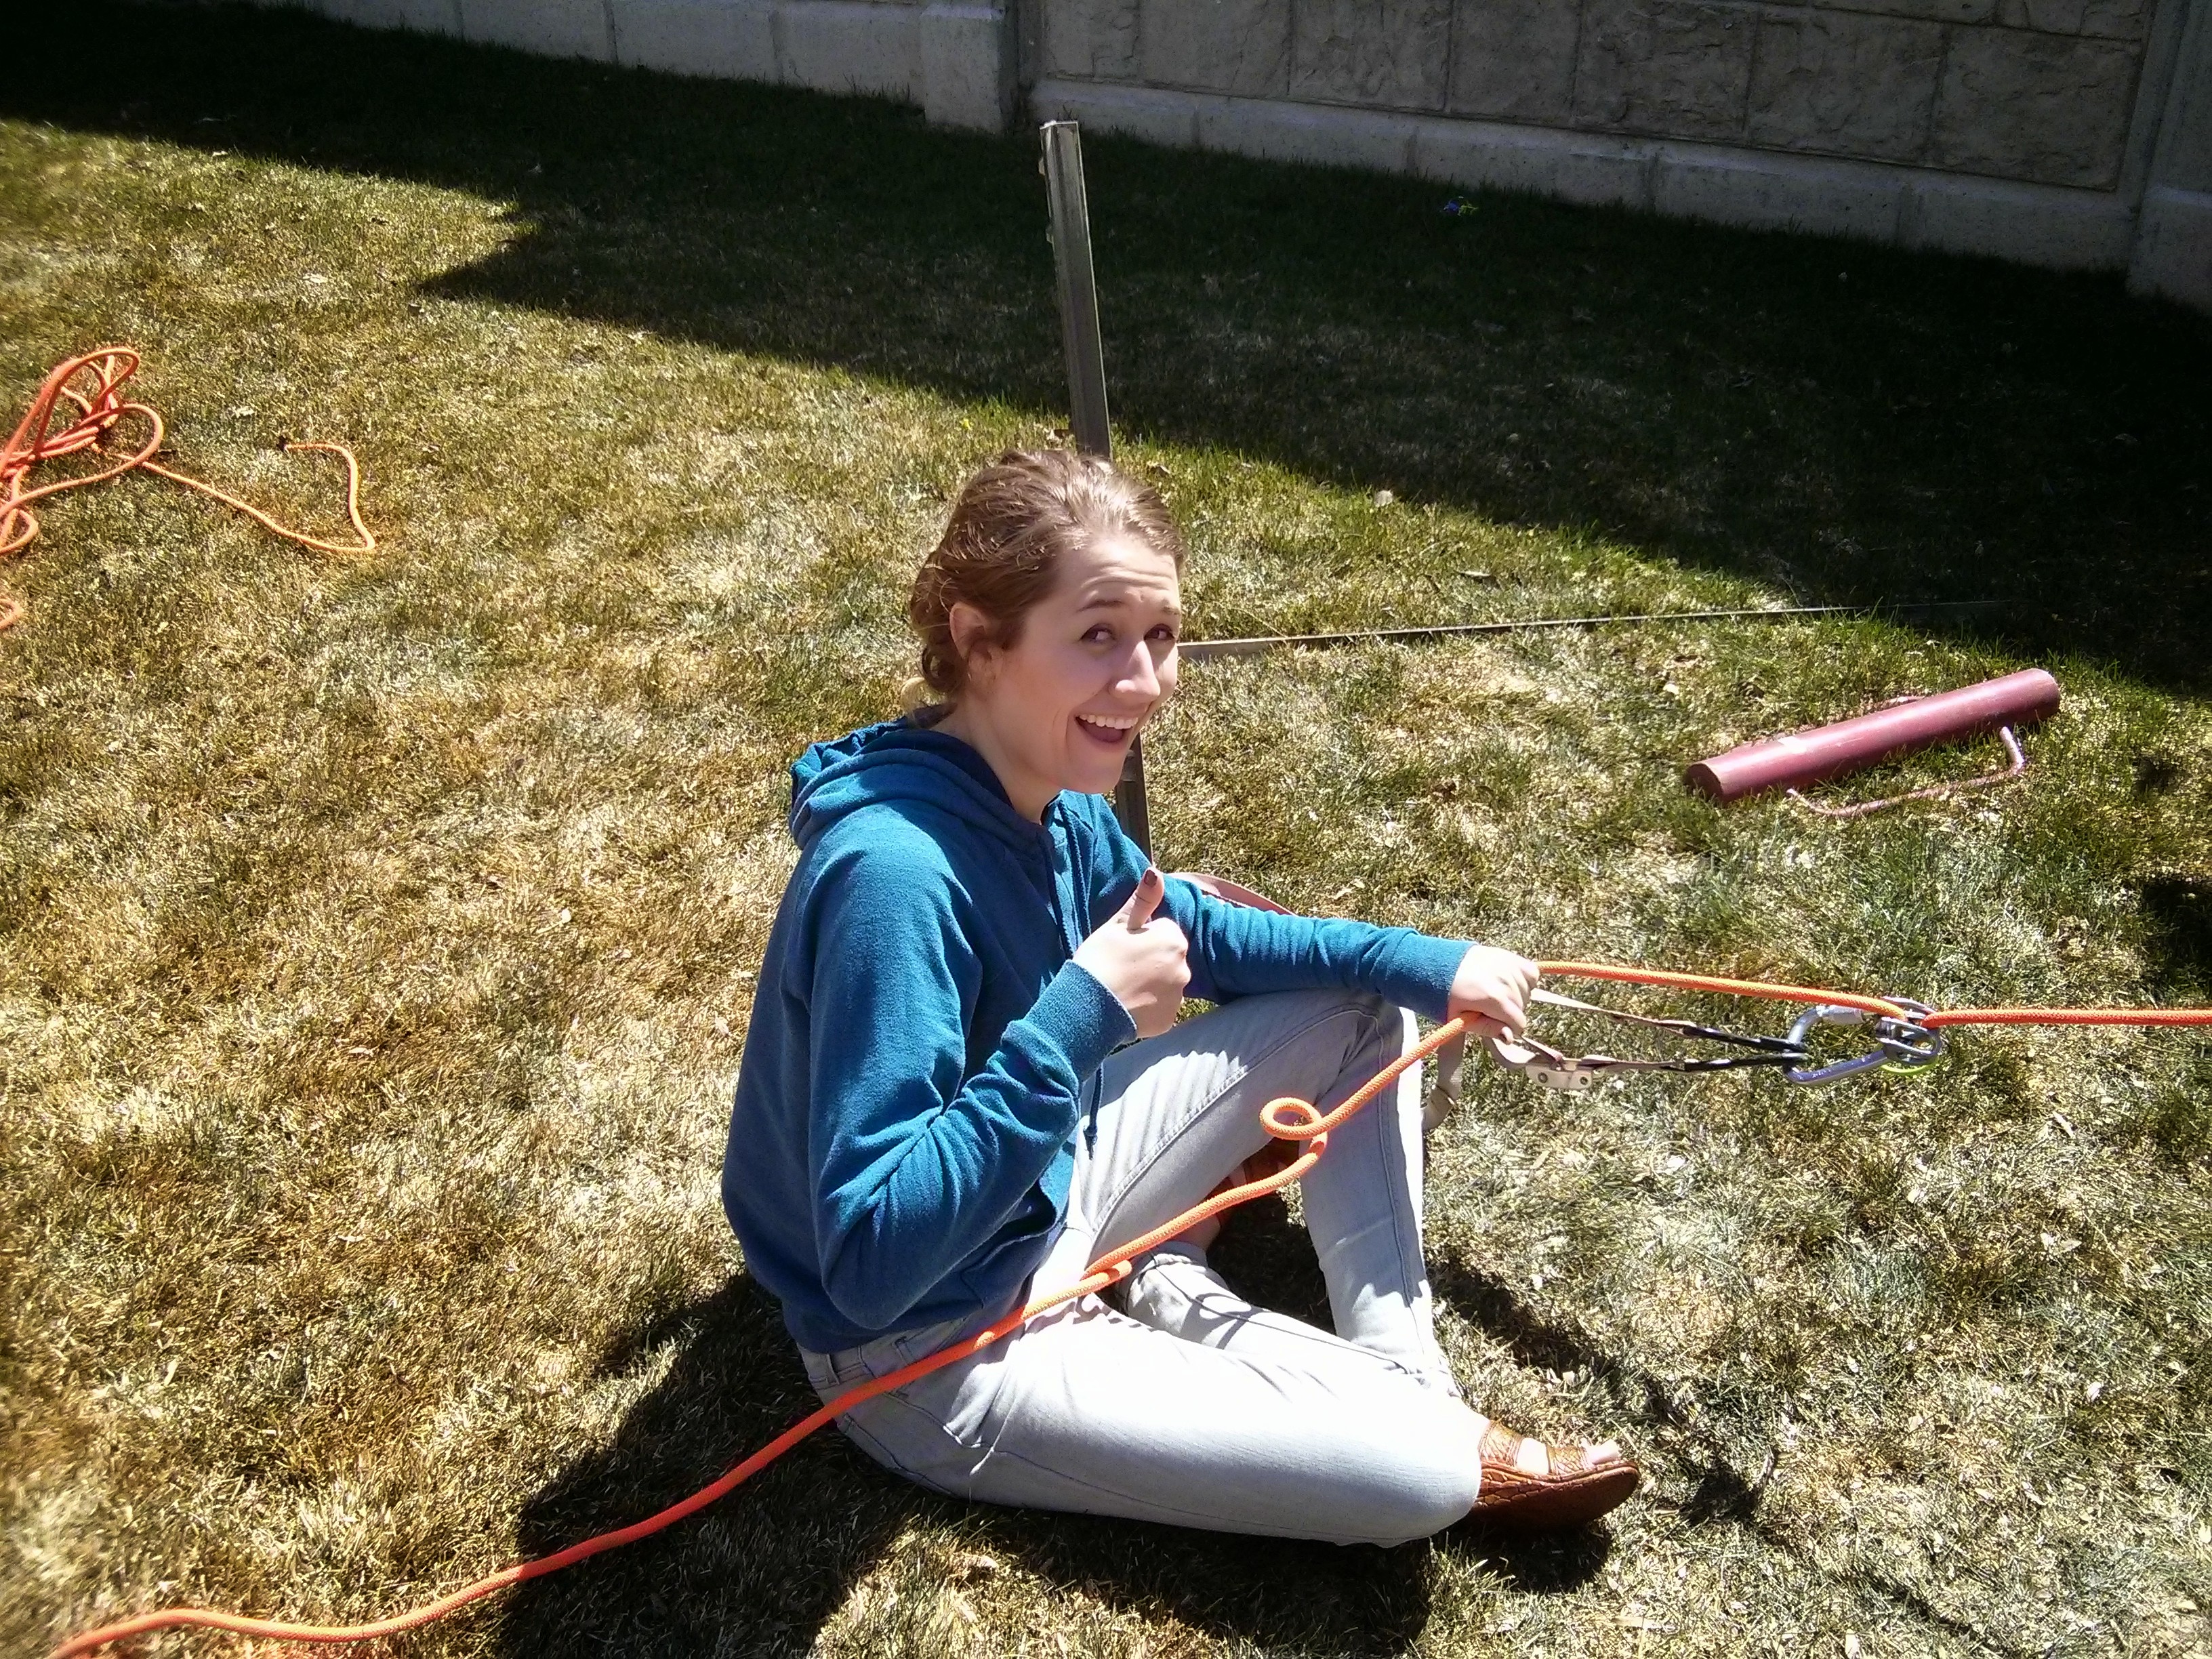
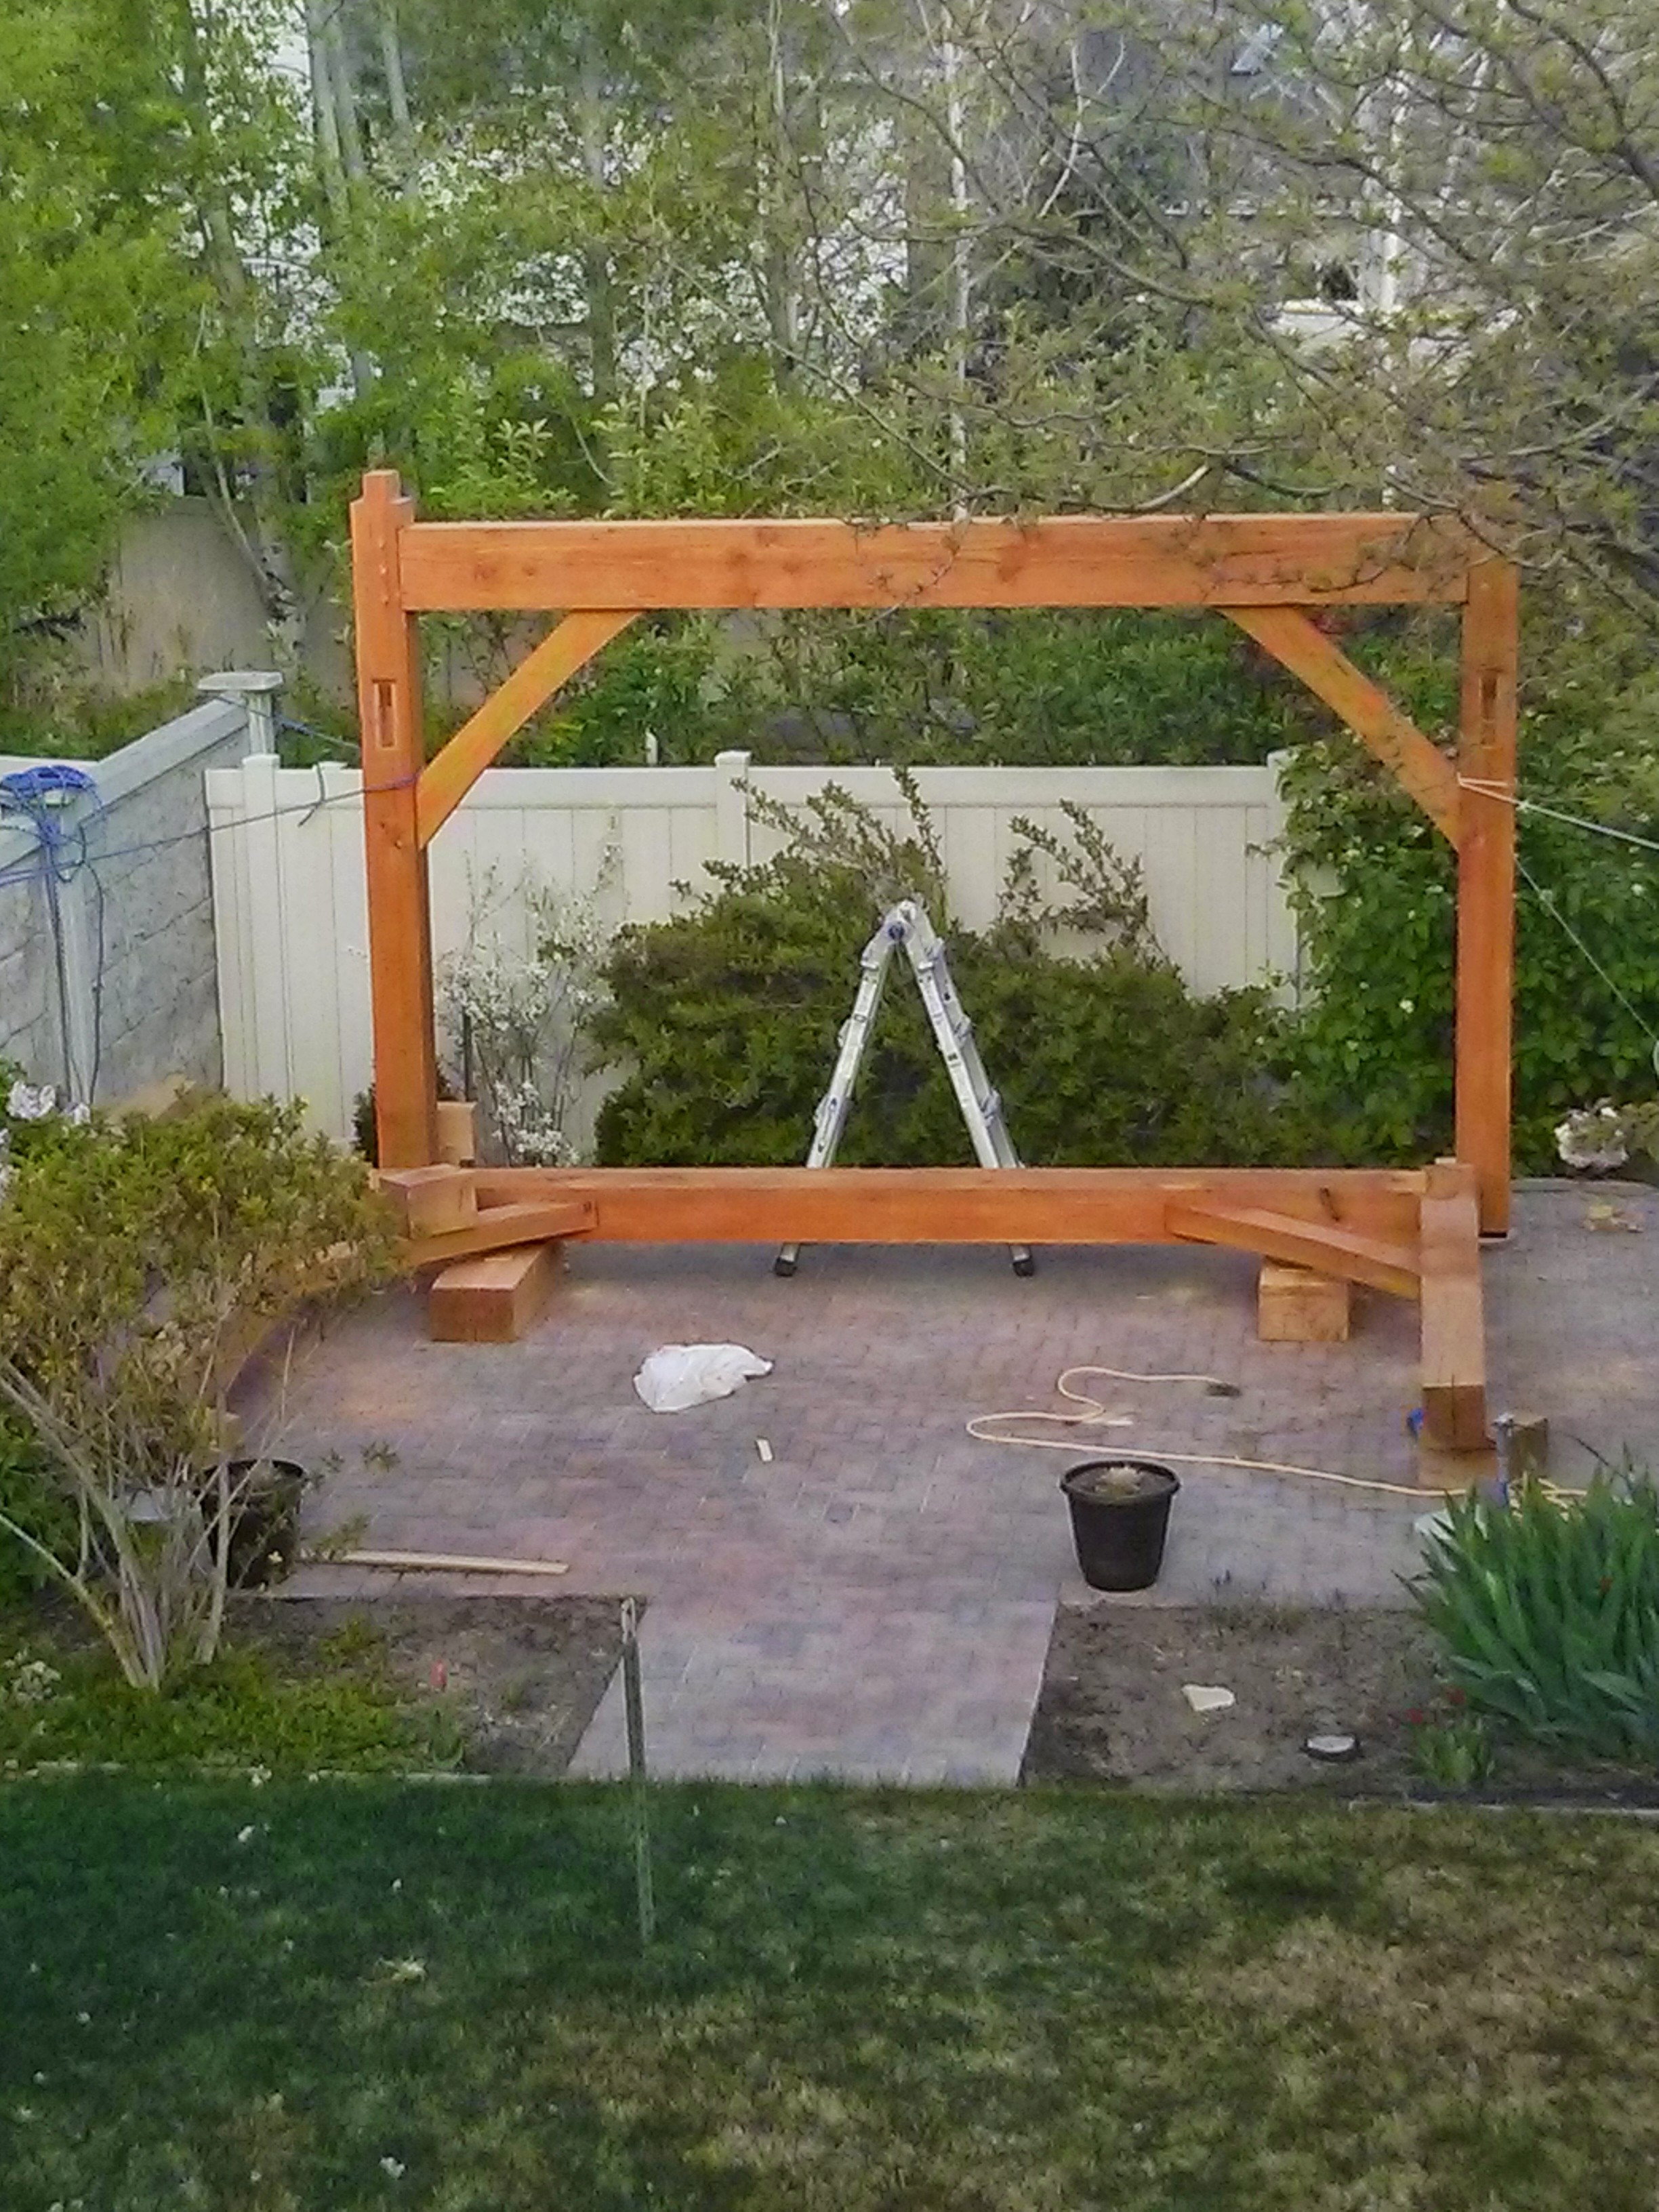
Once I got one archway completed, we put it together in place on the ground and lifted it into position using a make shift crane.
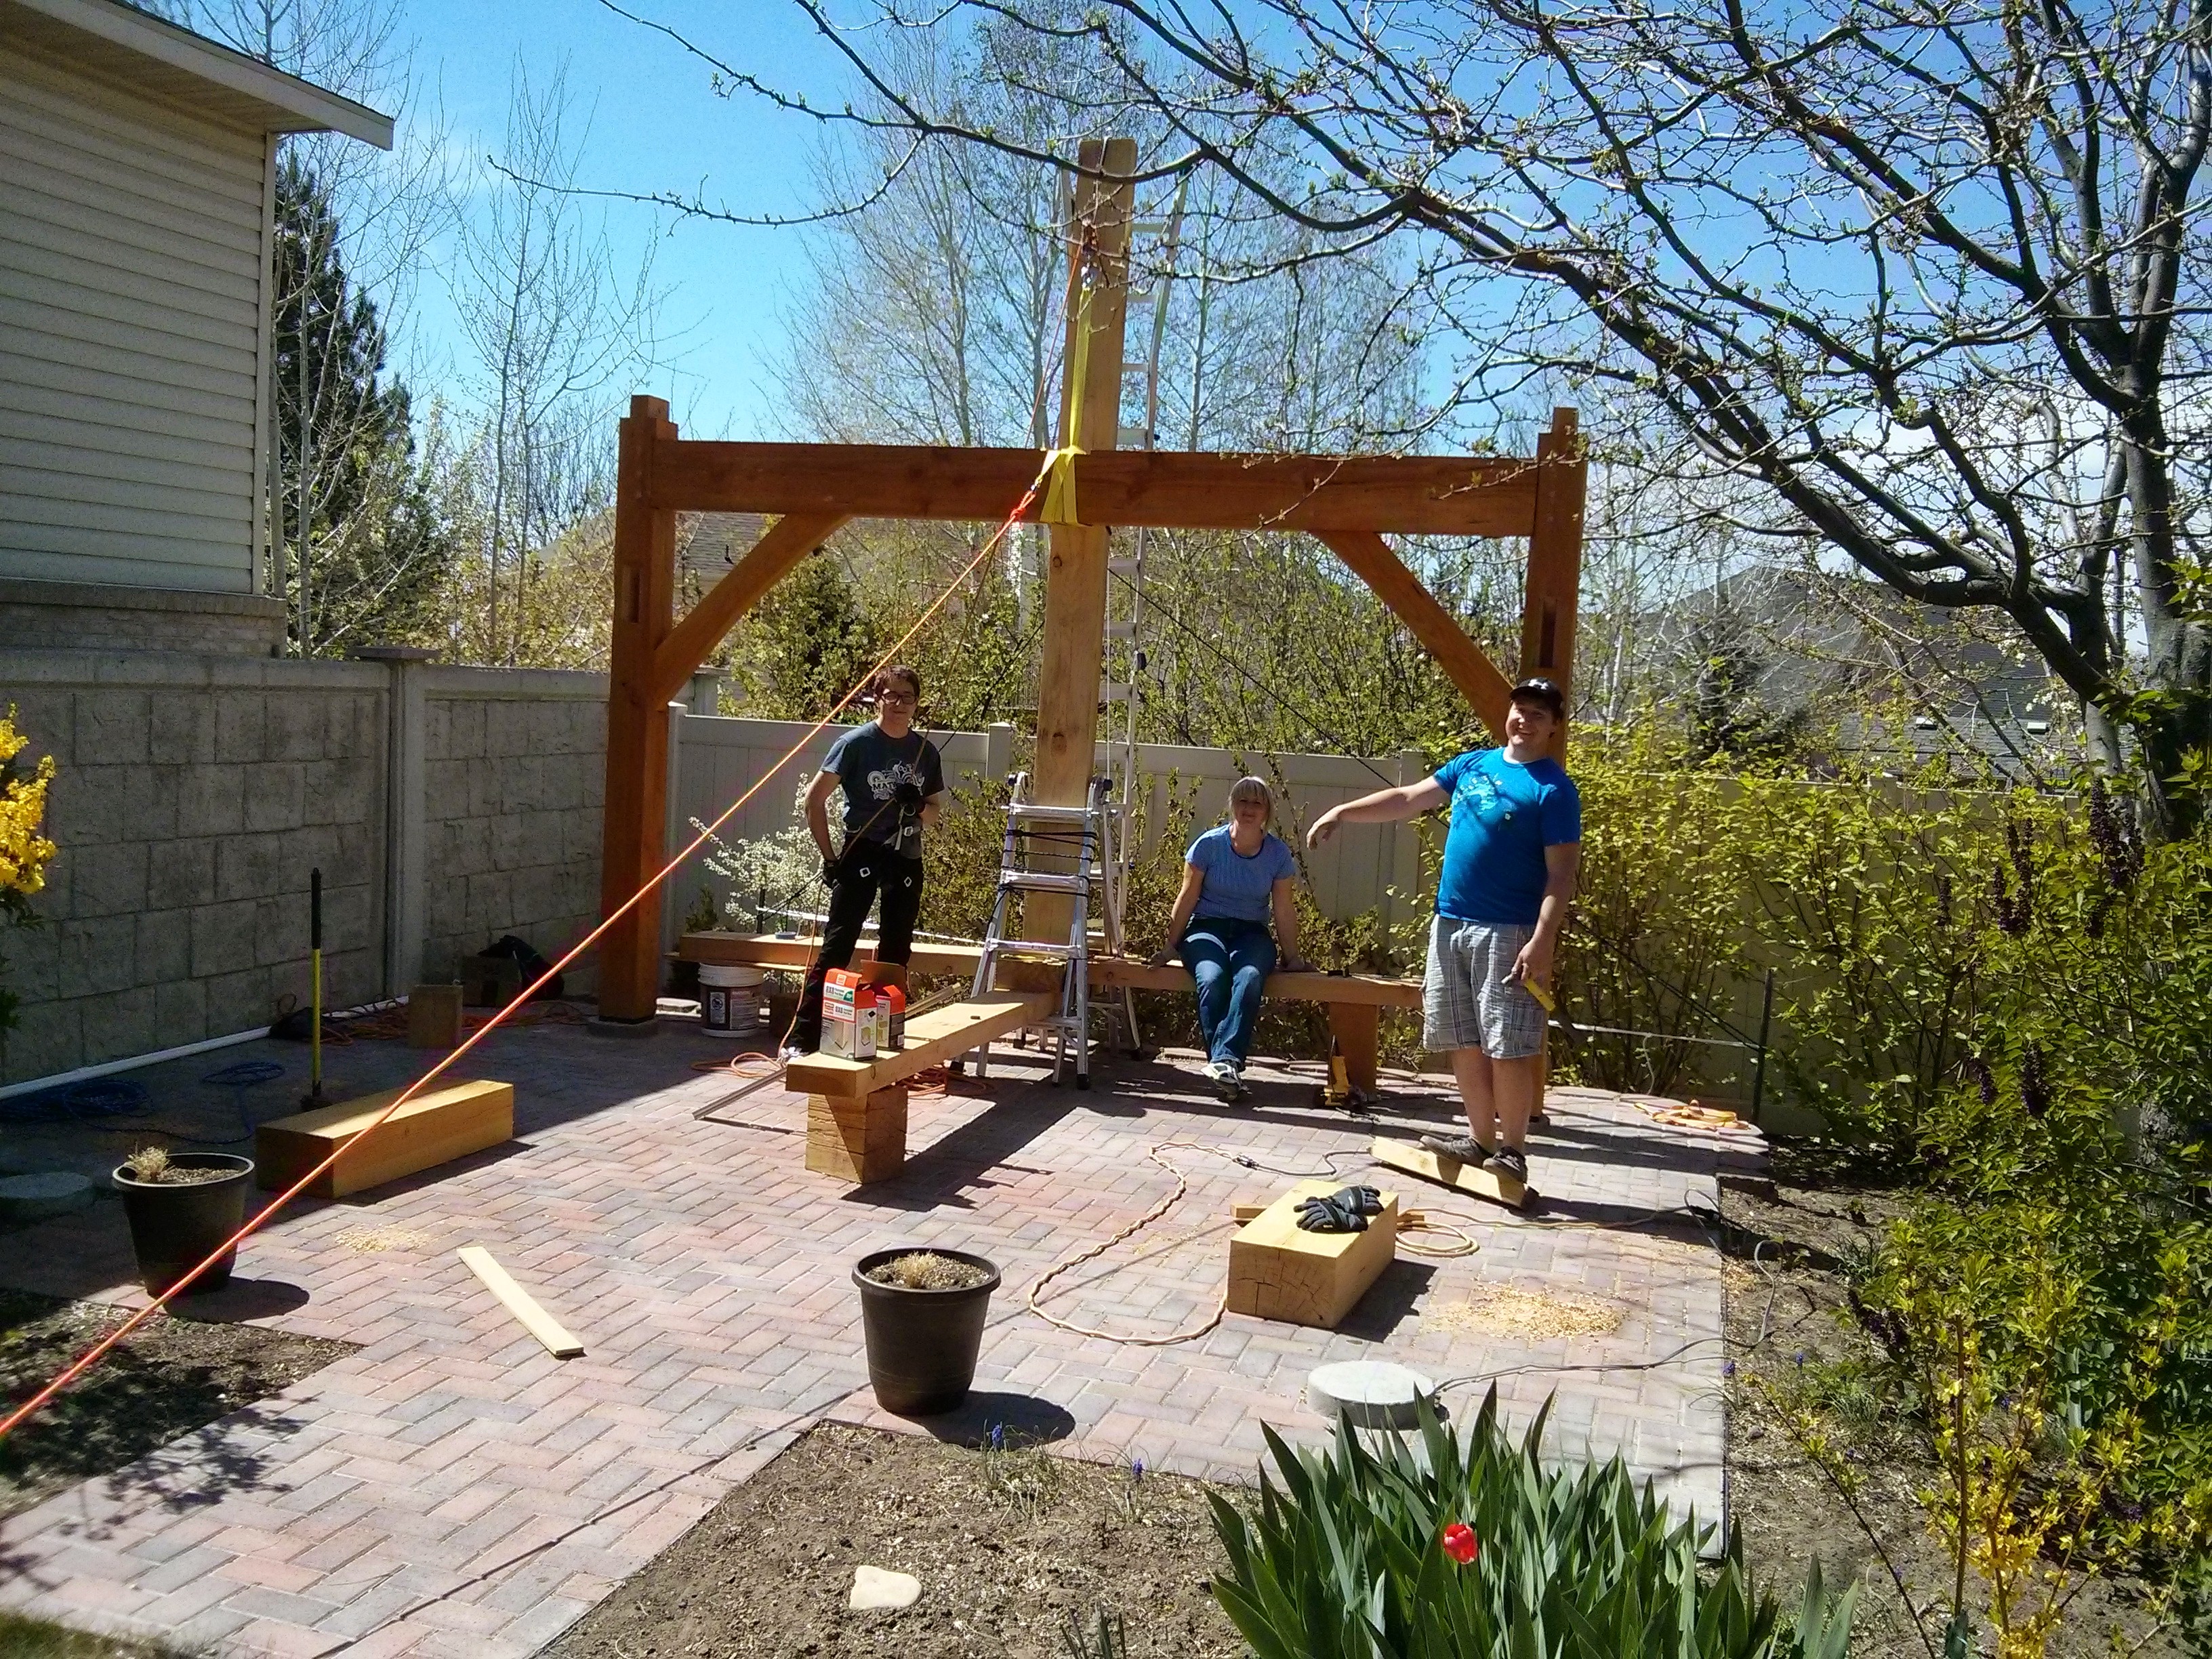
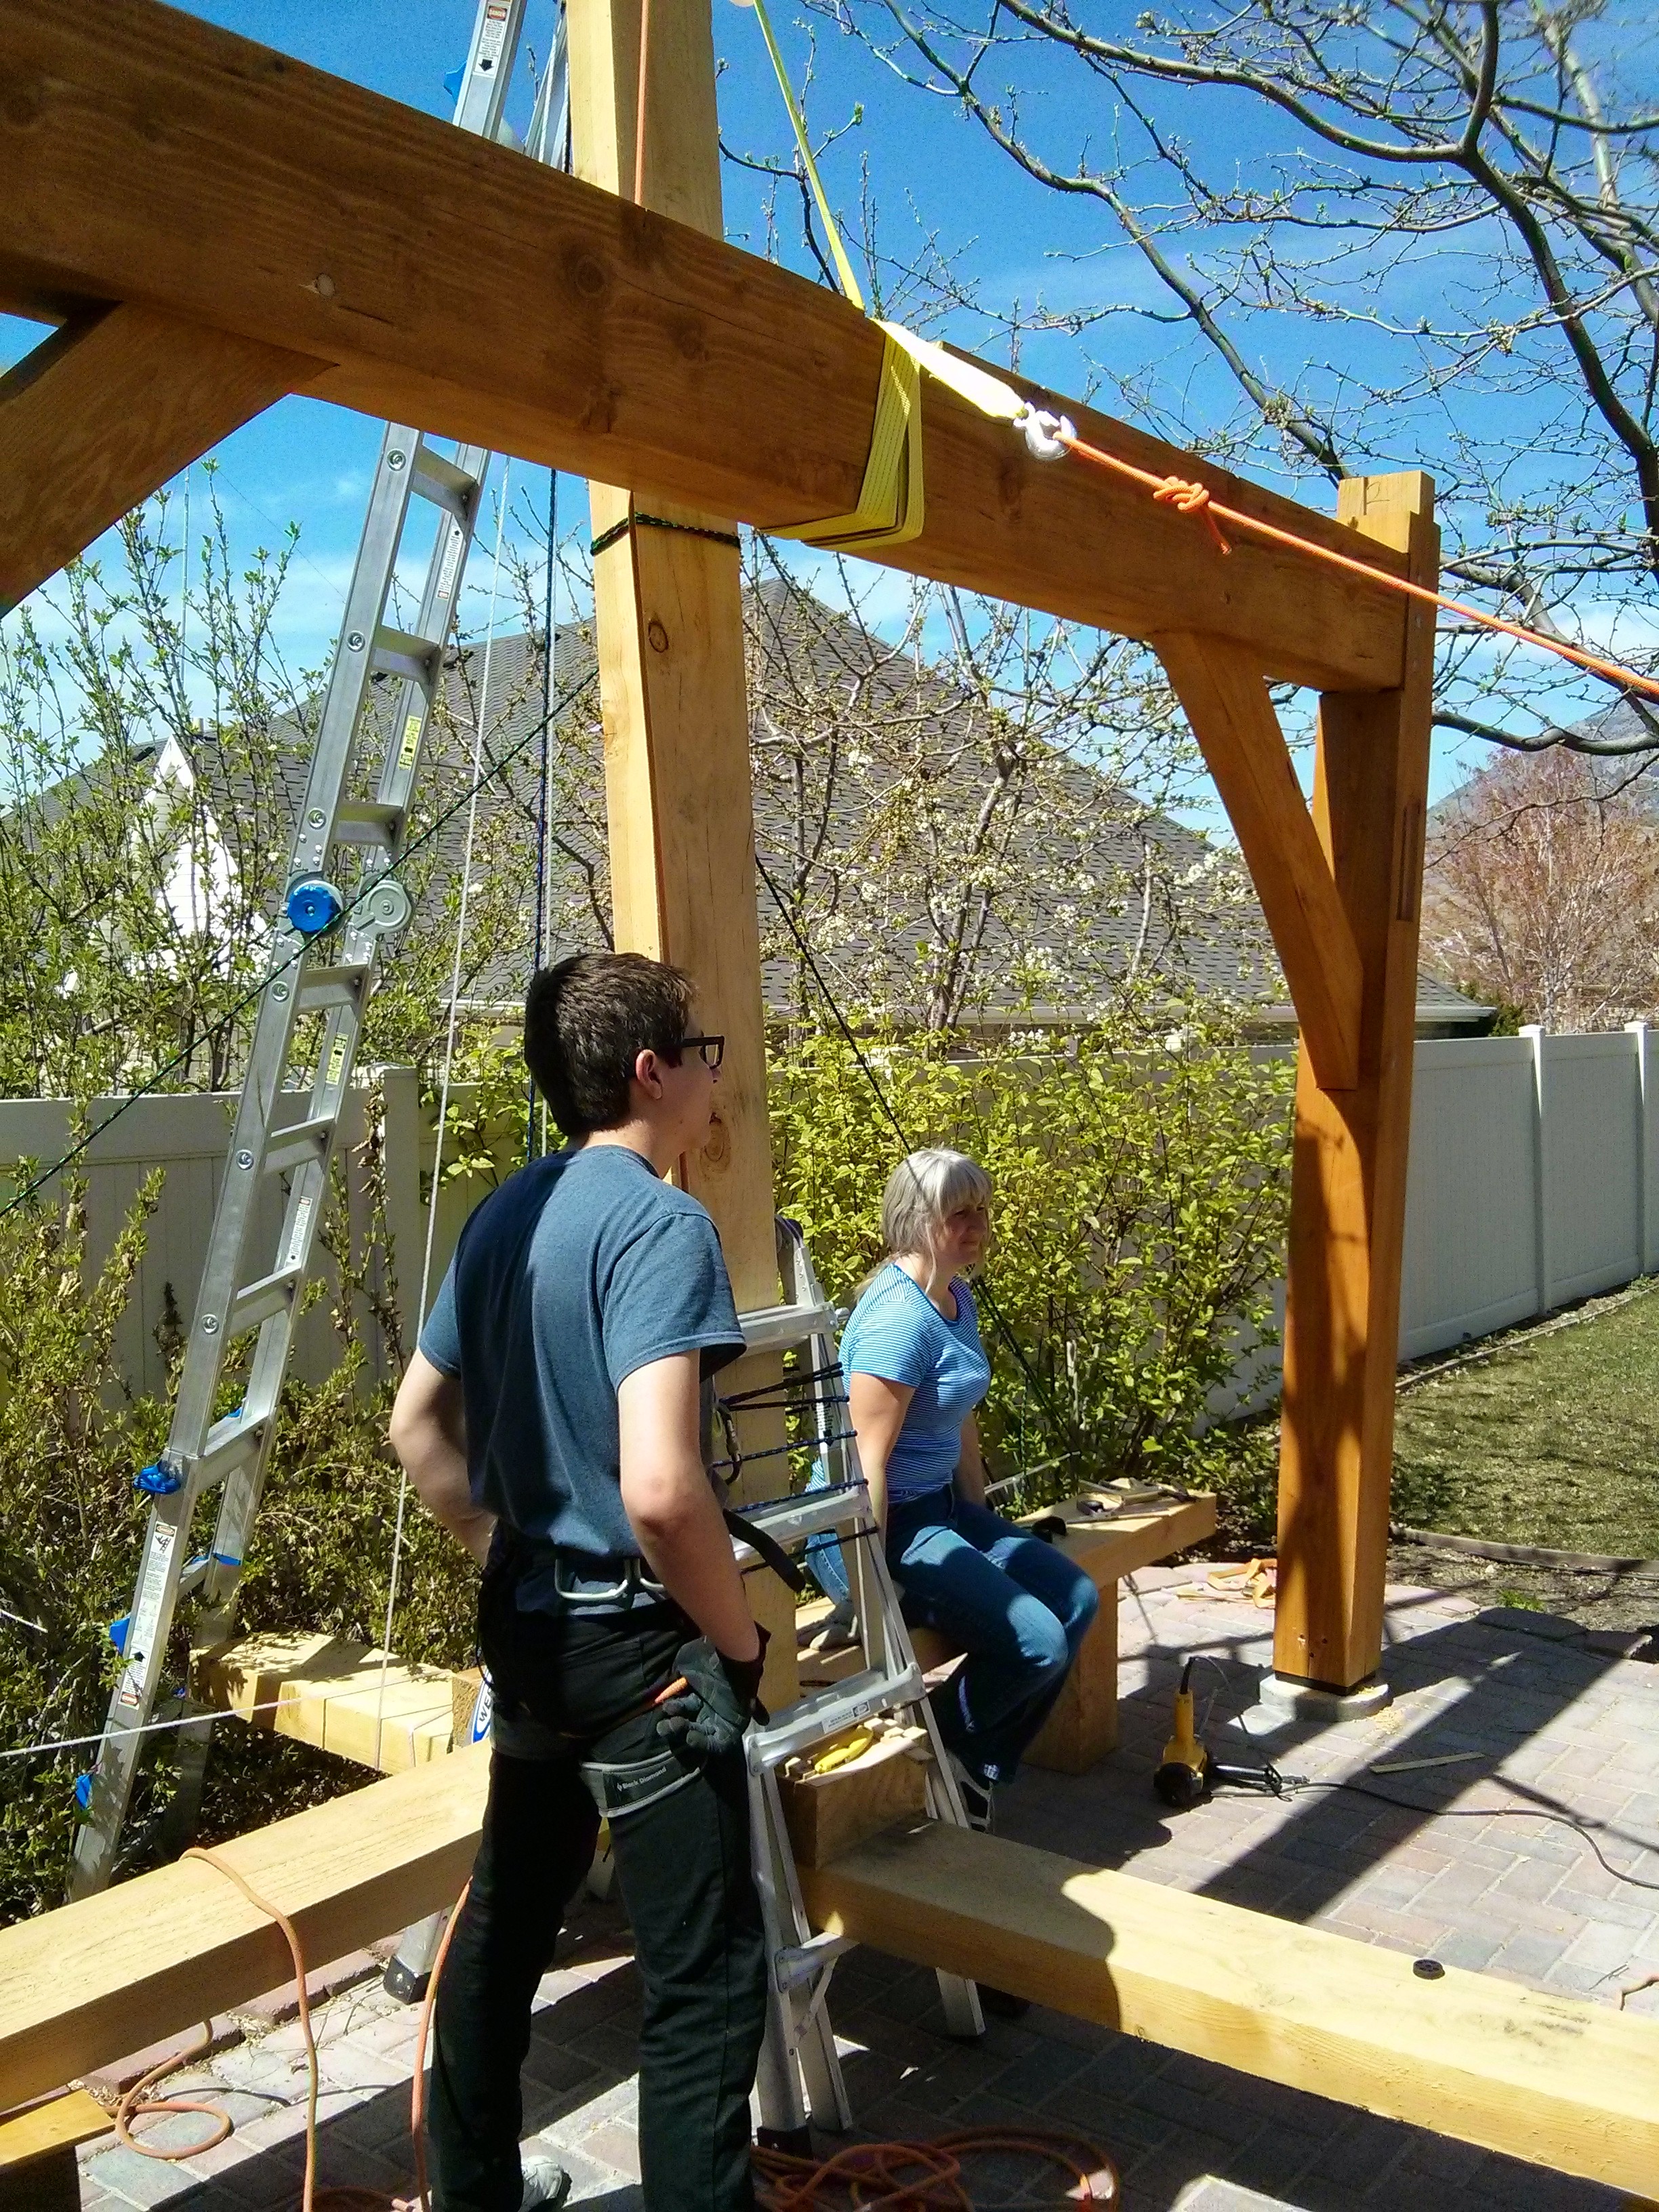
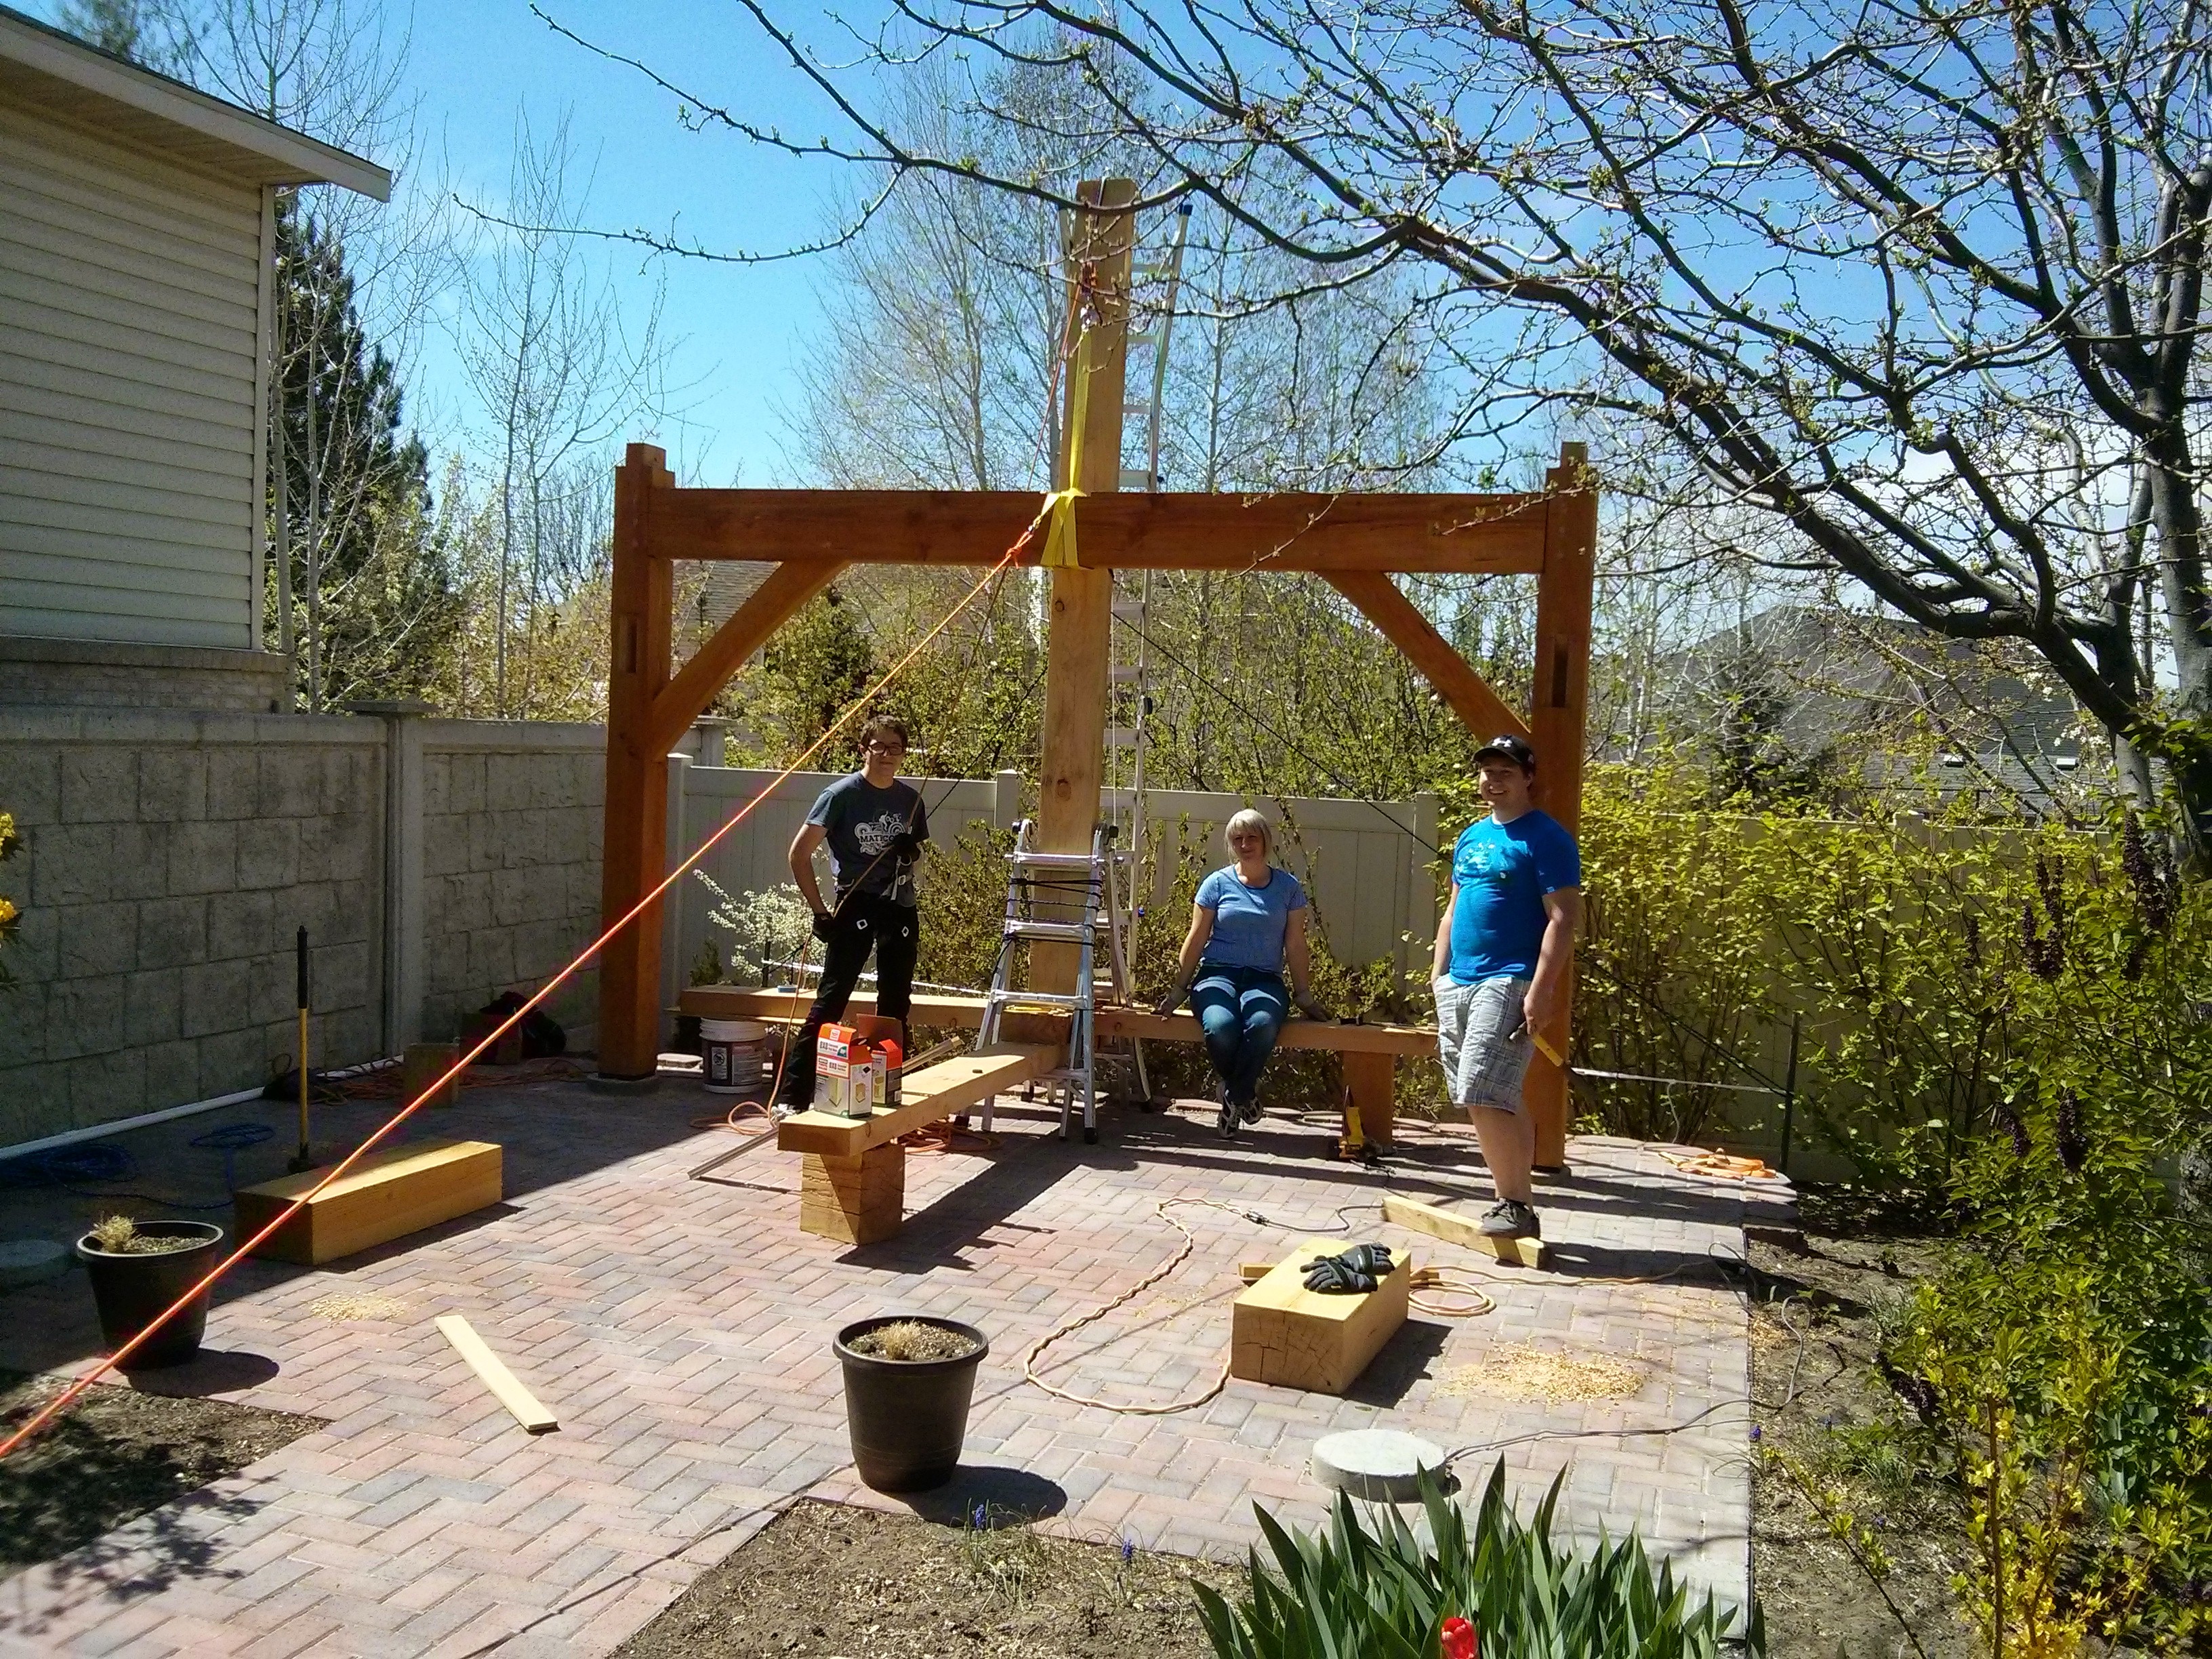
We then repeated the process with the second archway.
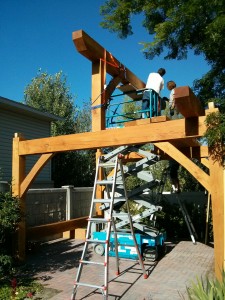
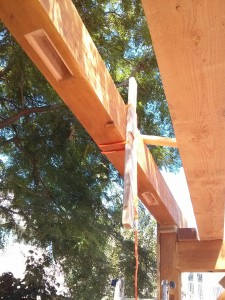
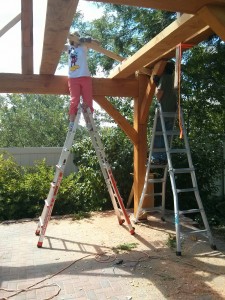
With the two archways in place it was time to get the three cross beams into place. The first one we lifted up using four ladders and moved beam between the two sets “stepping” up each time. I then built a scaffold to help me stand the center beam up in the middle of the two arches. This scaffold worked well for lifting the beam up onto the arches. However, it did not have enough rigidity to stand the beam up on its posts. We therefore decided to rent a scissor lift, which worked quite well for standing it up.
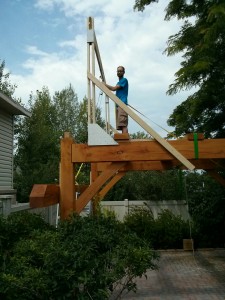
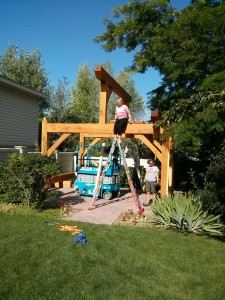
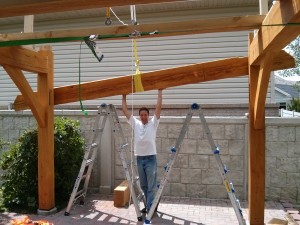
We then got the two side beams into place by lowering into place using stacked lumber, which we removed one at a time until the beams were in place. This allowed us to keep the knee braces in place as the beams were lowered.
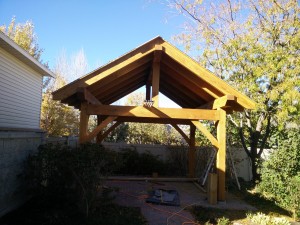
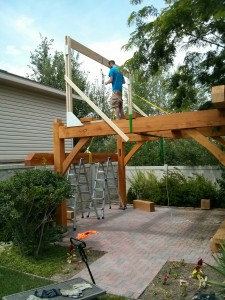
With the beams in place, the next step was to install the rafters. There are 14 total, 7 on each side.
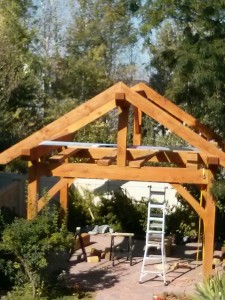
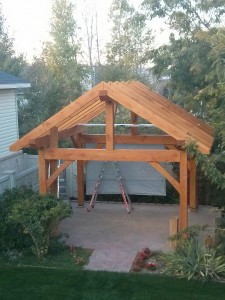
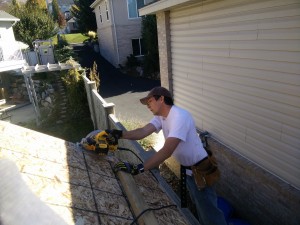
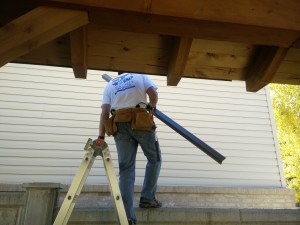
With the rafters in place, all was left was the roof! To make it look from the inside, we first install 1×6 tong and groove Douglas fir. On top of that we place 1/2″ chip board, and topped it all off with composite shingles that match our house.